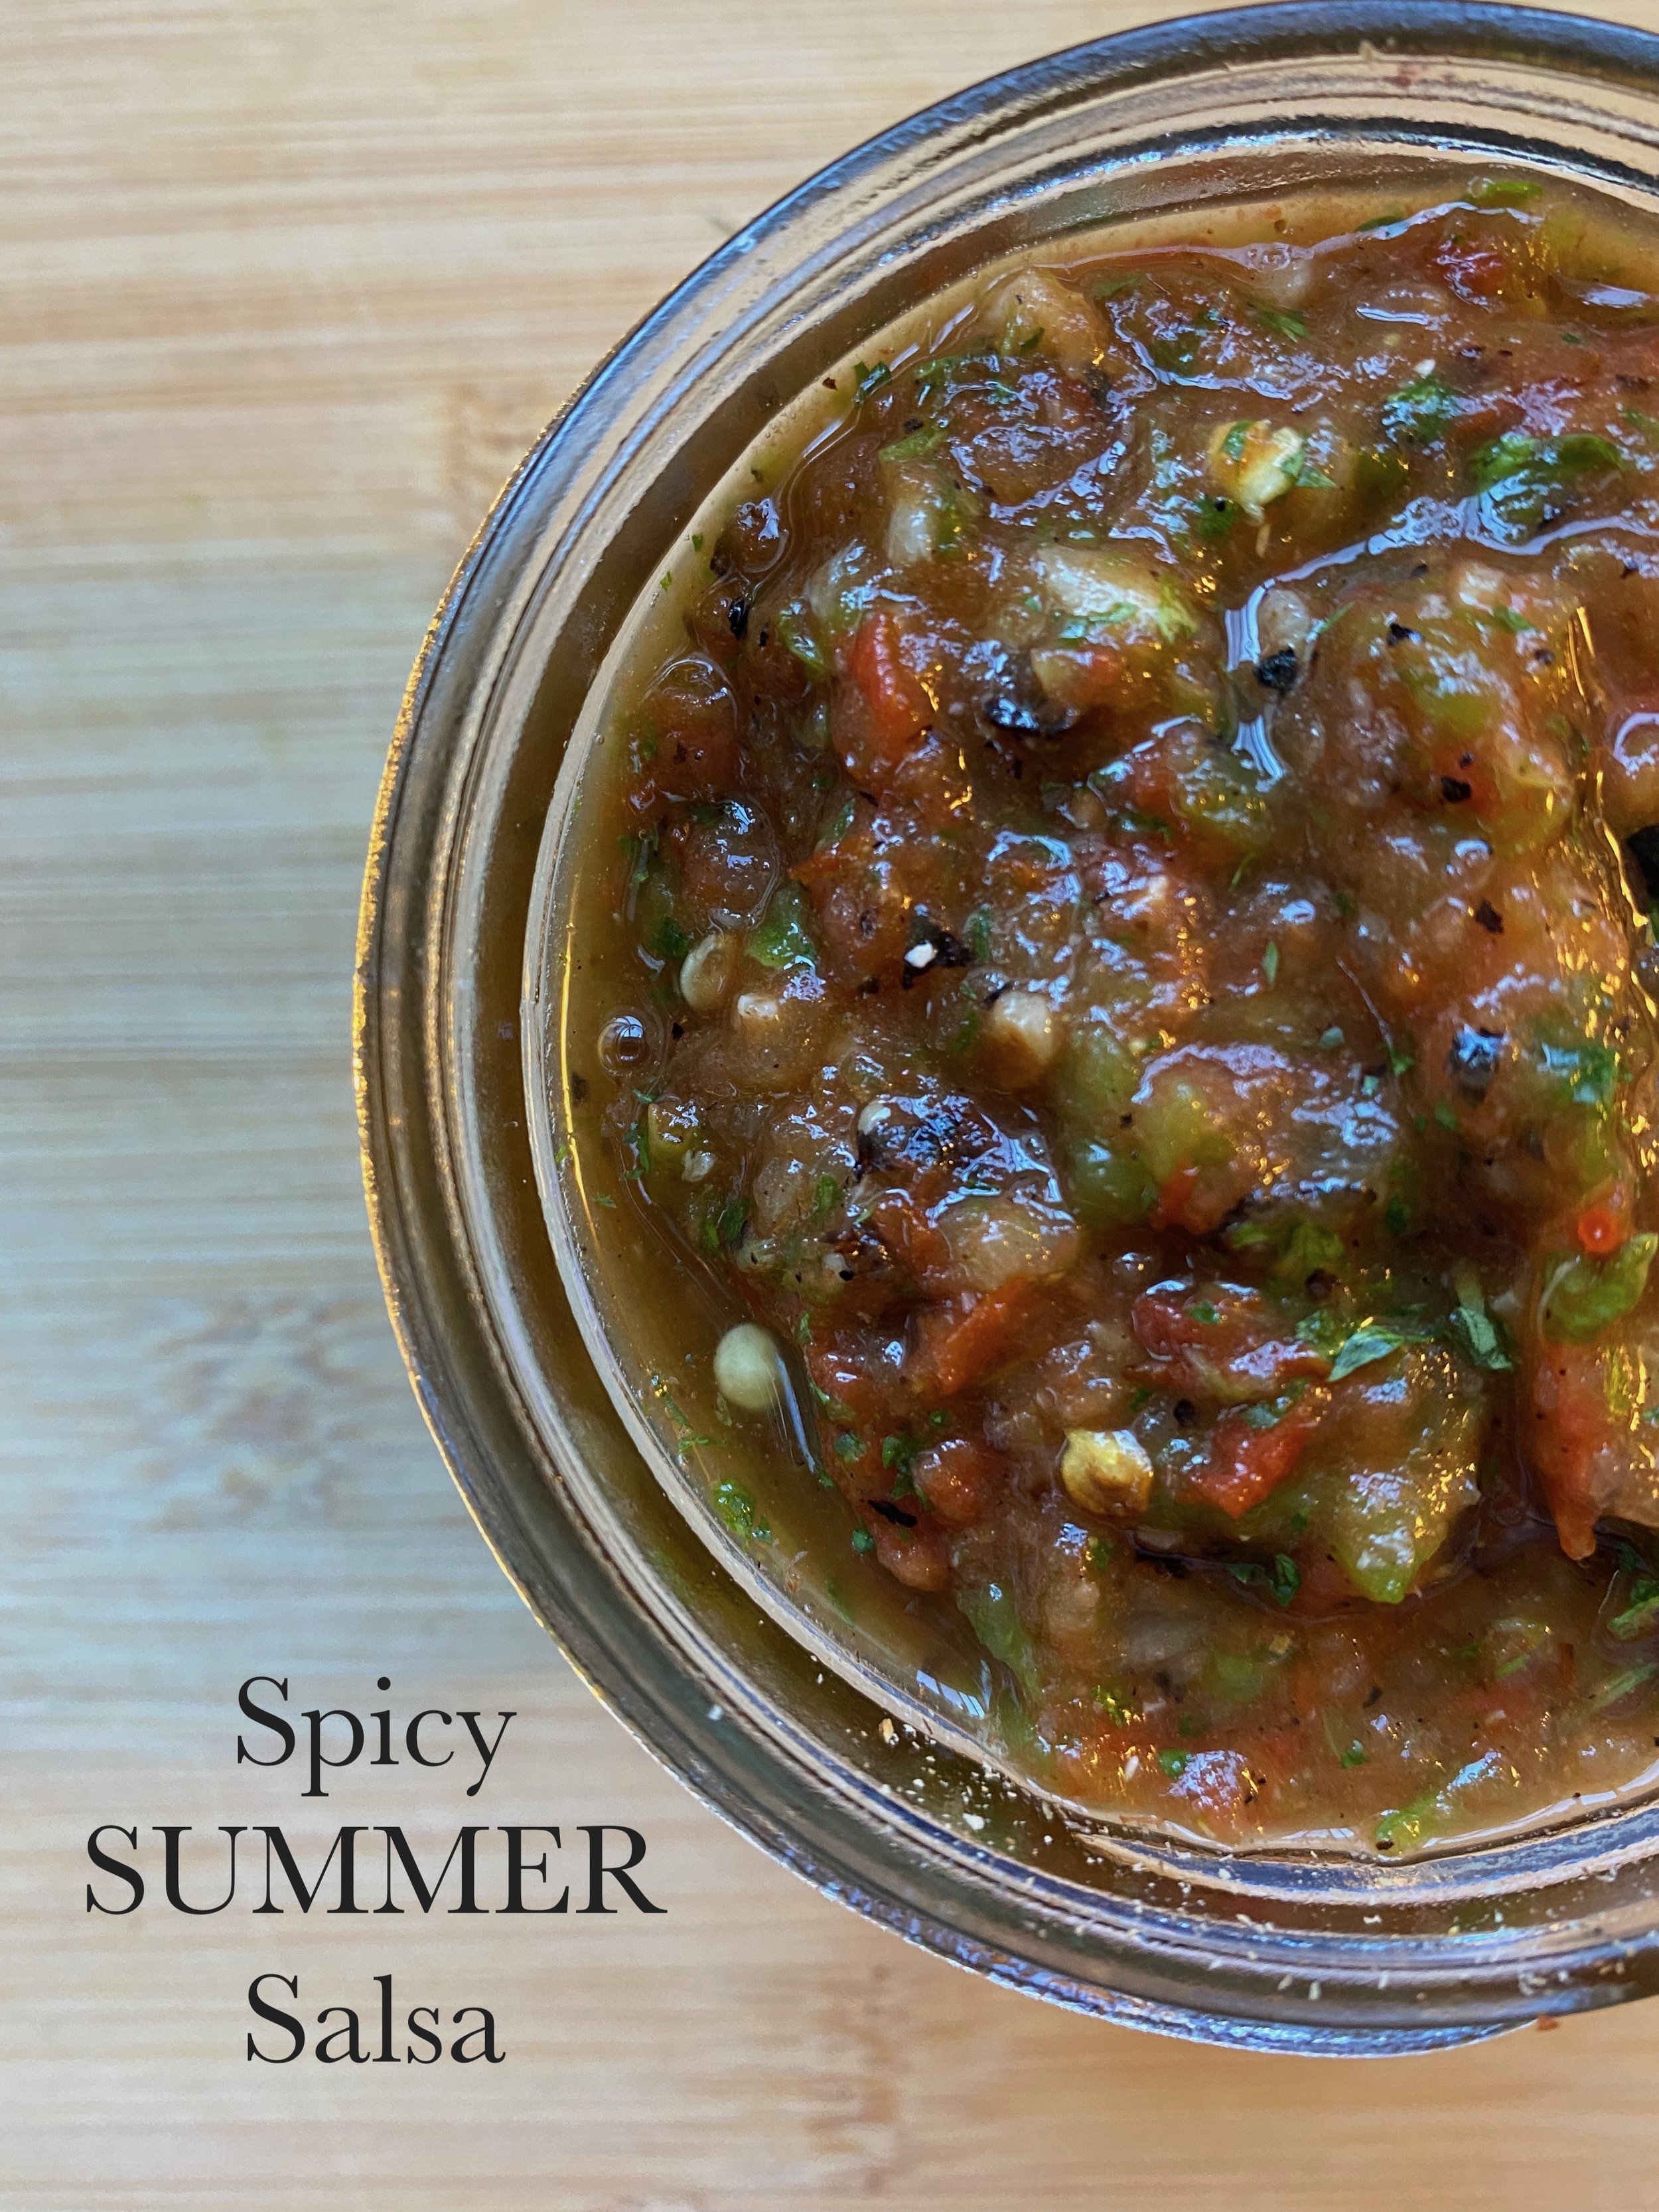
This makes about 1 cup of Salsa
4 medium tomatoes
1 large jalapeño (cut in half lengthwise)
2 large cloves garlic
¼ cup onion (or ¼ of a small onion)
2-3 tablespoons cilantro
½ teaspoon salt
3 tablespoons raw apple cider vinegar
Method
Cut the tomatoes in half and remove the seeds. Cut the onion into a large piece and separate the layers. Place the tomatoes, garlic, jalapeño and onion onto a baking dish lined with parchment and broil until you have “burnt” the skins on both sides. Be careful with the garlic, it may cook faster than the other stuff so remove sooner if needed.
Allow the veggies to cool completely before adding them to a blender. Add the cooled veggies and the rest of the ingredients to a blender and pulse until you get the desired consistency. Add more salt if needed.
French Grain Free Crepes
OH MY GOODNESS!!!!! French crepes are one of my favourite things and I think I have mastered a grain free, sugar free, dairy free version. I really do not think you would notice the difference. In a pinch, I stuff these babies with nut butter, banana and drizzle with some raw honey. I hope you love them as much as I do.
Yield 8-10 crepes
Grain free, gluten free, dairy free
Ingredients
2 eggs
1 cup coconut mylk
1 teaspoon melted coconut oil or butter
1 teaspoon vanilla extract
¾ cup tapioca flour
4 tablespoons coconut flour
Method
Add all ingredients to a blender and blend until smooth.
Heat up a crepe pan or a small (8” pan) non stick green pan, add a teaspoon of butter or coconut oil
Add a little less than ¼ cup of the batter to the pan and immediately pick up the pan and swirl it to coax the batter into an even layer on the bottom of the pan. Cook the crepe for a minute or so on one side then flip and let it cook for another couple of seconds.
Remove the crepe and continue with your next crepe. Stuff those babies with whatever your little heart desires, sweet or savoury.
Once cooled, store the crepes in an airtight container and refrigerate for up to 4 days.
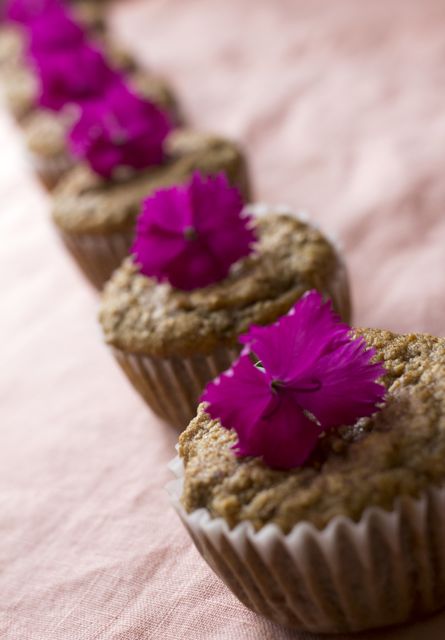
Raspberry Muffins
These soft and moist raspberry muffins have a cake-like texture that will knock yer socks off. These gluten free, dairy free babies are easy to make and should be slightly warmed after the first day to bring back that memorable texture. Sometimes I like to make these a double or triple berry muffin by adding blueberries and blackberries to the raspberries. If you are allergic to nuts, simply remove the almond extract and slivered almonds from the recipe.
Yield 8 muffins
Ingredients
3 eggs (room temp)
⅔ cup coconut mylk (room temp)
¼ cup *mild olive oil or melted butter
2 tablespoons raw honey
2 teaspoons vanilla extract
1 teaspoon almonds extract
⅔ cup coconut flour (sifted)
⅓ cup tapioca flour
2 tablespoons brown flax meal
2 teaspoons baking powder
¼ teaspoon salt
¾ cup raspberries
2 tablespoons slivered almonds (for the top)
Method
Set aside the raspberries and slivered almonds
Combine the wet ingredients together and mix with a fork
Add the dry ingredients to a large bowl and stir with a spatula
Add the wet ingredients to the dry and whisk together, the batter will thicken from the coconut flour. Fold in the raspberries
Fill greased or paper-lined muffin cups about two thirds full ( 8 muffin in total), sprinkle the slivered almonds on top of each muffin and bake at 350 degrees fahrenheit for 18-20 minutes.
*Mild olive oil can still be from organic extra virgin QUALITY oil. When I say mild I just mean do not use your best strong flavoured, green looking olive oil.
Grain Free Banana Bread
I grew up with banana bread that contained between one to two cups of refined sugar, it was delicious BUT not nutritious. This baby has NO refined sugar, is grain free, gluten free, dairy free. It’s moist, light and I think every child and adult will LOVE it.
Ingredients
3 eggs (room temperature)
1/4 cup olive oil
1 1/2 cups banana (ripe and mashed)
2 tablespoons raw honey (optional)
1 teaspoon vanilla extract
2 cups almond flour
1/4 cup tapioca starch
1/2 cup coconut flour (sifted)
1 teaspoon cinnamon
2 teaspoons baking powder
2 tablespoons chocolate chips (optional, for the top)
Method
Preheat oven to 350 degrees Fahrenheit
Add all of the dry ingredients to a medium sized bowl
Mash the bananas in a medium size bowl, add the eggs, vanilla extract, olive oil and honey, whisk together. Combine the dry with the wet ingredients and fold together. Line a loaf pan or (8.5” x 4.5“) with parchment paper and add the batter. Sprinkle chocolate chips on top and sliced bananas if you would like. Bake for 45-50 minutes
*Note- Cooking time will vary on your oven and the type of loaf pan you use. Glass loaf pans cook faster than a traditional alloy loaf pan.
Cassava Tortillas
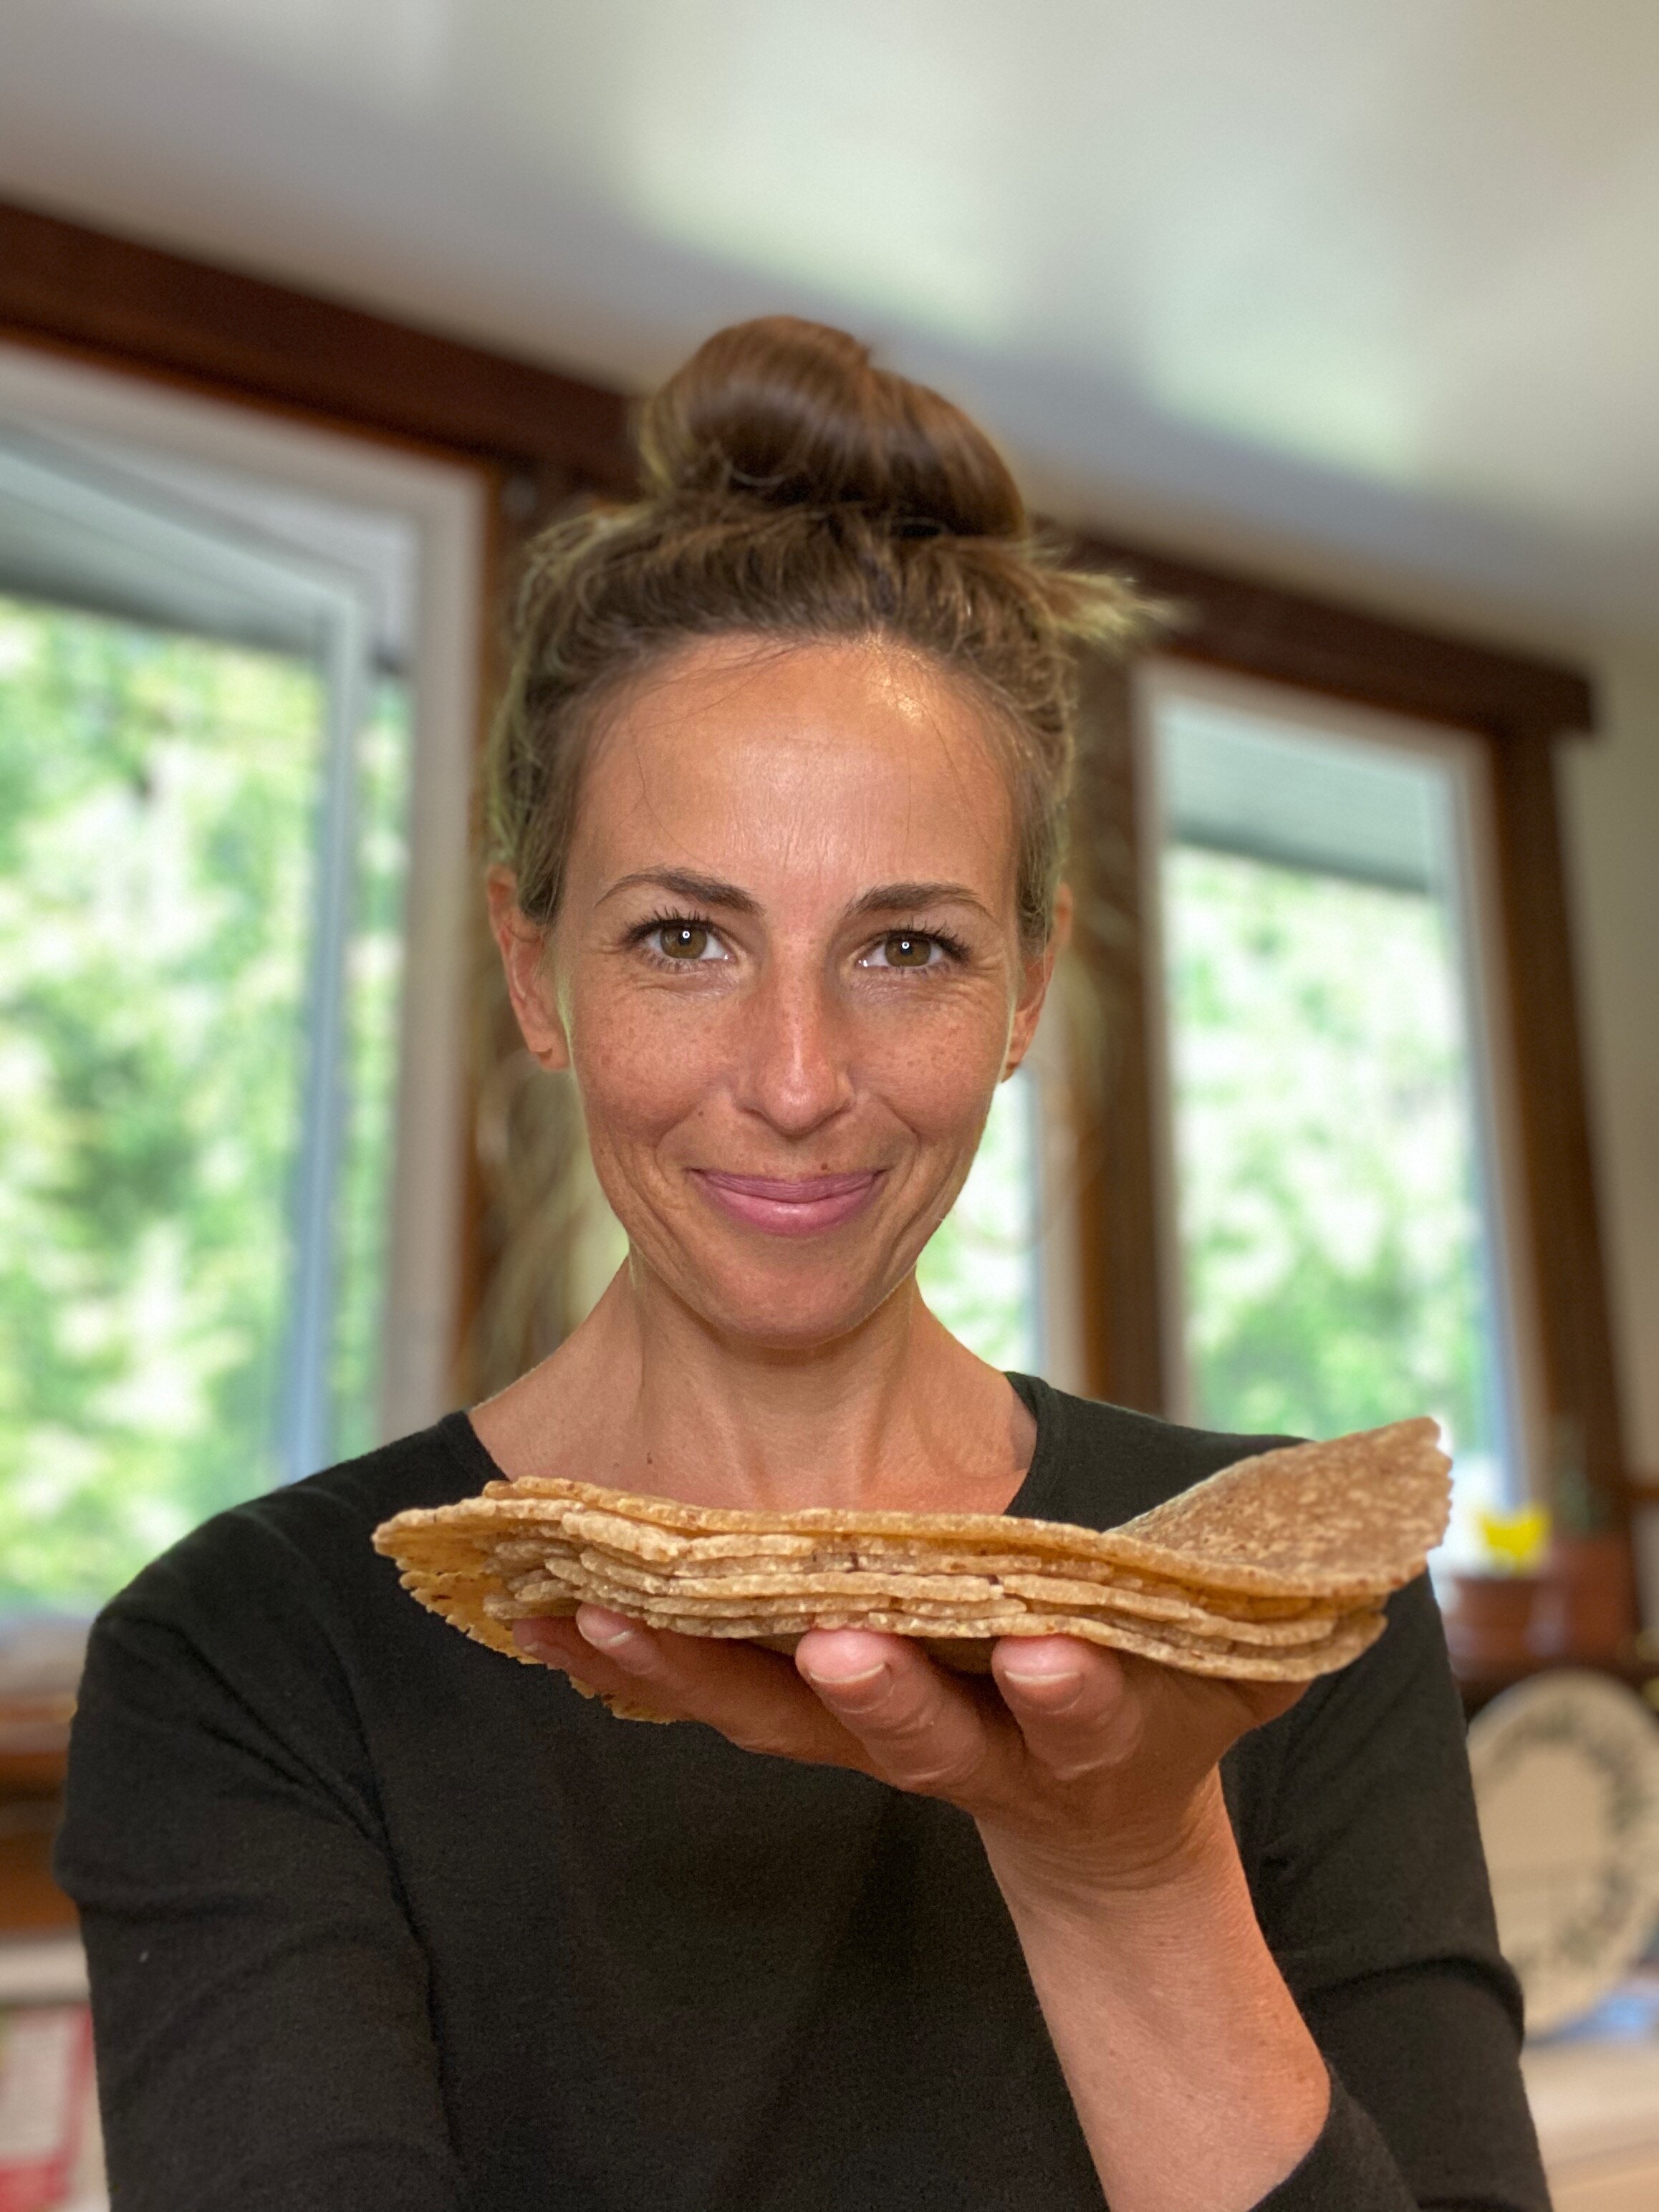
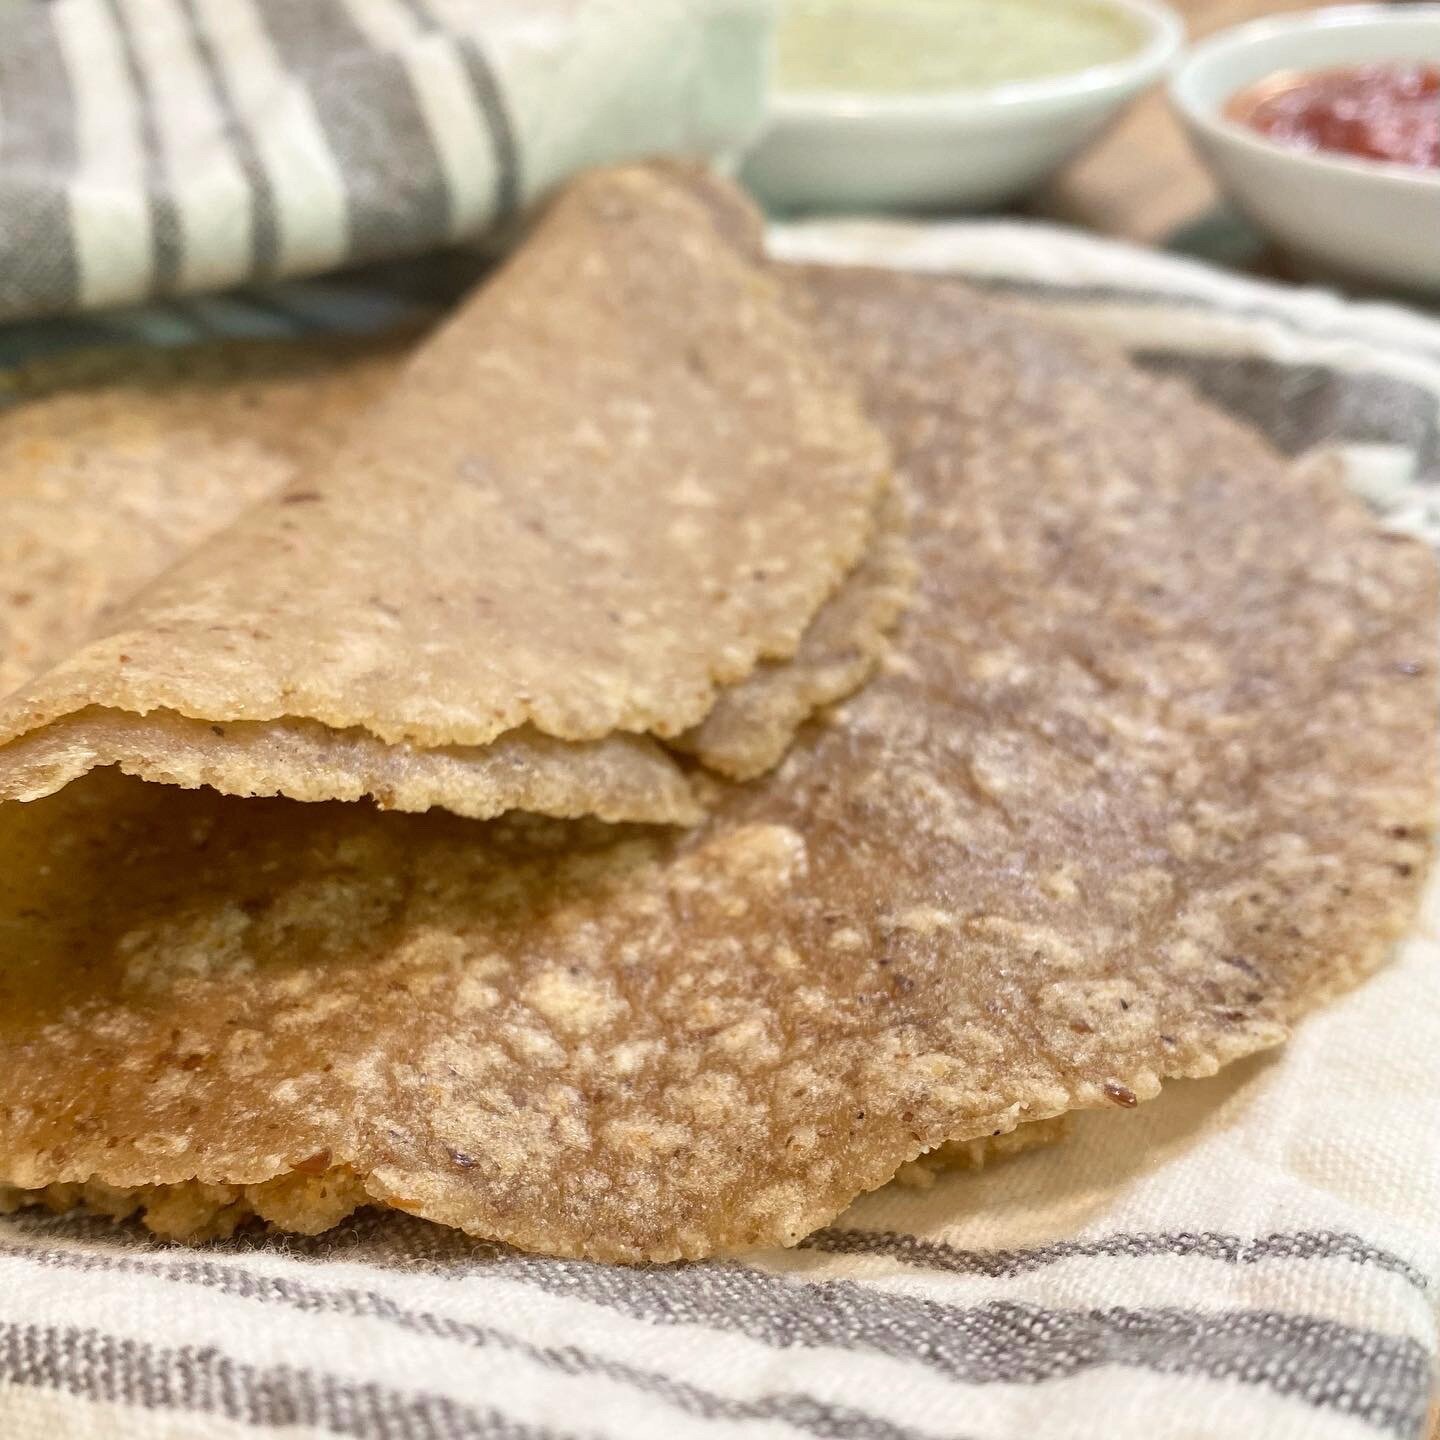
Who misses soft and chewy tortillas when you went gluten free? ME me me!!! I can’t believe how easy these are to make and how delicious they are. They store quite well in a glass storage container and when you are ready to reheat them just pop them in the oven wrapped in parchment and foil for a couple of minutes.
Yield 6 wraps or 12 taco size tortillas
Gluten free, dairy free, grain free, paleo
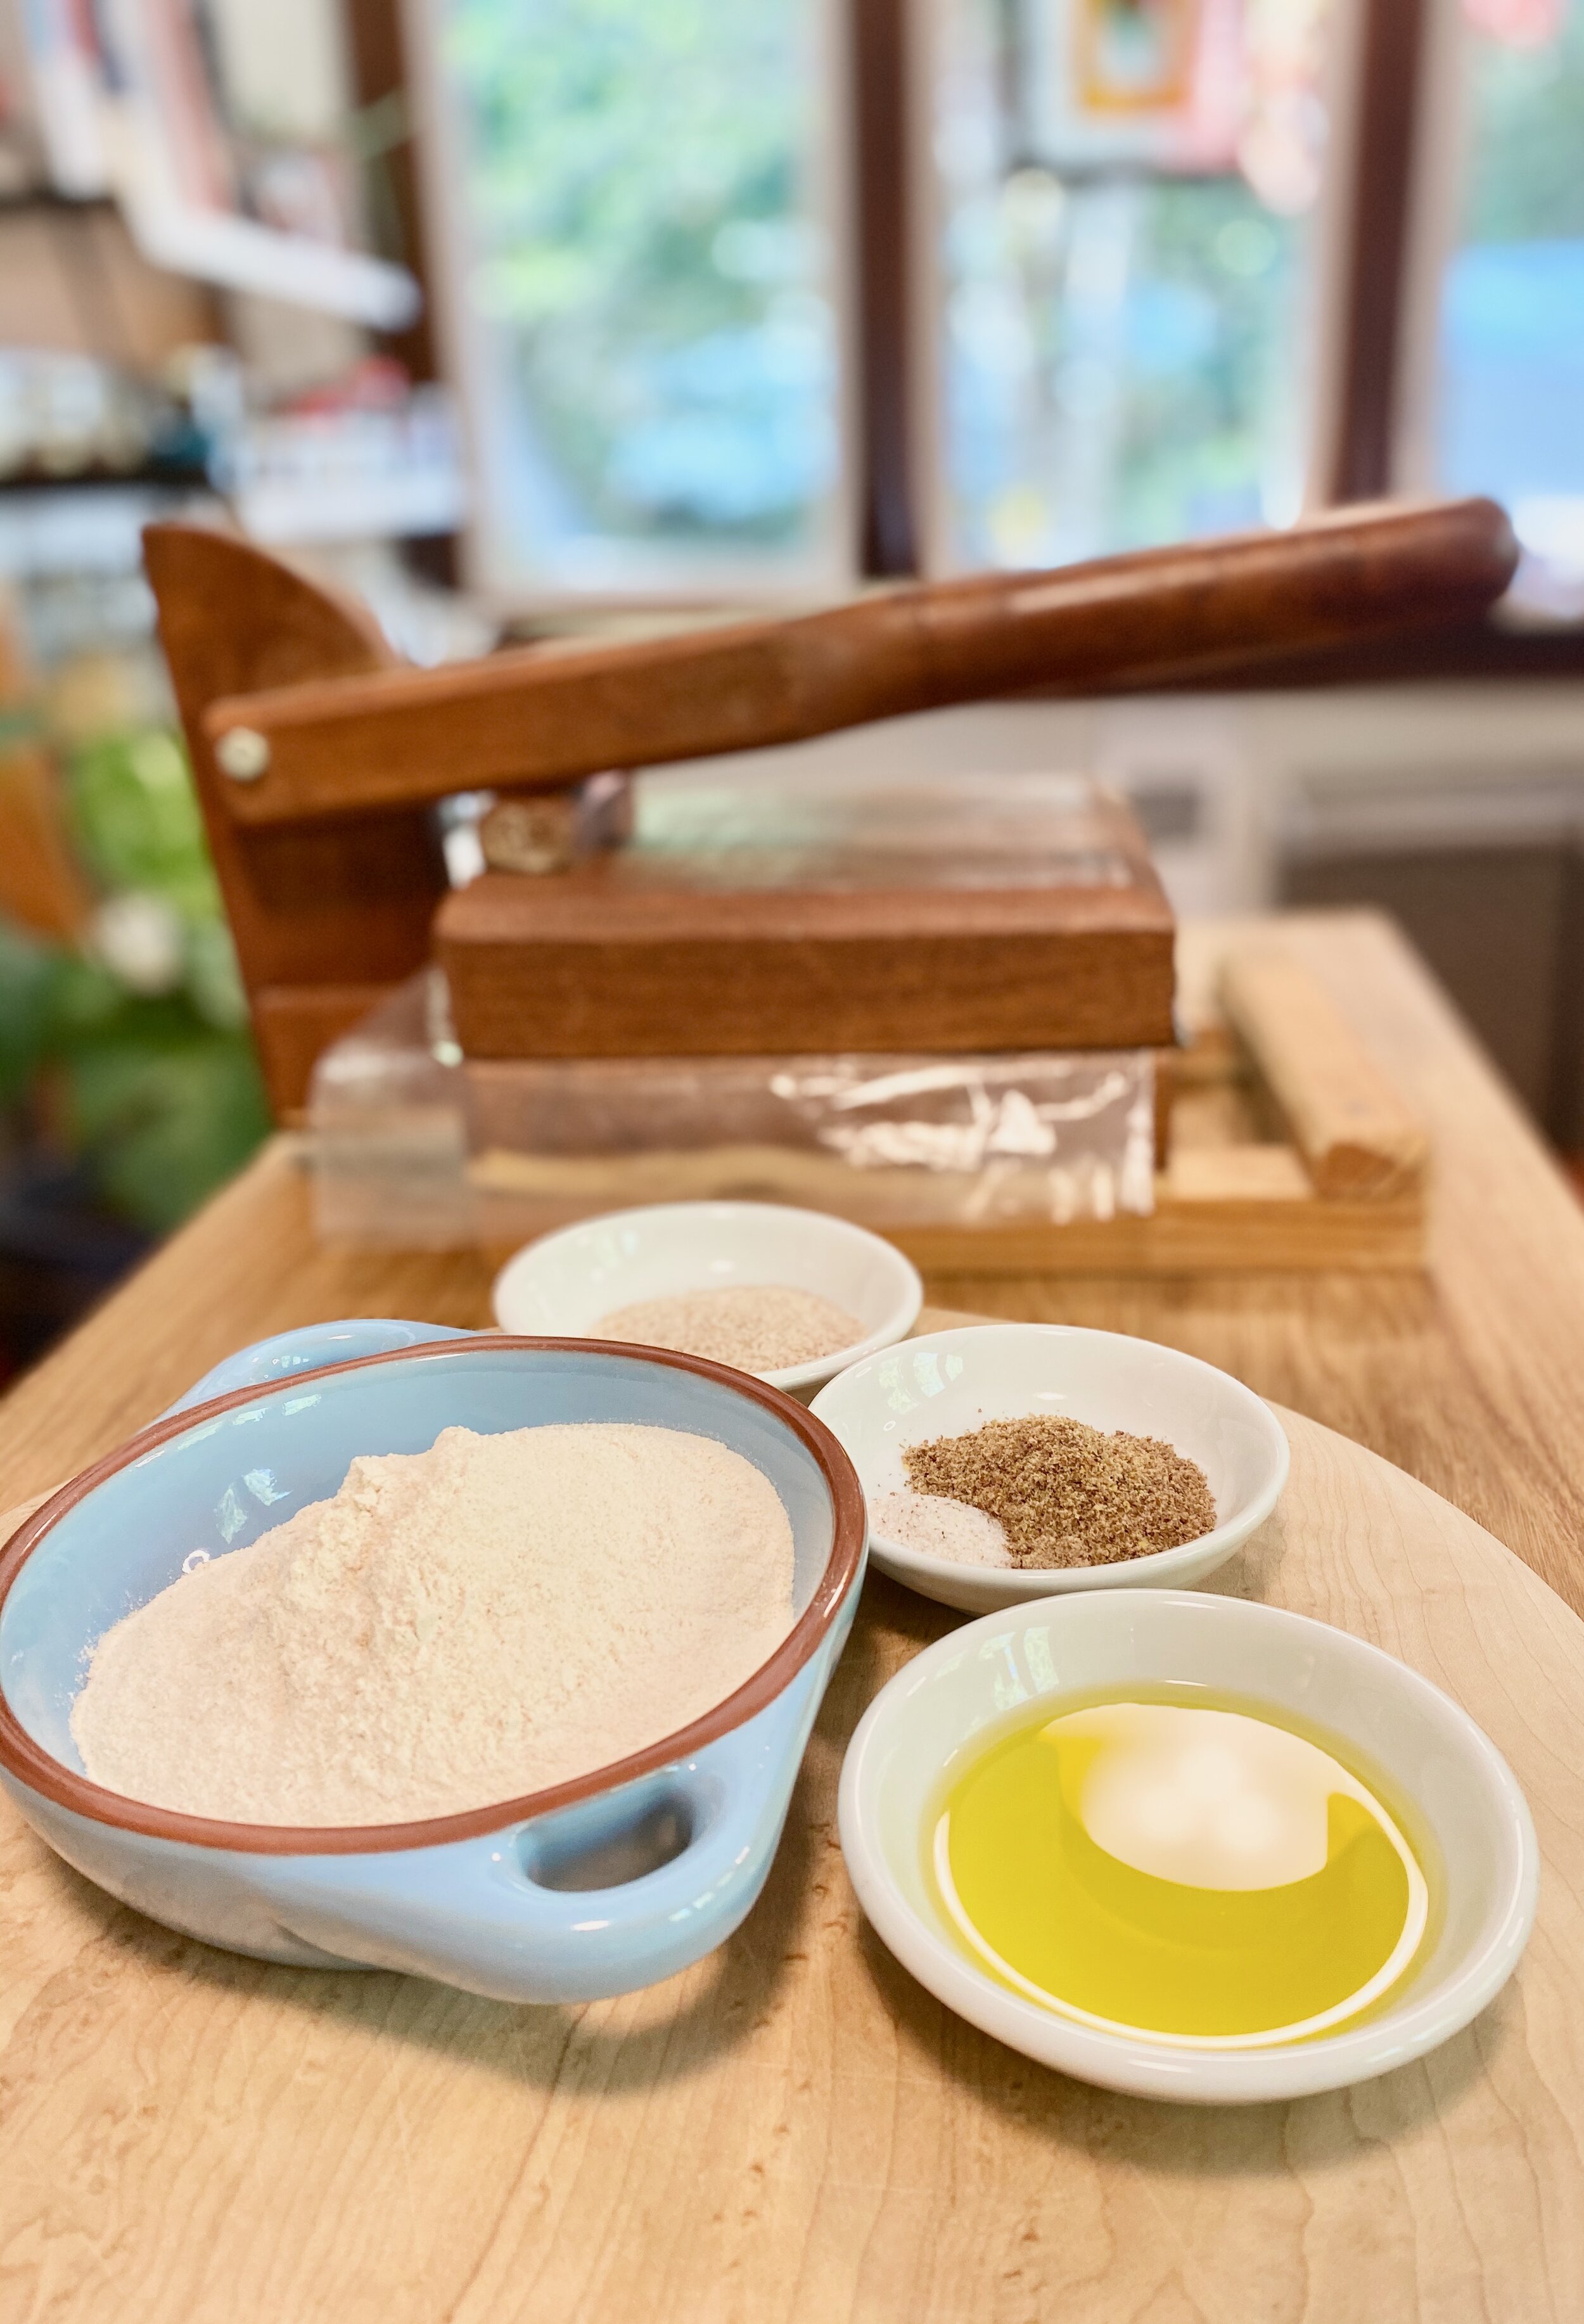
Ingredients
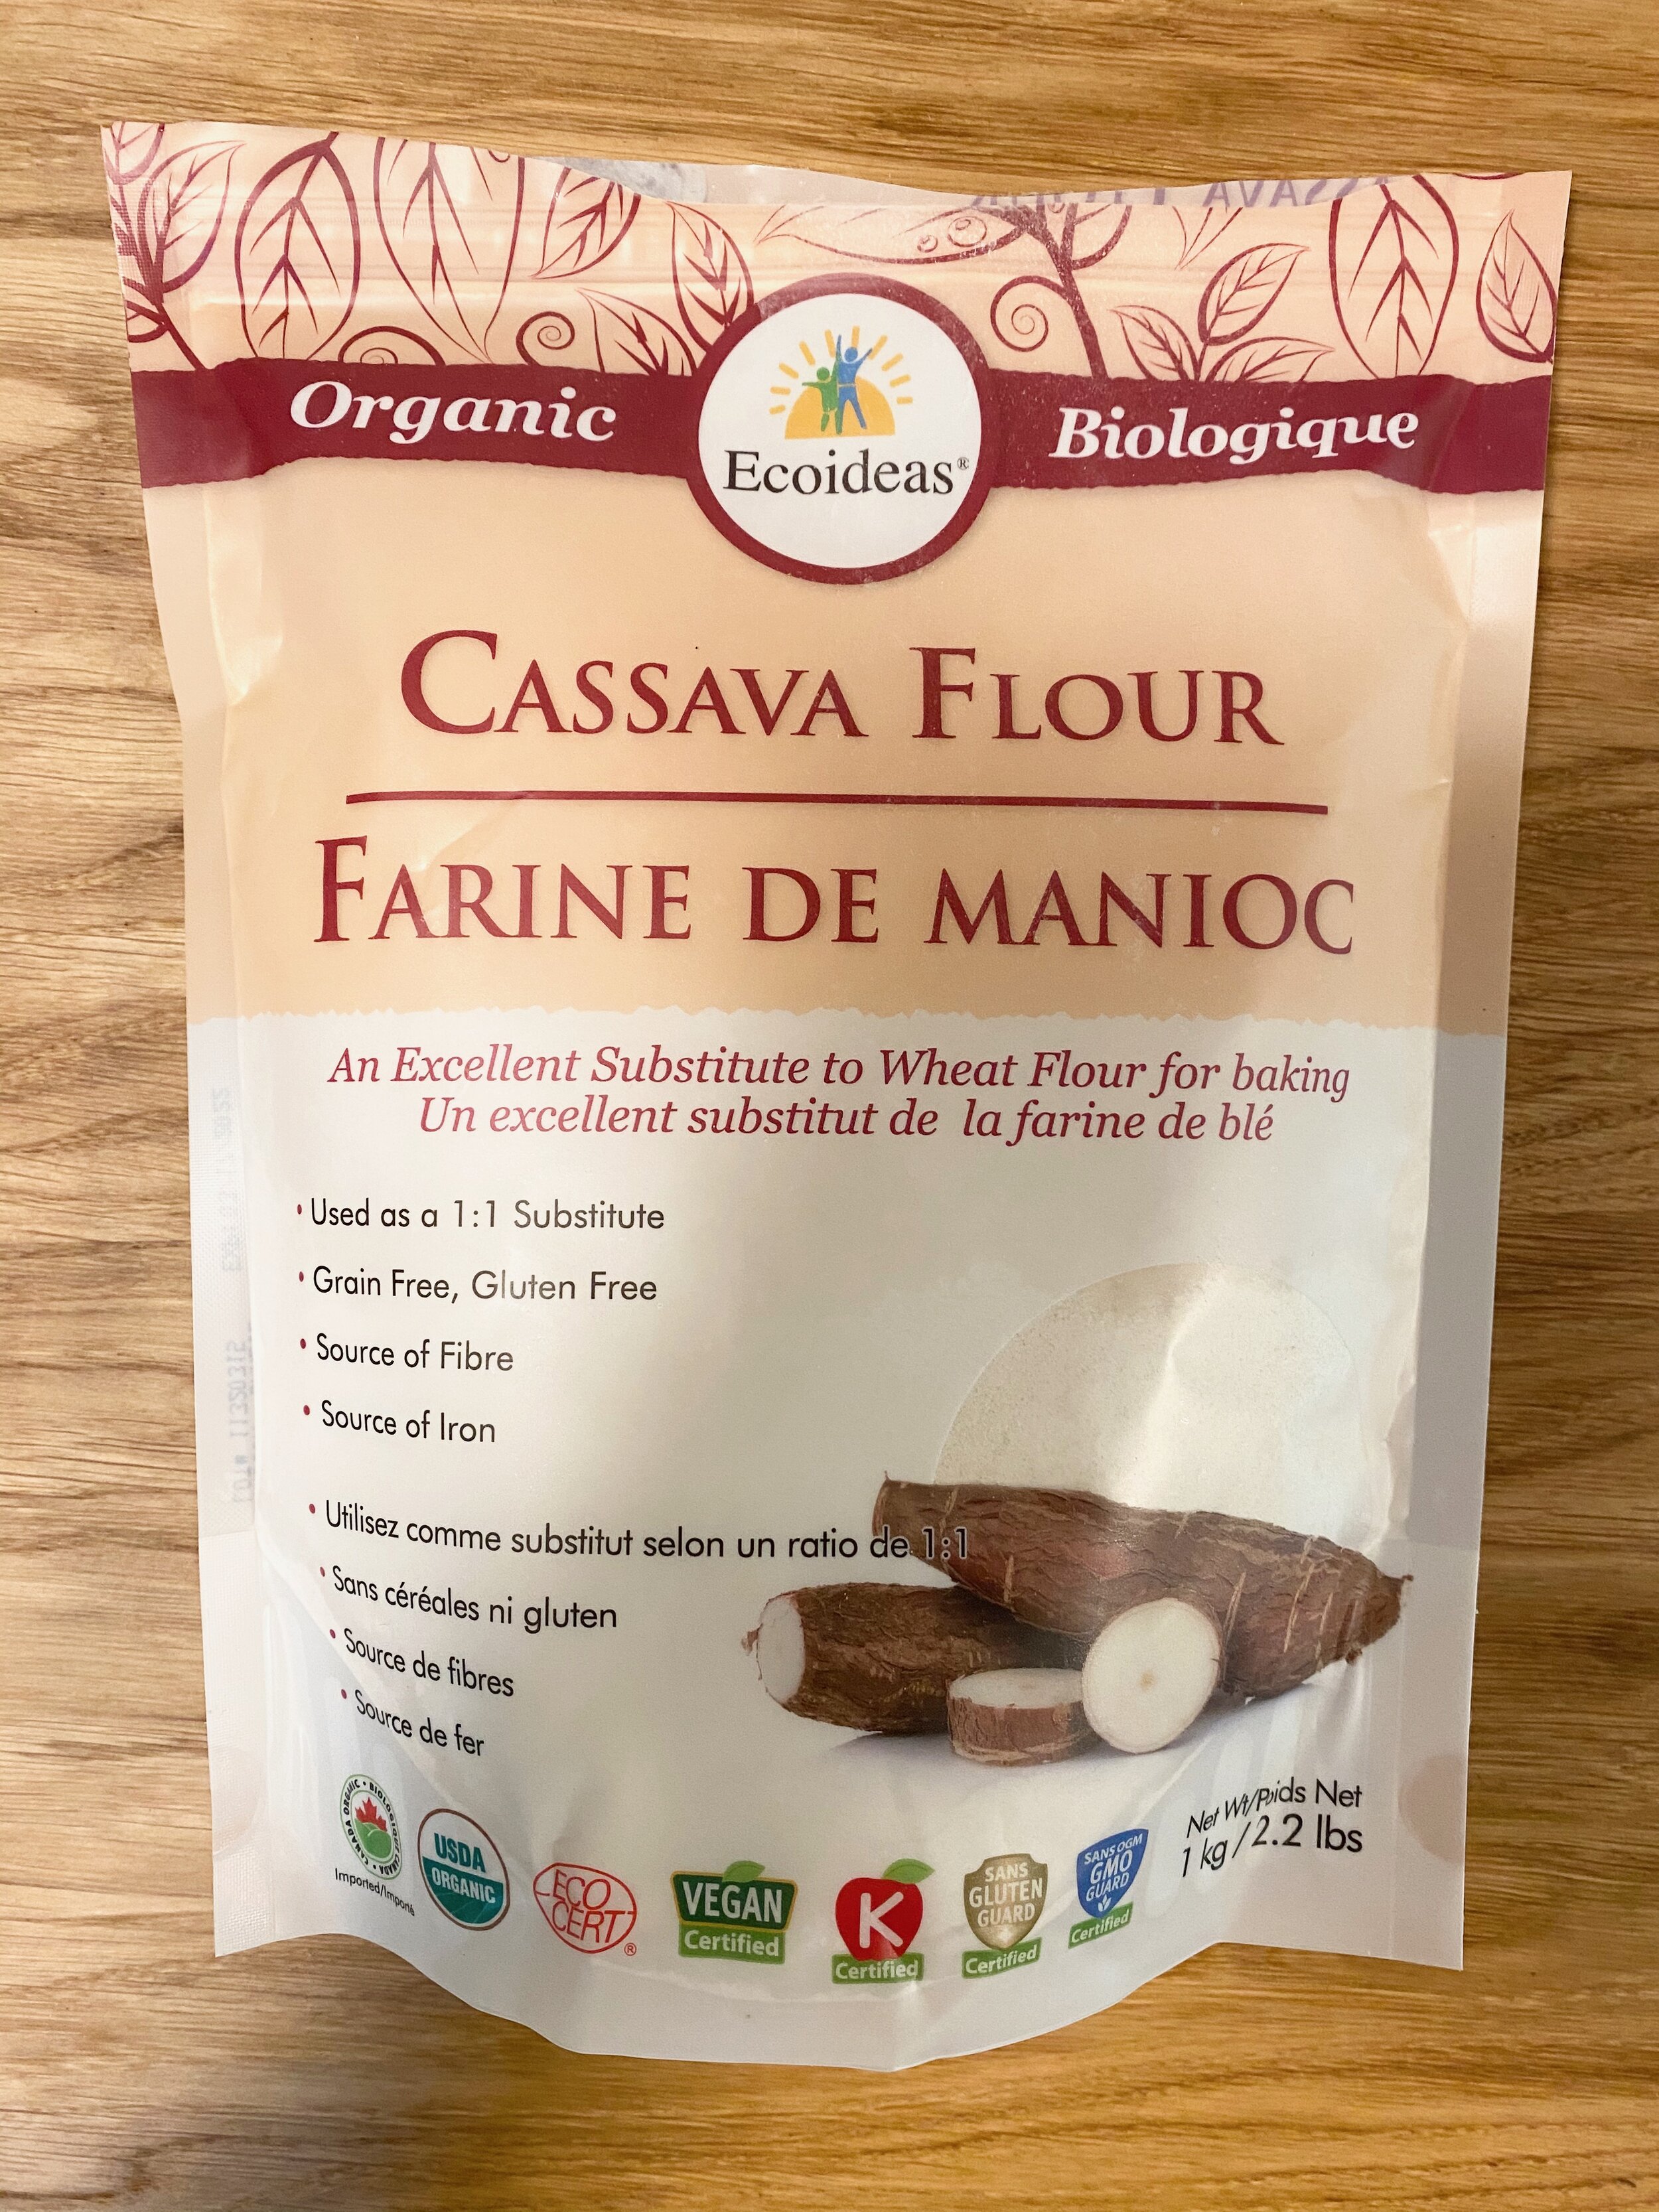
¾ cup cassava flour
½ teaspoon salt
2 tablespoons psyllium husk
1 tablespoon brown flax meal
1 cup warm water
2 tablespoons olive oil
Method
Combine all of your dry ingredients into a medium size bowl and stir together.
Add the olive oil to the warm water and mix it into the dry ingredients. You can stir with a spoon or use your hands. The mixture will seem wet at first but it will suck up all of the moisture quickly.
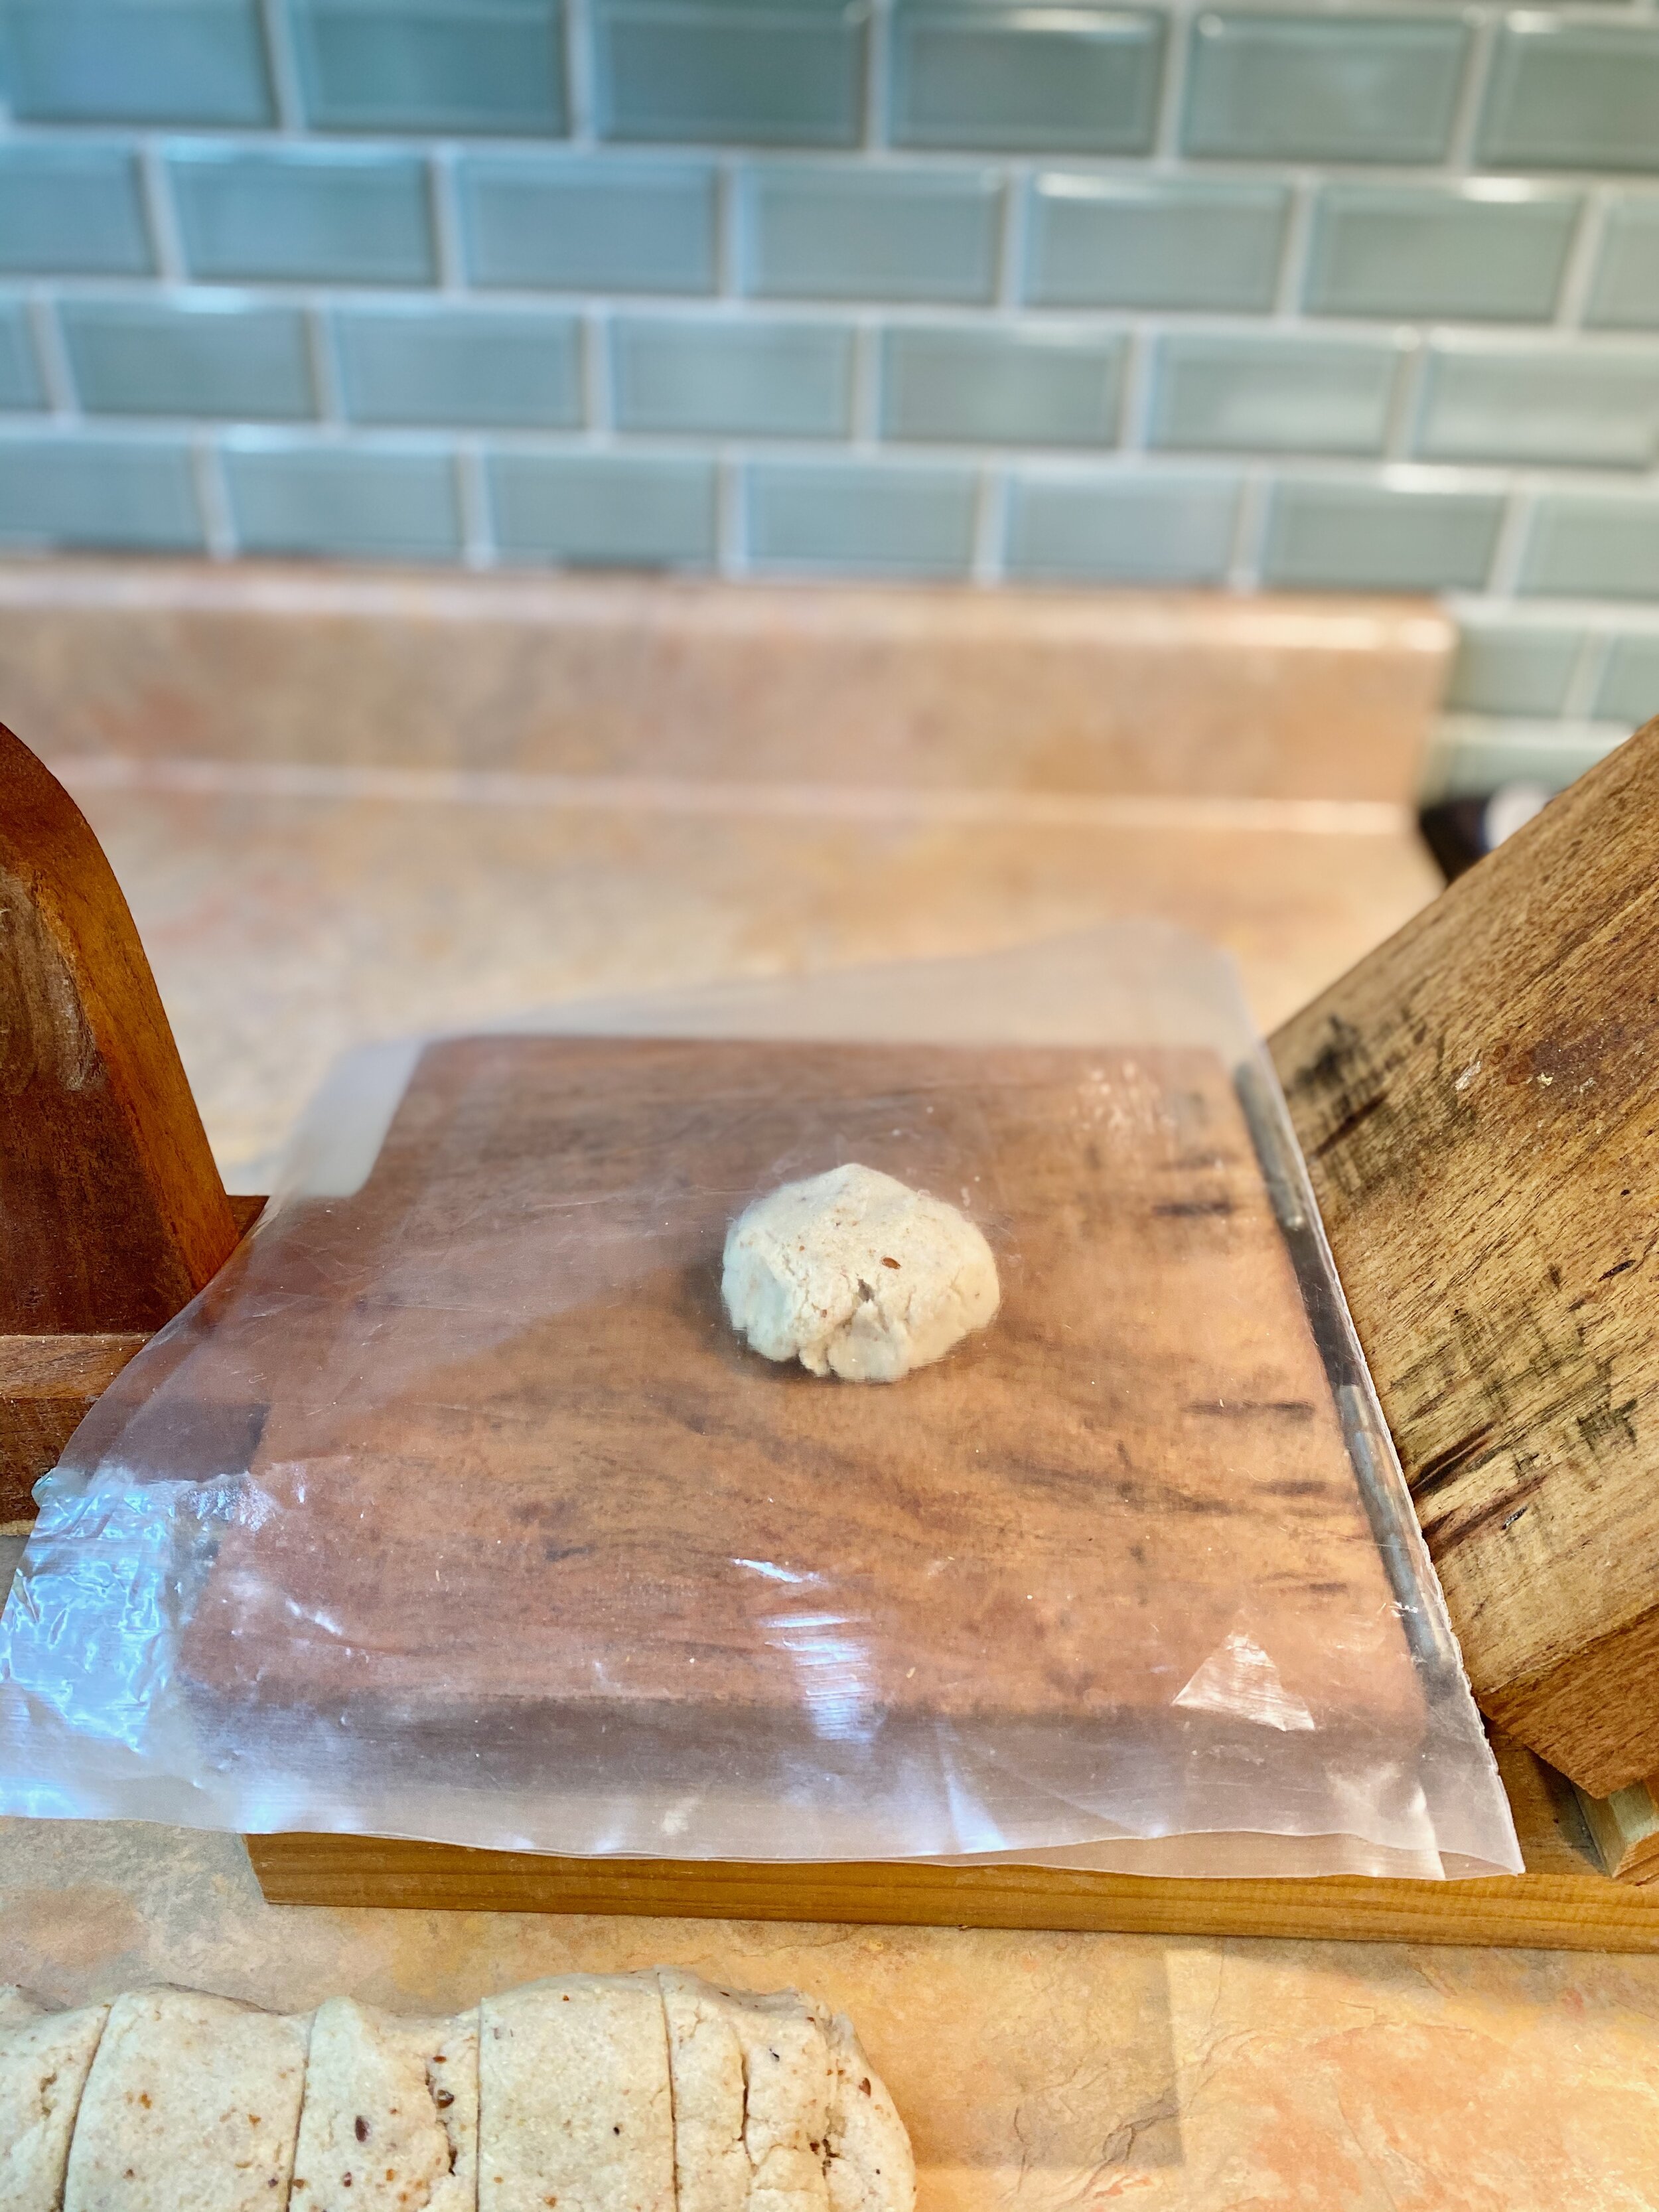
Form a cylinder and cut into either 6 or 12 pieces depending on what size you would like. Roll each piece into a ball (this does not have to be perfect) and place a dry dish towel over the dough. Meanwhile, warm up a cast iron pan on low/med heat. You don’t want your pan smoking, it will burn the tortillas. You may have to play with the heat depending on your stove top.
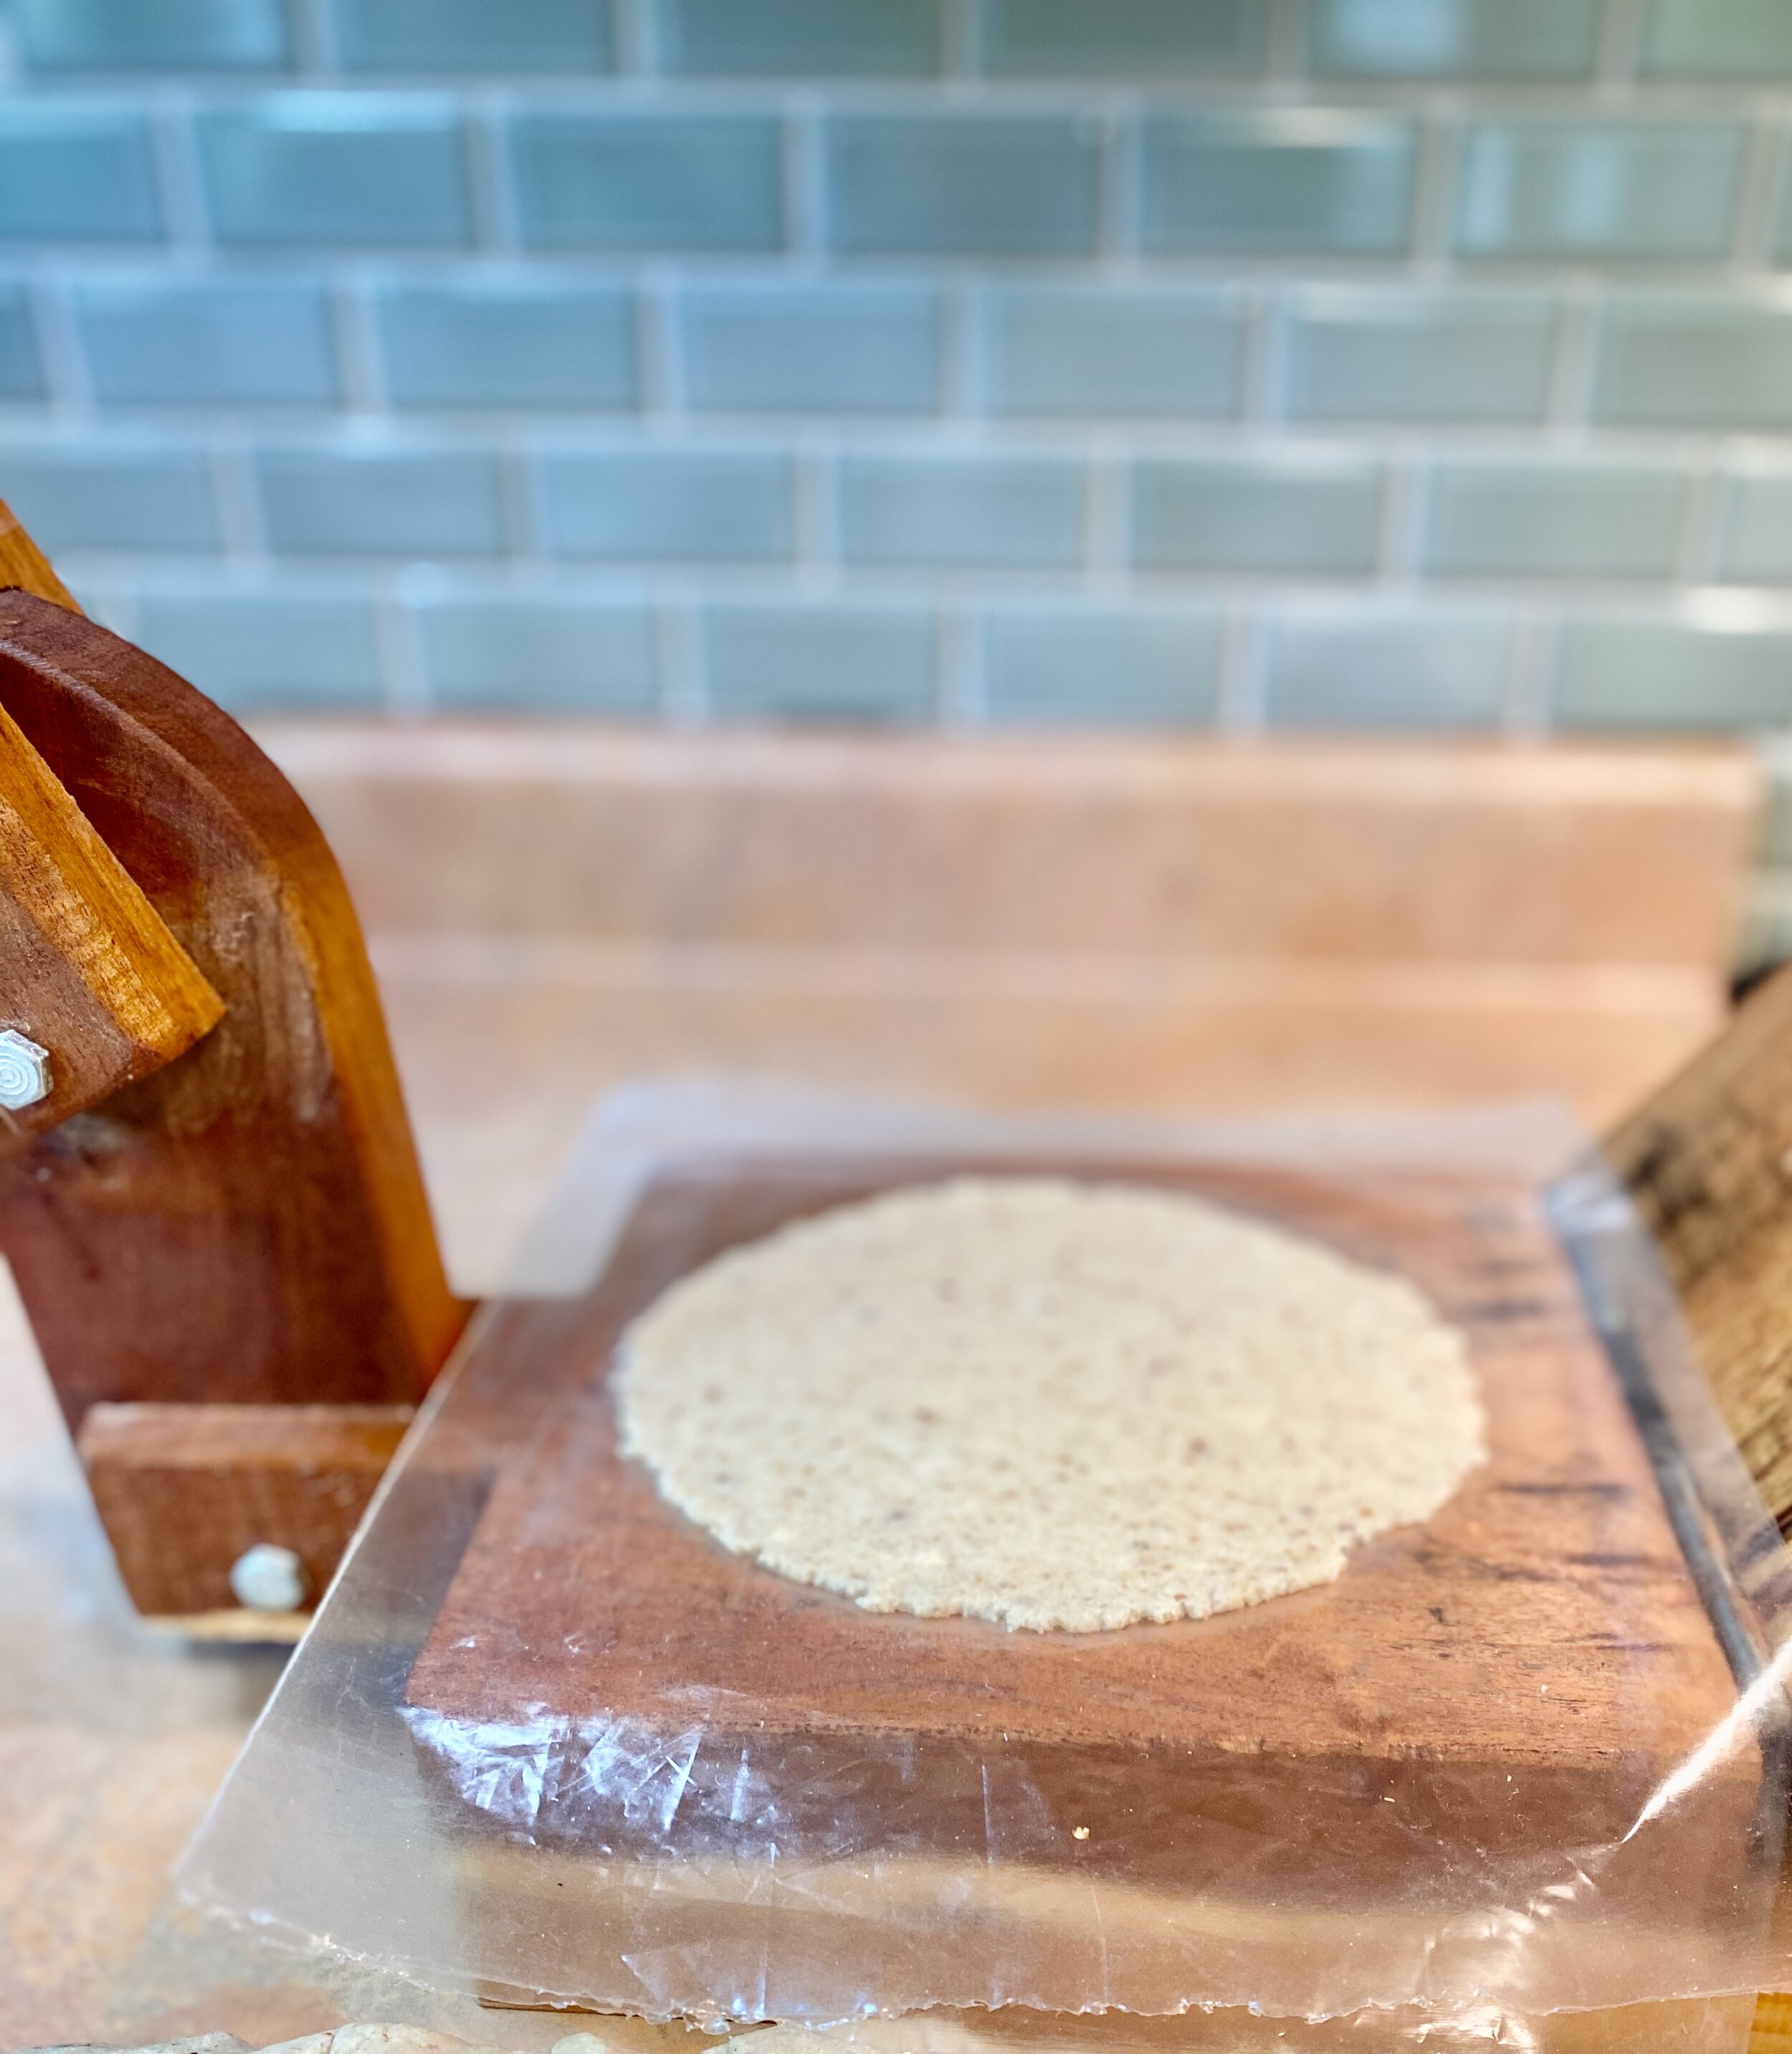
Line your tortilla press with either 2 pieces of parchment paper or a zip lock bag that you have cut in half. Place a ball in between the pieces of parchment paper or the zip lock bag. This is so you can peel off the tortillas easily and won’t stick. Press down with your tortilla press, rotate the paper or bag 180 degrees and press again to ensure you are getting a nice thin round tortilla.
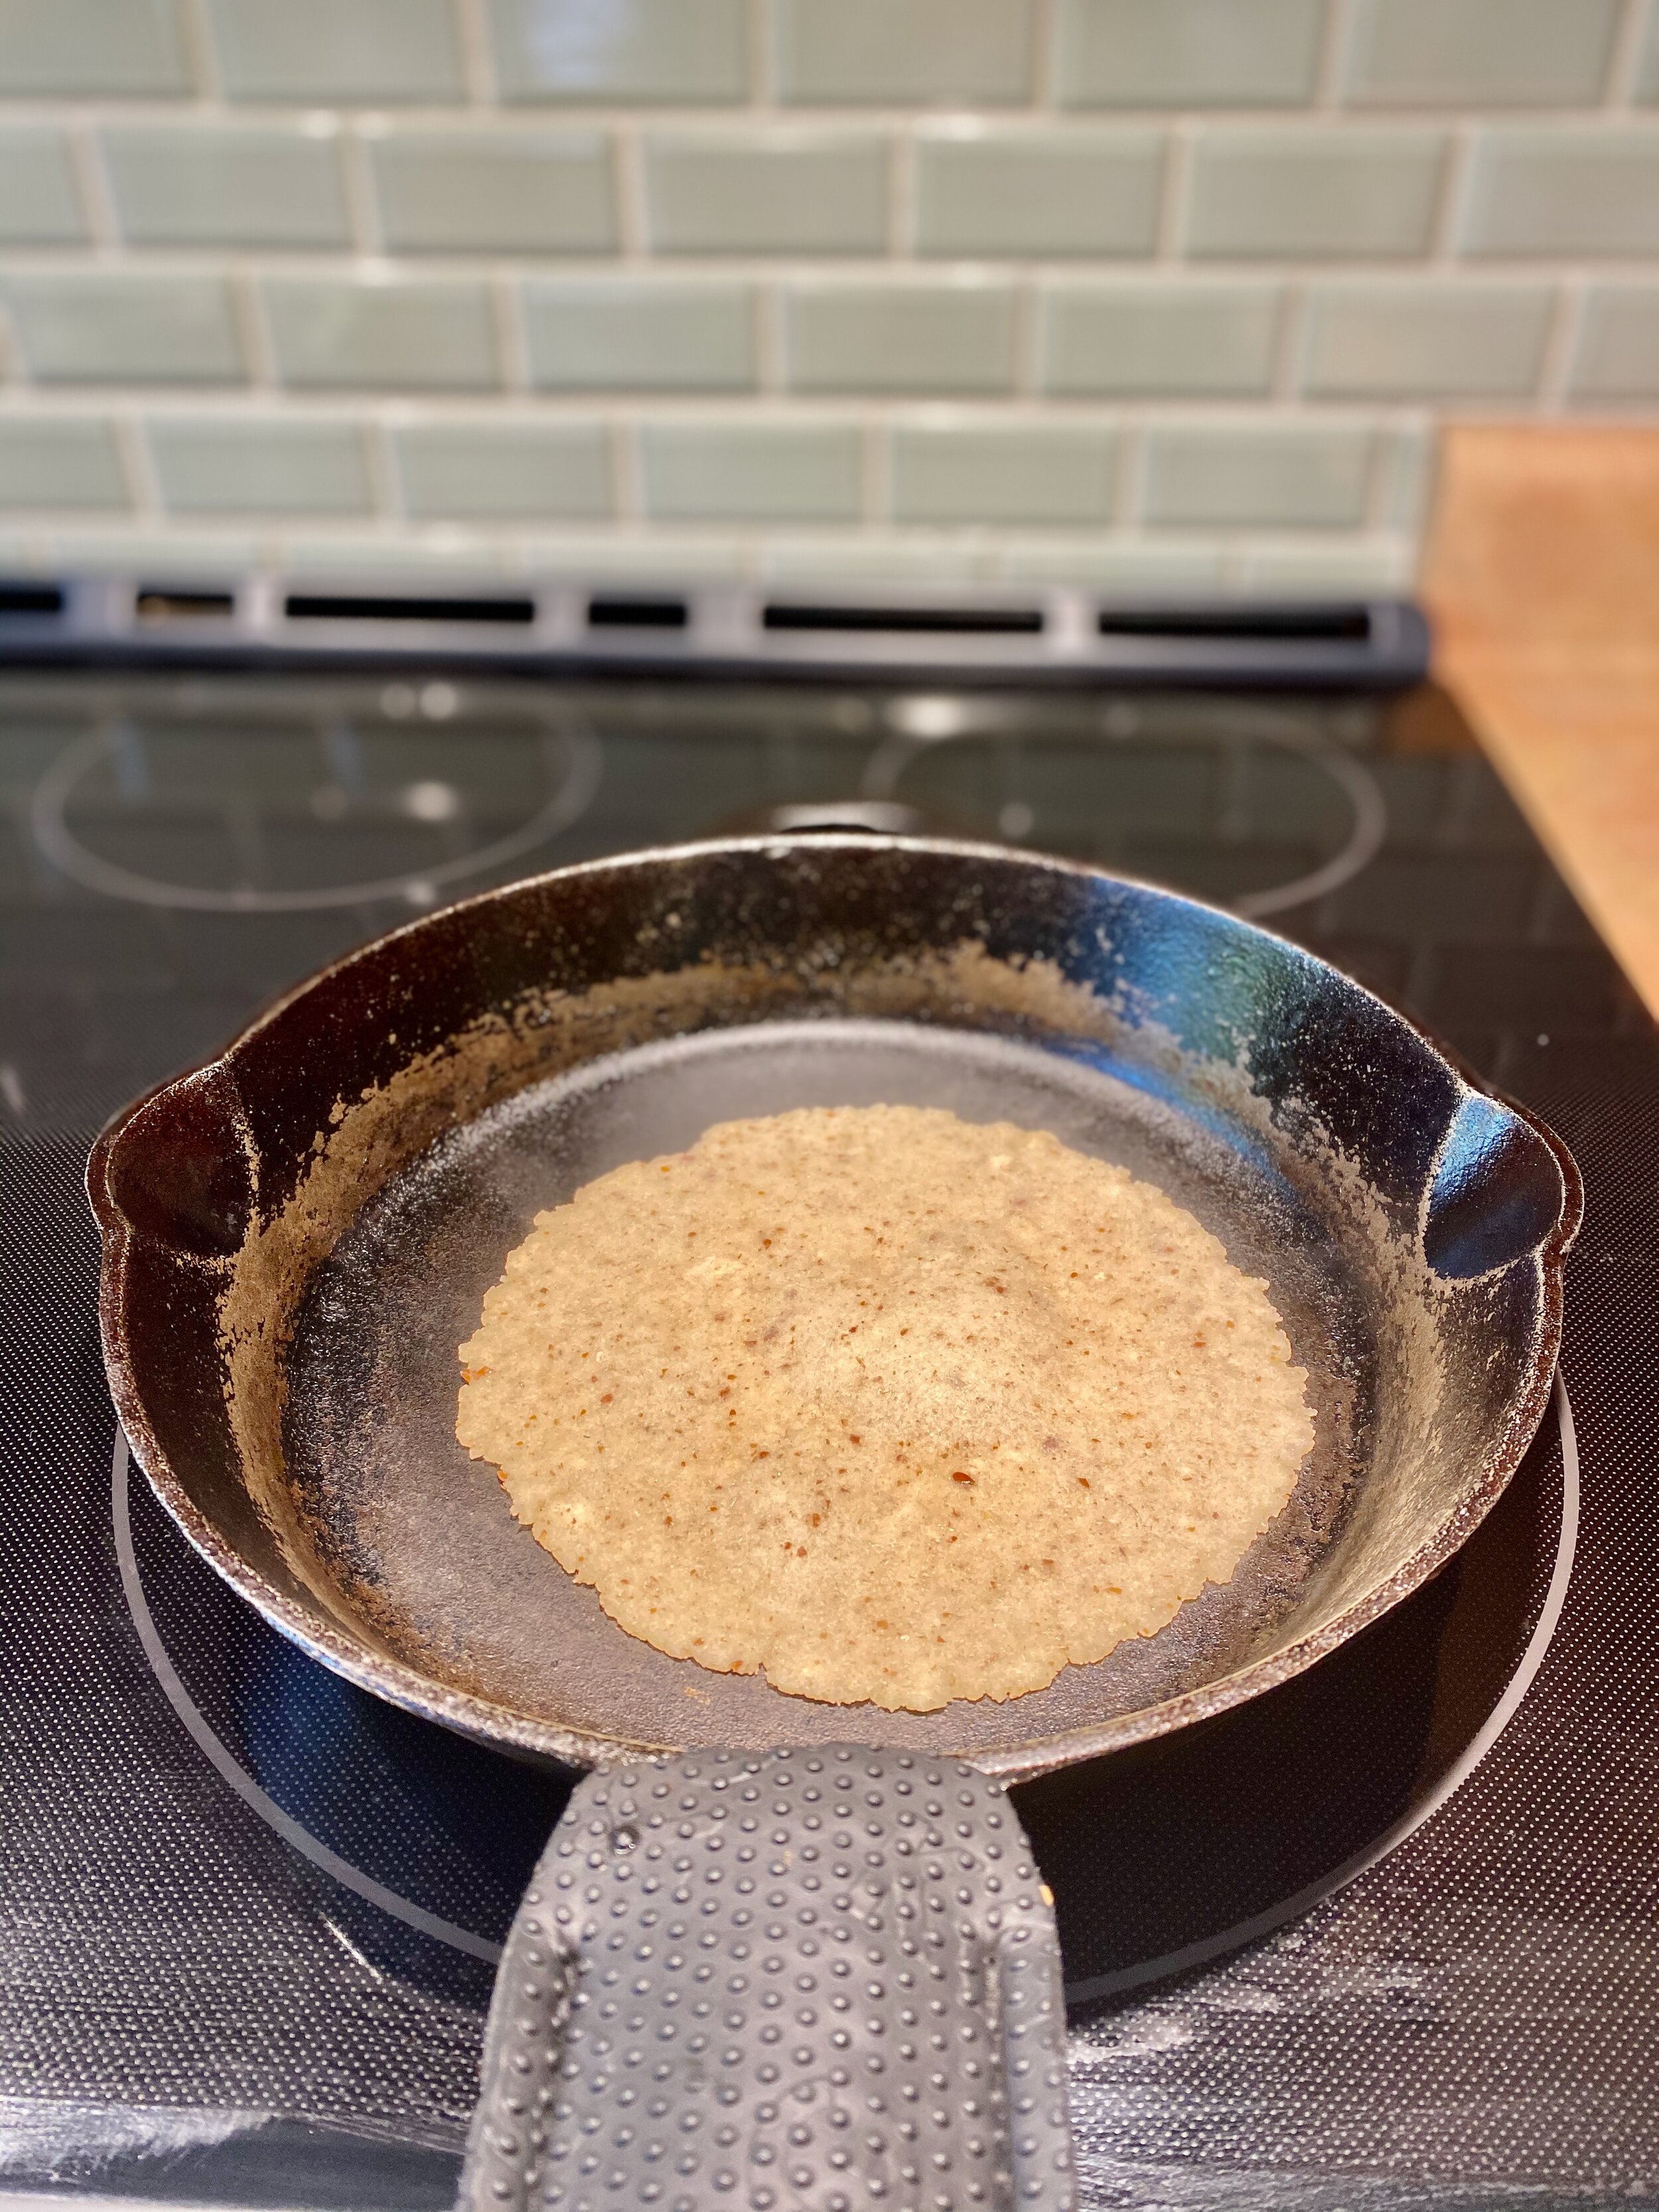
Place the pressed tortilla and paper onto the palm of your hand, remove the top side of the parchment and flip the tortilla onto your other palm and peel off the bottom piece of parchment, place it into the hot cast iron pan by gently flipping it onto its back side so you don’t have to peel it off of your hand.
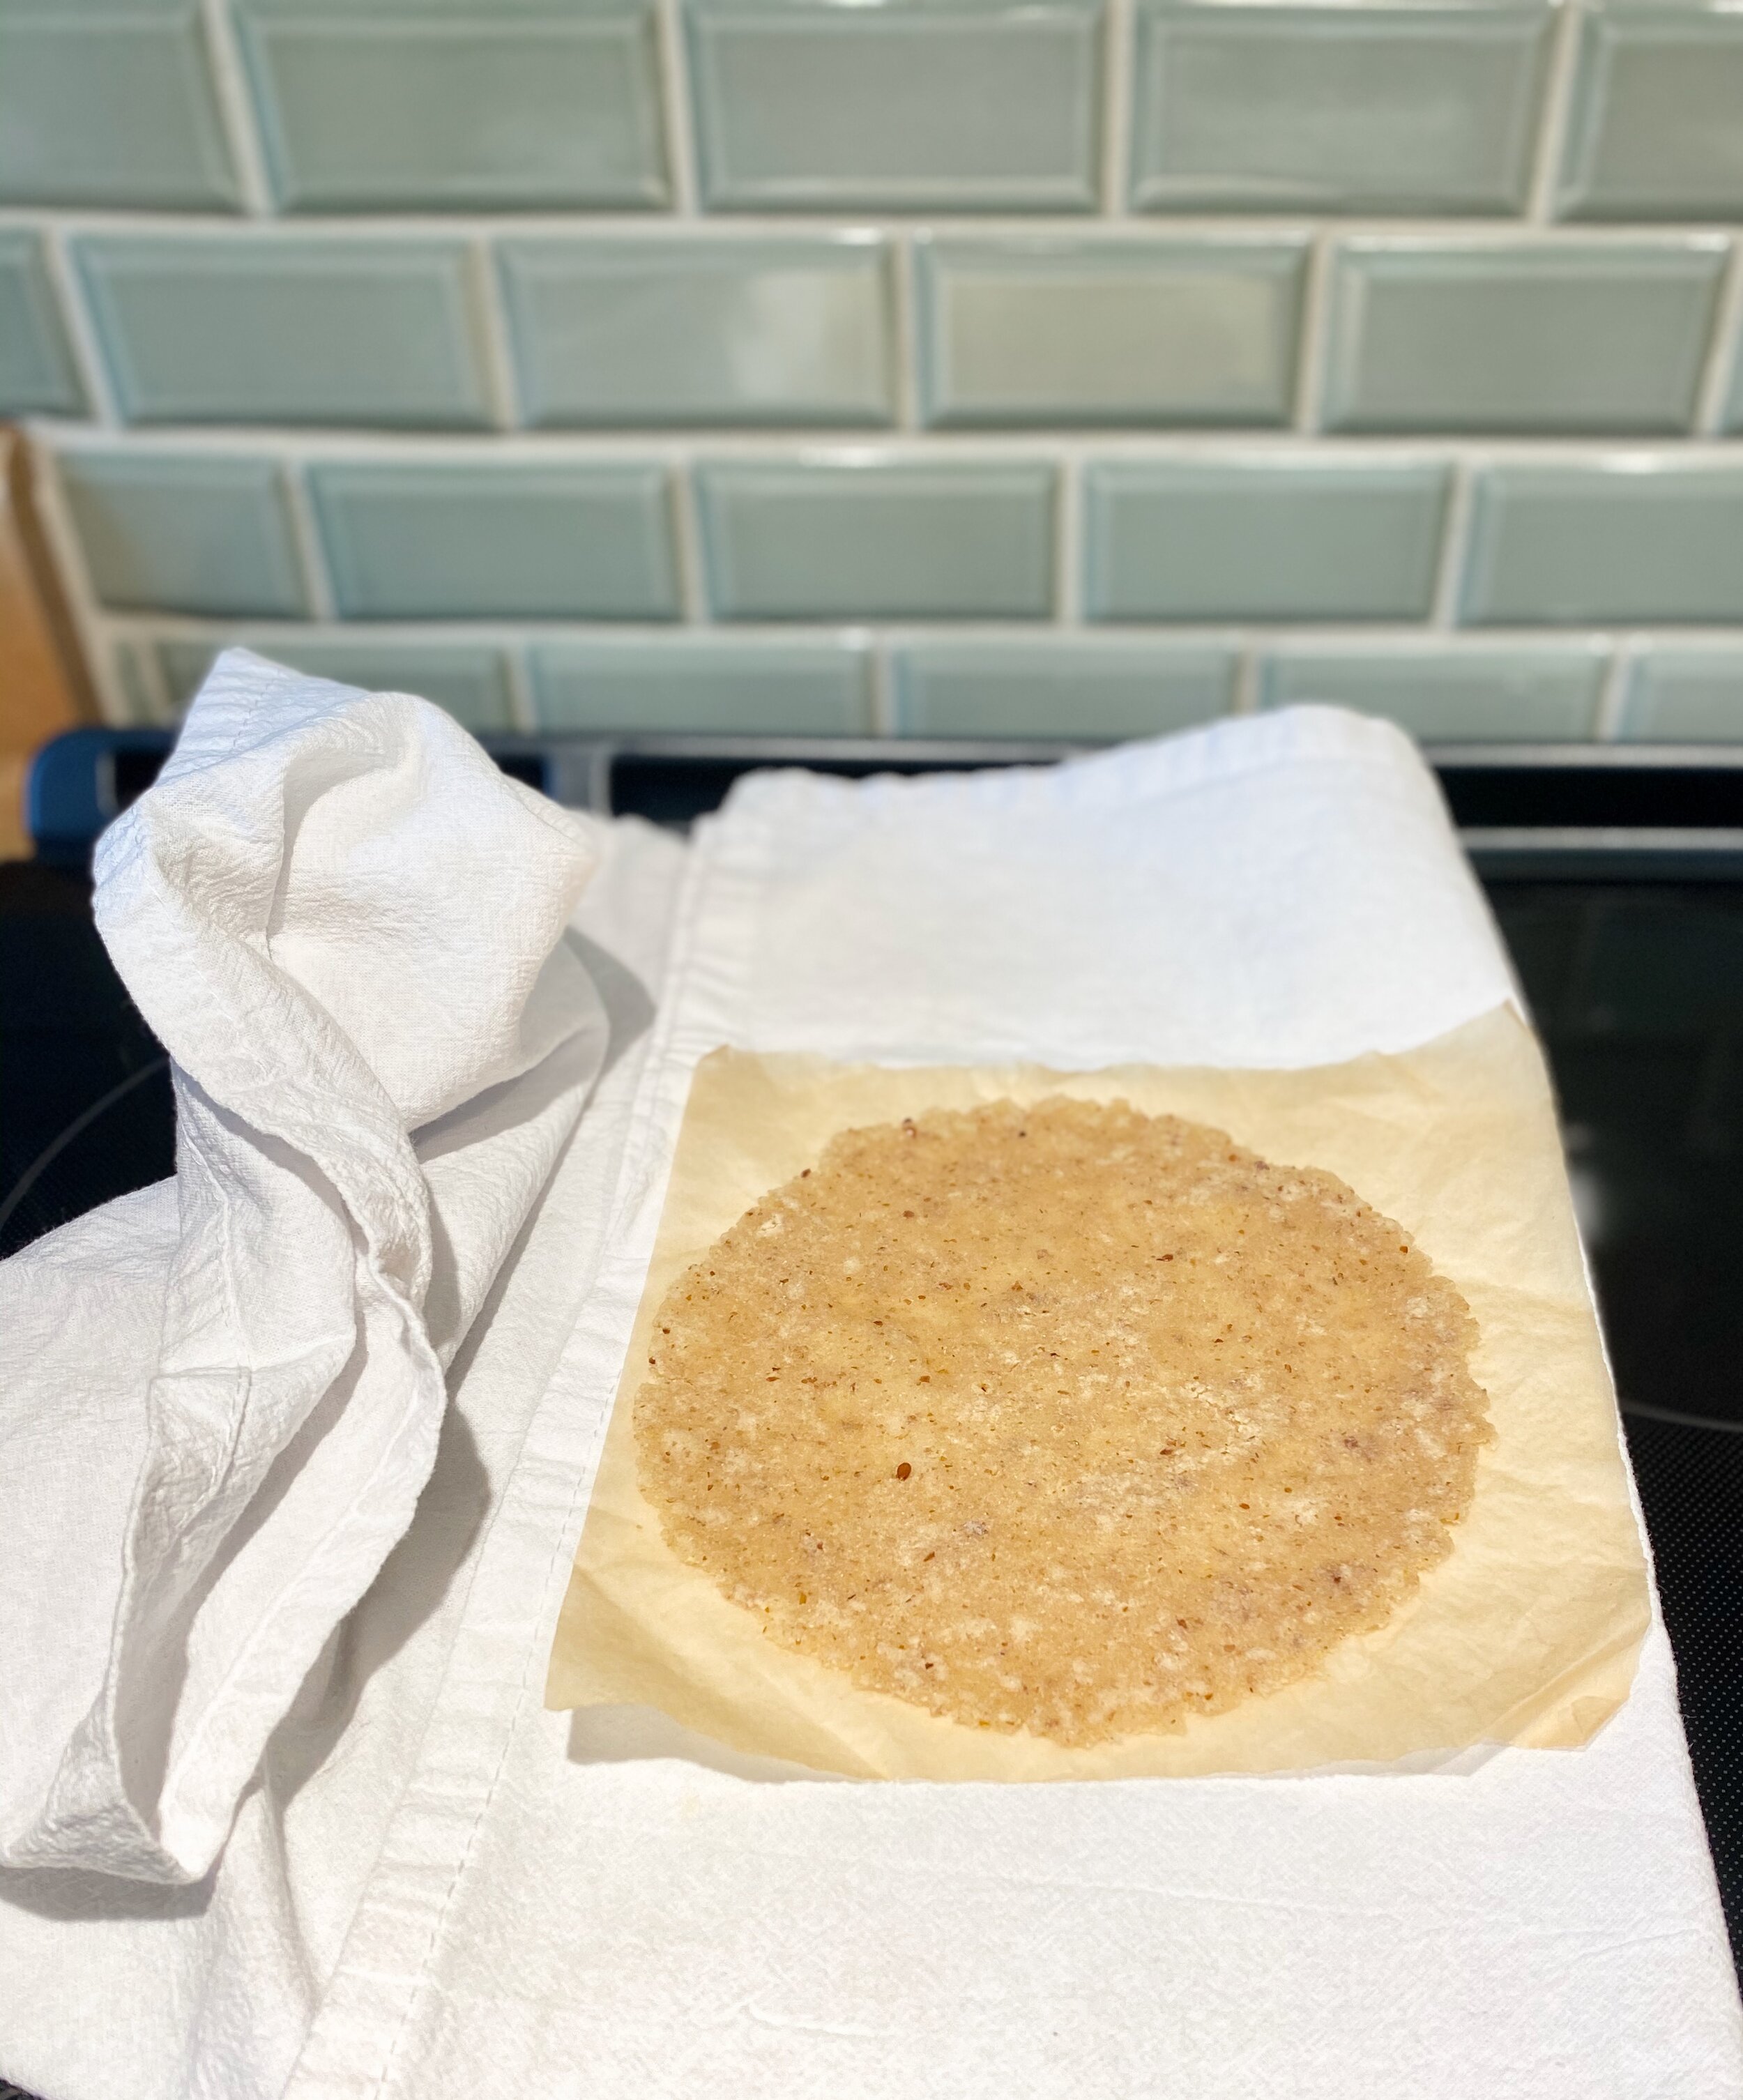
Cook on each side for about 30 seconds to one minute. Press another tortilla while one is cooking. You don’t want them to be crispy. Once the tortilla is ready, place it onto a clean and dry dish towel and cover it until the next one is done. I like to place pieces of parchment paper in between each tortilla within the dish towel so they don’t stick. By separating them individually and covering them with a dish towel will help keep them soft and moist. Serve and love me long time.
Cranberry Orange Cake
Cranberries and oranges go together like rosemary and potatoes!!! When I created this recipe it was my full intent to make scones but as the results kept turning out more like cake than a scone I had to concede that this beautiful baby was a cake by nature. The best part is that it has only 2-3 tablespoons of raw honey in it. When I added up the natural sugar from the fresh orange juice and the natural sugar from the honey it still only came out to 5-7 grams of sugar per slice depending on how many slices you choose to have. Dammmn that’s good!!!! Find me a cake that tastes this good and has a texture like a soft baby bum with this amount of sugar per slice and i’ll think about trying harder.
Wet ingredients
2 eggs (room temperature)
¼ plain yogurt (full fat) or Coconut Mylk yogurt
2 teaspoons vanilla extract
Zest of two oranges
½ cup fresh orange juice
2-3 tablespoons raw honey
Dry ingredients
2 cups almond flour
½ cup arrowroot flour or tapioca flour
¼ cup +1 tablespoon coconut flour (sifted)
1 tablespoons baking powder
1 tablespoon poppy seeds
½ cup butter (cold, shredded with a cheese grater)
¾ cup cranberries (fresh or frozen)
3 tablespoons shaved coconut
Method
Preheat the oven to 350 degrees Fahrenheit
Grate the cold butter with a cheese grater and place the butter into the freezer
In a medium bowl add all of the wet ingredients and whisk together
In another bowl add all of the dry ingredients except for the frozen butter, shaved coconut and cranberries.
Mix the dry ingredients well with a fork.
Add the frozen butter to the dry ingredients and crumble the butter into the dry ingredients with your fingers.
Add the wet ingredients to the dry and fold together.
Grease a deep dish glass 9 1/2” pie plate and place the batter into the pie plate.
Spread the batter out with your a spatula or your hands.
Sprinkle the cranberries on top and push them down slightly with your hand.
Sprinkle the shaved coconut and bake for 35-40 minutes
Note
You can substitute the arrowroot for cassava flour but eliminate the extra 1 tablespoon of coconut flour. It will be a little more dense but I switch back and forth depending on what I have.
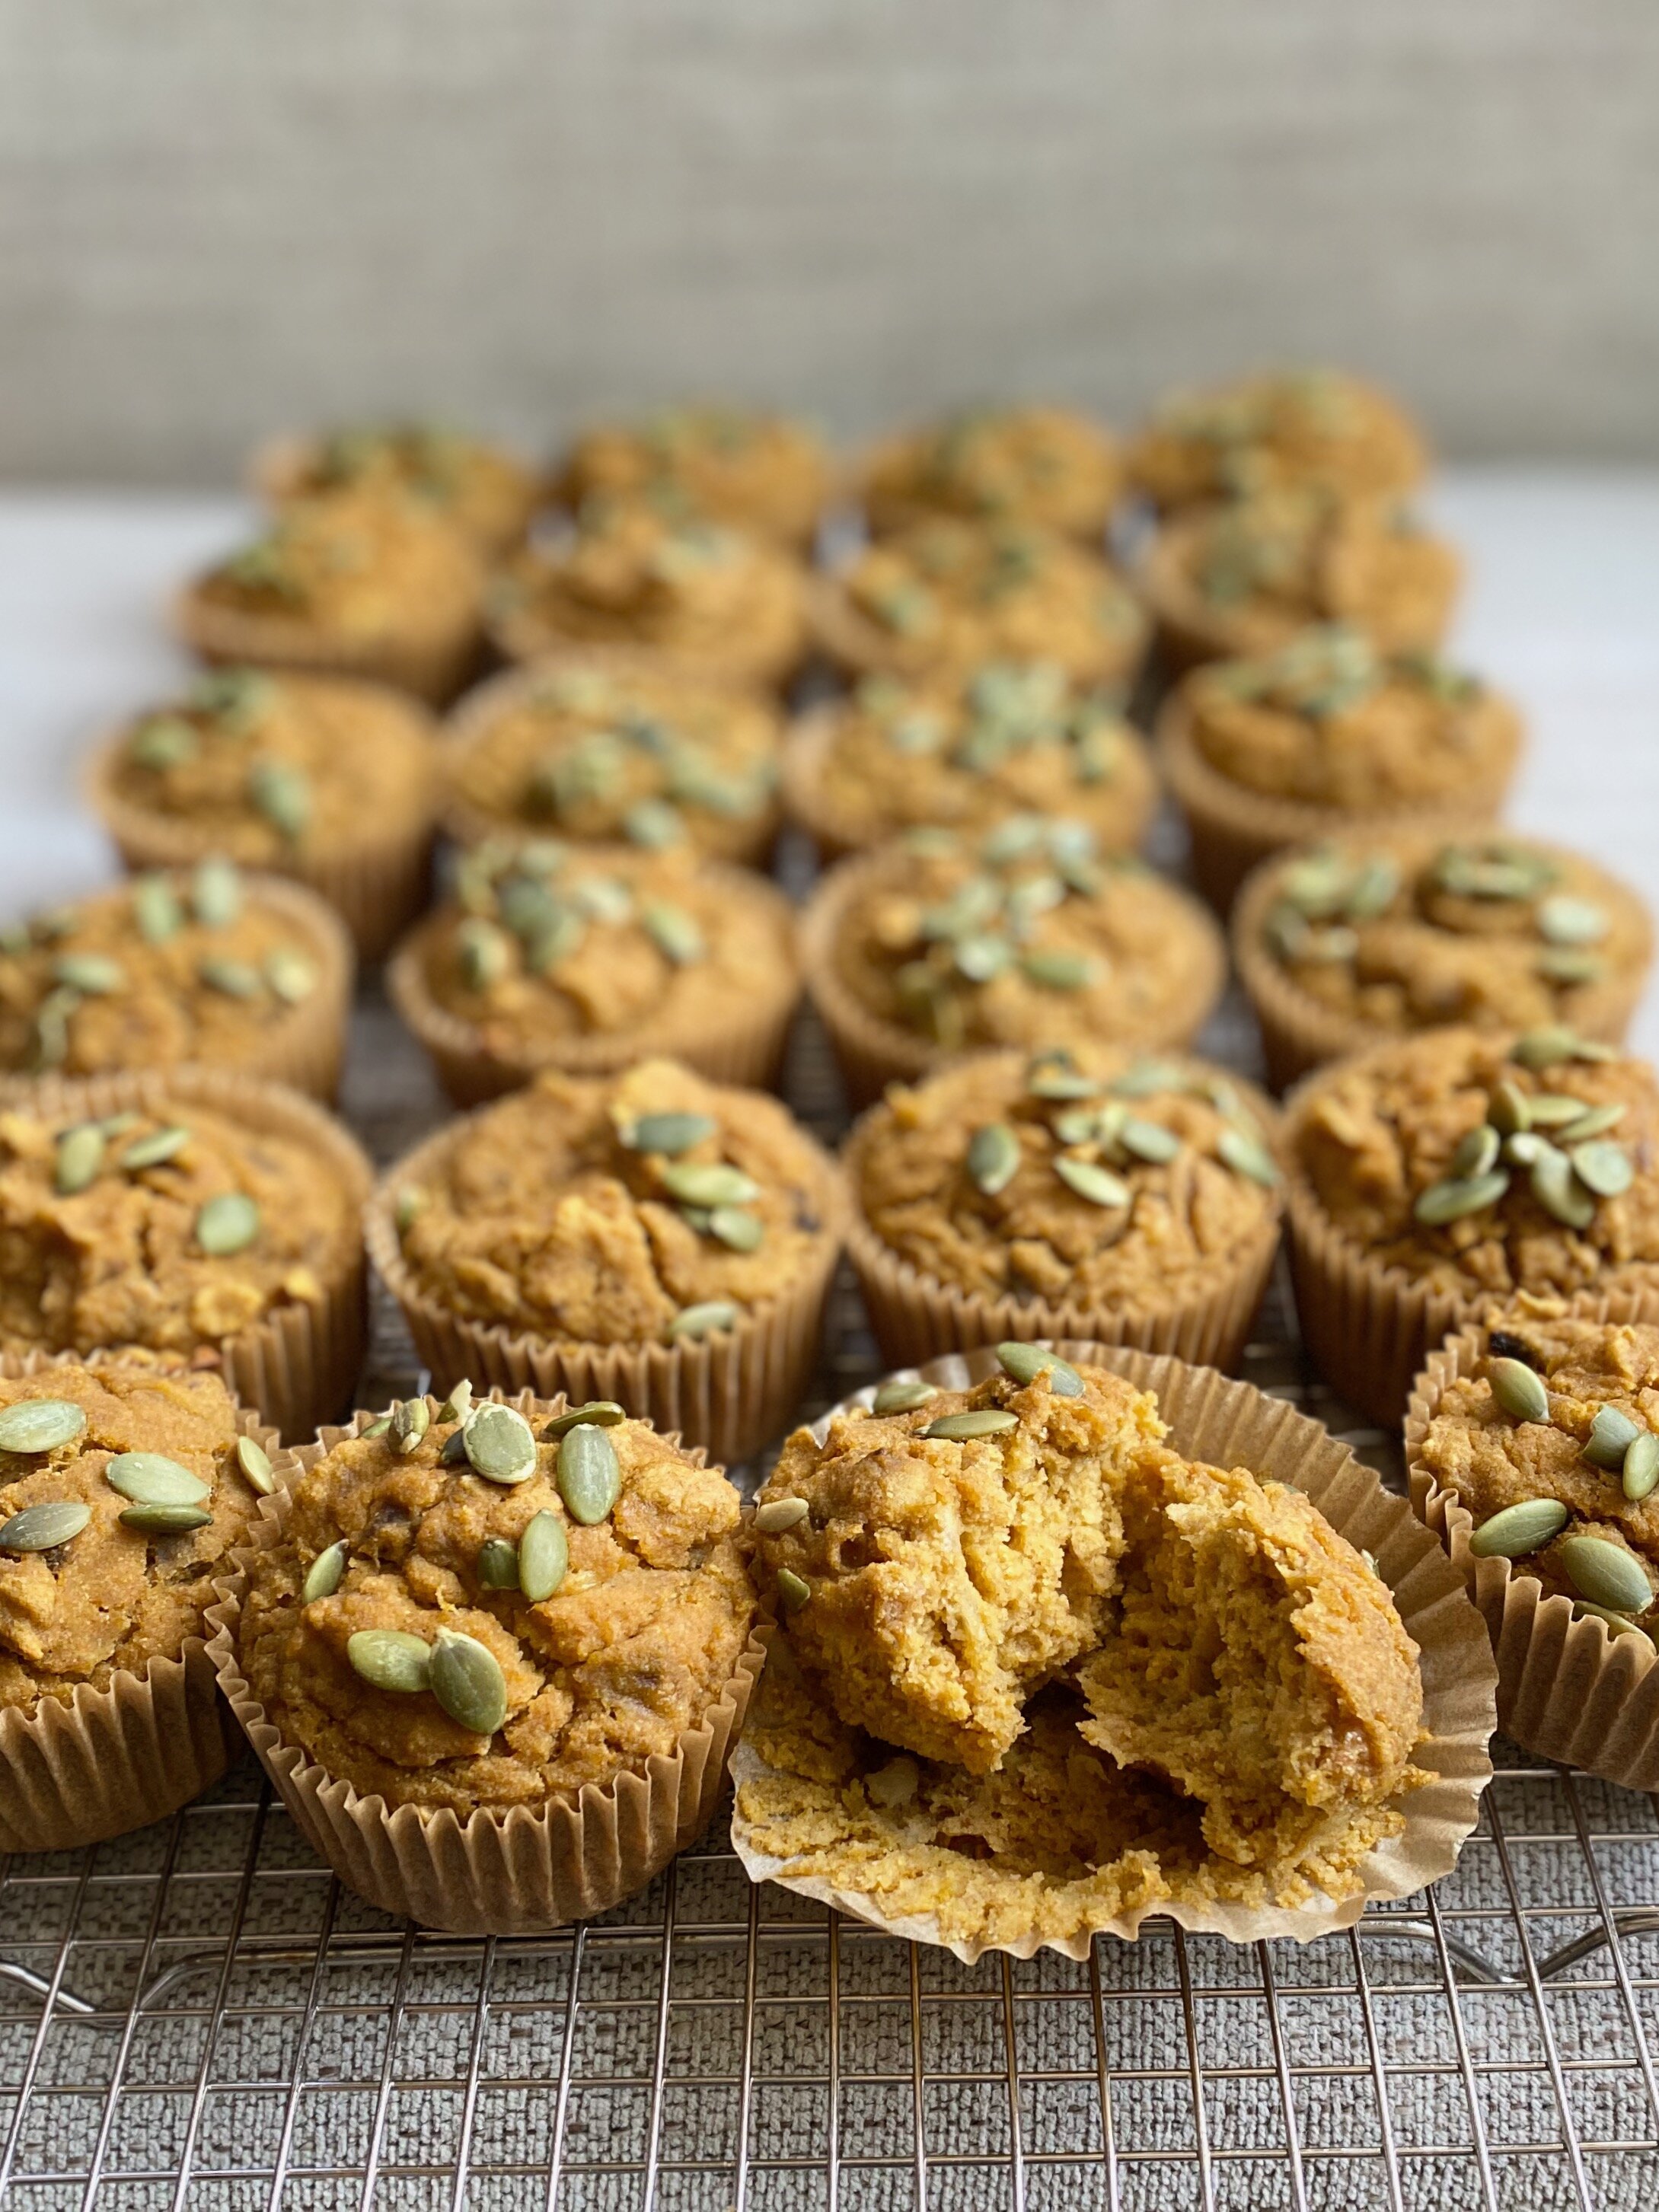
Cinnamon and Ginger Pumpkin Muffins
Ingredients
1 ½ cups banana (mashed)
1 cup canned pumpkin (puree)
1 teaspoon ginger powder
2 teaspoons cinnamon
2 tablespoons olive oil
2 teaspoons vanilla extract
2 eggs (room temperature)
¼ teaspoon salt
¼ cup tapioca flour/starch
¼ cup +2 tablespoons coconut flour
½ cup white rice flour
½ teaspoon baking soda
1 teaspoon baking powder
2 tablespoons pumpkin seeds (sprinkle before going into the oven)
Method
Preheat your oven to 350 degrees Fahrenheit. Place all of the dry ingredients in a bowl and place the wet ingredients into another. Blend the wet ingredients with a hand blender until smooth, then add the dry ingredients and combine with a spatula until the batter has come together.
Spray the muffin tin with olive oil or coconut oil or use muffin papers and separate the batter into 12 cups. Bake for 20-25 minutes
*You can freeze these babies but I highly recommend you reheat them. The soft moist consistency will come right back if you do reheat it.
Blueberry and Banana Muffins
Blueberry and banana are two of my favourite things. I original named these muffins blueberry and vanilla but for all of the banana haters out there I felt like I would have been deceiving you, so straight up, if you don’t like banana, don’t eat these beautiful babies. With that said, they do not have a strong banana flavour, the banana adds amazing moisture and depth to these babies.
Ingredients
¾ cup ripe banana (mashed)
2 eggs (room temp)
1/3 cup coconut milk (room temp)
1 teaspoon vanilla extract
1/2 teaspoon almond extract
1/2 cup coconut flour (sifted)
1/3 cup tapioca starch
1 teaspoon Ceylon cinnamon
1 teaspoon cardamom (ground)
2 teaspoons baking powder
2 tablespoons flax meal
⅛ teaspoon salt
2/3 cup fresh blueberries
Method
Preheat the oven 375 degrees F.
Combine the wet ingredients in one bowl and mix well, you can use a hand blender for this.
Combine the dry ingredients together and mix well with a spatula.
Whisk the wet ingredients into the dry (just to get rid of the lumps) then mix with a spatula until combined.
Fold in the blueberries, fill 8 muffin cups. You can sprinkle some unsweetened shredded coconut on top before baking if you would like.
Bake for 18-20 minutes
*You can use frozen blueberries but depending on the quality they will most likely turn the muffins purple but still taste amazing.
Pear and Ginger Muffins
Pear and ginger go together like honey and vanilla, no shit! I have worked on this recipe for a week straight now to get them perfectly imperfect. I’m a recovering perfectionist so I will never say anything is perfect anymore.
These beautiful soft, moist babies are gluten free (always), very low sugar (1 TBSP honey added) and they are great for the gut. The apple sauce and pears actually help feed our good gut bacteria so, BOOM!
Ingredients
⅓ cup apple sauce
¼ cup coconut milk (room temp)
¼ cup butter (melted)
1 tablespoon raw honey
1 teaspoon vanilla extract
2 eggs (room temp)
1 cup almond flour
½ cup tapioca starch
¼ cup coconut flour (sifted)
2 teaspoons baking powder
Pinch of salt
½ teaspoon allspice
2 teaspoons ginger powder
1 teaspoon cinnamon
1 cup fresh pear (diced small)
Method
Preheat oven to 375 degrees fahrenheit
Combine all of the wet ingredients in one bowl and mix well
Combine all of the dry ingredients in another bowl and combine well
Add the chopped pear to the wet ingredients and fold the mixture into the dry ingredients.
Divide the batter into 8 muffin cups and bake for 15-18 minutes
*Make sure the baking powder is fresh or else these babies won’t rise as much as they should. Do not over mix so these babies are soft, moist and perfectly imperfect.
Blueberry Cardamom Scones
Scones are usually dry and full of sugar and i’m not down with that business.
These babies have only 2 TBSP of honey or maple syrup in them, they are soft, moist enough but not too moist, grain free, gluten free and sooooo delicious.
They are super easy to make, perfect way to teach your kids (if you have some) how to make “treats” that are not loaded with sugar. Oh, highly recommended you double this baby. They freeze well too.
Ingredients
1 ½ cups almond flour (sifted)
¼ cup tapioca starch
2 teaspoons baking powder
1 tsp Ceylon cinnamon
1 tsp ground cardamom
1 cup frozen blueberries
¼ cup cold butter (grated then freeze for 5 minutes)
1-2 TBSP honey or maple syrup
¼ cup coconut milk (room temp)
1 tsp vanilla extract
1 tsp almond extract
1 egg (room temp)
2 TBSP sliced almonds (for topping)
Method
Preheat oven 375F. Shred the cold butter with a cheese grater and put it in the freezer while you gather the rest of the ingredients.
Combine the dry ingredients into a bowl and mix until well combined.
In another bowl combine the wet ingredients and mix together well.
Add the frozen grated butter to the dry mixture to coat the frozen butter
Add the frozen blueberries and the wet mixture to your dry ingredients and fold together. Do not over mix.
Butter or spray a 9x1 ½ inch round foil dish and add your mixture to the dish. I actually use leftover foil rounds from frozen gluten free pie shells. Smart eh?
Once you have spread the delicious mixture into the dish, use a pastry cutter and divide the dough into 6 by pushing straight down onto the pastry cutter. This is to make an imprint for each separated scones and it will be easier to divide once they are cooked. Sprinkle the slivered almonds over the top and bake for 30-35 minutes.
Homemade Almond Mylk
Homemade Organic Almond Mylk
2 cups whole organic almonds
6 cups water
1 organic vanilla bean or 2 teaspoons organic vanilla extract
1-2 tablespoons raw honey (optional)
Method:
Soak the organic almonds overnight, or at least 8 hours.
Drain and rinse the almonds, place half of the almonds in the blender with 3 cups of the fresh water. Cover and process on the highest setting for about 1 minute. If you have a nut milk bag, pour the liquid into the bag and strain. I don't have a nut milk bag so I use cheesecloth. Place a large piece of layered cheesecloth into a fine sieve and place it over a bowl. Pour the almond milk through the cheesecloth. Gather the ends of the cheesecloth and, using your hands, squeeze out as much liquid from the almonds as possible. Repeat the process with the other half of the almonds and water.
Dry the leftover almond meal on a baking sheet in a 250 degree Fahrenheit oven, for about 40 to 60 min. Make sure the almond flour is completely dry before storing. After the almond flour is dry, I like to run it through the food processor to make it nice and fine. Note: I would probably refrigerate the almond flour after it has cooled and is dried. Great for gluten free baking and smoothies! Here is my gluten free apple and cinnamon muffin recipe made with leftover almond flour. I like to mix half of my almond flour with half of the store bought almond flour. It gives the muffins a nice fluffy texture.
This is my favorite part; flavor your almond milk with the delicious insides of the vanilla bean and the raw local honey. Use a whisk to separate all of those amazing little vanilla beans in the almond mylk, and to incorporate the raw honey. Pour the fresh organic almond mylk into a glass storage container and refrigerate for up to 5 days.
Cinnamon and Ginger Pumpkin Loaf
This baby is soft and moist and filled with flavour! Gluten free does not need to mean tasteless and dry, these days I am learning how to combine different gluten free flours together and learning how they take part in the end product. The other gem to this recipe is that is has NO added sugar and it’s so easy to make, I hope you enjoy. Revised July 2021
1 ½ cups banana (mashed)
1 cup canned pumpkin (puree)
1 teaspoon ginger powder
2 teaspoons cinnamon
2 tablespoons olive oil
2 teaspoons vanilla extract
2 eggs (room temperature)
¼ teaspoon salt
¼ cup tapioca flour/starch
1/2 cup coconut flour (sifted)
½ cup white rice flour
½ teaspoon baking soda
1 teaspoon baking powder
2 tablespoons pumpkin seeds (sprinkle before going into the oven)
Method
Preheat your oven to 350 degrees Fahrenheit. Place all of your dry ingredients in a bowl and place your wet ingredients into another. Blend the wet ingredients with a hand blender until smooth, then add your dry ingredients and combine with a spatula until the batter has come together. Spray a loaf pan with olive oil or coconut oil, place the batter into the pan, sprinkle the pumpkin seeds on top of the loaf and bake for 50-60 minutes or until a toothpick test comes out clean.
*You can freeze this loaf but I highly recommend you reheat it by the slice or the whole loaf before eating it. The soft moist consistency will come right back if you do reheat it.
Gluten Free Pumpkin and Vanilla Muffins
These beautiful moist muffins freeze super well, so make two batches and freeze em for later. *Note I omitted the oil in my second batch while creating these and I really didn't notice a difference, the virgin coconut oil is beneficial to your body, but if you do not want to add it, it's not necessary. The pumpkin and mashed banana keep it real moist!
These are not low carb but they are gluten free.
1 ¼ cup brown rice flour
¼ cup arrowroot flour
1 teaspoon true cinnamon (ceylon cinnamon)
½ teaspoon nutmeg
½ teaspoon sea salt
1 tablespoon baking powder (aluminum free)
1 teaspoon baking soda (aluminum free)
1 cup canned organic pumpkin
½ cup almond milk
1 egg
2 teaspoons vanilla extract or the caviar from 1 vanilla bean
2 ripe bananas (mashed)
2-3 tablespoons organic virgin coconut oil * See note above
¼ cup raw, local honey
Method
Combine wet ingredients in one bowl with bananas and pumpkin and combine dry ingredients in another bowl. Add the wet ingredients to the bowl of dry ingredients and stir together just until combined. Bake 350 degrees Fahrenheit for 20-25 minutes. Check with a wooden skewer, with all gluten free muffins, they are best reheated after the first day.
Homemade Kimchi
Homemade kimchi is easy and fun to make and the best part is that it keeps your gut friendly bacteria strong to fight off dis-ease in the body and keep your immune system healthy. Traditional kimchi usually has a "rice porridge" as part of the seasoning paste and shrimp paste, but I wanted to make this grain free so I did without the rice porridge and shrimp paste, because I couldn't find good quality shrimp paste.
*Note- when cutting your veggies up, think of how you would want them to fit into your mouth.
1 cup carrots (sliced thin)
2 cups daikon radish (peeled, sliced into half-moons or matchsticks)
1 kg napa cabbage (sliced into medium sized pieces)
Sea salt
2 green onions (add at the end)
Seasoning:
1/2 cup Korean red pepper powder
1 tablespoon fish sauce
1 clove garlic
1/4 cup onion
1-2 teaspoons fresh ginger
2-3 teaspons raw organic sugar
Sometimes I add 1 Thai chill cause I like it spicy!
Method
Cut and wash your vegetables.
In a large bowl add your napa cabbage and sprinkle about 1 1/2 to 2 tablespoons of sea salt over the cabbage and lightly rub it into every piece of cabbage. Allow it to sit for about 45 minutes to an hour (until the cabbage softens but still has a crisp to it)
In another bowl add the daikon and carrots and toss them with 1 teaspoon sea salt and do the same process as above but only leave them for about 25 minutes.
While you are waiting for the vegetables to soften, make your seasoning mixture; I like to add all of the seasoning ingredients to a food processor with the small bowl attachment and blend it all together.
*Note- It will be a thick like paste. If you do not have a food processor be sure to mince your garlic and ginger and grate your onion then mix well in a small bowl with everything else.
Rince your carrot/daikon well (like 2-3 times) under cool water, squeeze out excess water and add to a large bowl. Do the same with the cabbage once it is ready.
Combine the veggies, green onions and paste, put on some rubber gloves (highly recommend) and begin to lightly rub the vegetables with the paste until a little liquid starts to form.
You may think it isn't enough paste, but trust me, when they start to ferment they release liquid and begin to make a wonderful sauce.
Add your beautiful kimchi to mason jars, being sure to pack down the kimchi as much as possible in order to get out as much liquid as possible (this may take a while). Leave some room at the top of the jar and try to have some of the liquid covering the top. Cover the jar with a loose fitting lid/ finger tight. Write the date on the jars with a sticky note and allow it to sit on your counter for 2-4 days. Then add them to the fridge and begin enjoying the deliciousness.
Bon Appetit!
Raw Cashew Dip
2 cups raw unsalted cashews (soaked in water for 3-4 hours)
2 teaspoons Sriracha hot sauce
1 1/2 tablespoon fresh lemon juice
1 teaspoon ground fennel
1 teaspoon ground cumin
1 teaspoon sea salt
2 teaspoon ground coriander
2 tablespoons nutritional yeast
½ tablespoon garlic powder
1 tablespoon onion powder
3/4 cup filtered water
Method:
Soak the raw cashews in water for 3-4 hours.
Drain the cashews and add them to a food processor with the lemon juice and water, process until smooth and creamy.
Add the rest of your ingredients except for the fresh parsley.
Blend until everything is combined well.
Add the cashew dip to a large bowl and fold in the fresh parsley.
*Note: You can open up one probiotic capsule and add the powder to the raw cashews while they are soaking. This will add a tangy flavour to you cashew dip.
Cook Outside the Box
Instead of adding the herbs and spices above, you could make your own version.
Try fresh chives and garlic, lemon zest and tarragon or chipotle and lime.
This dip is also a great base for vegan pasta. Just blend the cashews, water and lemon; then add nutritional yeast and garlic powder. Dilute the dip a little with some organic soy milk or organic rice milk to make the consistency of a creamy sauce. Add some cooked pasta and steamed veggies and you got yourself a delicious vegan, gluten free, dairy free dinner.
I love to eat this dip with my gluten free, dairy free lentil burgers. I also like it with crackers and fresh vegetables. The possibilities are endless with this dip, think outside the box; sandwich spread? Ummm, yes.
Bon Appétit!
Gluten Free Apple and Cinnamon Muffins
2 cups almond flour
1/4 cup unsweetened, shredded organic coconut
1/4 teaspoon sea salt
1 teaspoon baking soda (aluminum free)
1 teaspoon cinnamon
1/2 teaspoon allspice OR 1/4 teaspoon nutmeg
1/4 cup organic coconut oil or olive oil
4 organic eggs
2 teaspoons vanilla extract
2 tablespoons raw, local honey (ommit for low carb)
2/3 cup shredded apple with the peel
Method
Note- Remove the honey and you got yourself a low carb version. Not strict low carb, but low carb.
In a large bowl, add all of the dry ingredients and mix together.
In another large bowl, add all of the wet ingredients including the shredded apple ; mix together with a fork until a little frothy.
Pour the dry ingredients into the wet ingredients and mix together well.
Divide the batter into 12 muffins and bake at 325 degrees Fahrenheit for 15-20 minutes. These gluten free muffins will last for 5-6 days in the refrigerator.
Refrigeration is recommended.
Homemade Ranch Dip
I love fresh vegetables and dip as a mid morning or afternoon snack. This ranch dip a a clean whole food version of those processed packaged ranch dips that you can buy at the grocery store.The organic sour cream that I use as the base in this recipe provides your body with a great amount of good fat, protein, B-12 and calcium. The fresh parsley in this ranch dip contains antioxidants, vitamin K and folate. So you see, by making this simple homemade ranch dip you are giving your body all of those amazing nutrients that I mentioned above. They will help keep your mind and body balanced and nourished!
250g or 1 cup organic sour cream ( I like to look for a local, organic sour cream)
2 teaspoons red wine vinegar
2 teaspoons garlic powder
1/4 cup fresh chives (practice your knife skills here!)
1/4 cup fresh Italian parsley
1/4 cup fresh dill (chopped)
3 teaspoons raw, local honey
1/4 teaspoon sea salt
Pinch of cayenne ( I like spice!)
Fresh ground pepper to taste
Method
Note- Omit the honey and you've got yourself a low carb dip!
Chop your fresh herbs
Combine everything in a bowl and mix well
Serve with a whole bunch of delicious freshly cut raw vegetables
Cook Outside the Box
Use the dressing as a dip for fresh vegetables
Make a grill chicken and fresh salad pita wrap with ranch dressing
Make a cold pasta salad with fresh vegetables and toss it with ranch dressing
Bon Appétit!
Gluten Free Cheddar Cheese Crackers
2 cups Organic old cheddar cheese
1/4 cup organic butter (room temperature)
1/2 cup almond flour
1/2 cup GF all-purpose flour
6 dried figs
1/2 tsp sea salt
1/2- 3/4 tsp cayenne pepper
Method
These are not low carb but my gluten free audience love them!
In a food processor, pulse the dried figs until little pieces appear
Add the butter and shredded cheese and pulse together
Add the rest of the ingredients and pulse until the dough turns into little balls and everything is well combined.
Turn the dough over on a cutting board and form a large ball.
Separate the ball into two and begin to roll one of the balls into a long cylinder, about 5" long and about 1 1/2” tall.
Wrap each cylinder in plastic wrap and allow the dough to chill for about 2 hours.
At this point you could freeze the dough for later use. Just remember to defrost and slice the crackers before baking.
After the dough has chilled, cut the cylinders into 1/4” slices (you should get about 40-45 in each cylinder) and place onto a parchment paper lined baking sheet
Yields: 80-90 yummy crackers
Bake these yummy, crispy crackers for 6-8 minutes, until you smell their deliciousness and that they look cozy and golden brown.
Bake 350 degrees Fahrenheit convection for 6-8 minutes (until golden brown and you smell the cheesy goodness!) * It will take a little longer in a regular oven at 350 degrees Fahrenheit, maybe 10-12 minutes.
Cook Outside the Box
Serve these crackers with my Tomato Chilli Jam and sometimes some double smoked bacon. Oh yaaaaaaa!
Bon Appétit!
Spicy Kale Chips
Everyone seems to have their favourite kale chip recipe these days. What bothers me about a lot of the kale chip recipes out there, is that they use the wrong oil and cook the kale at an unnecessary high heat. So my recipe cooks the delicate kale at 300 degrees Fahrenheit and is flavoured with delicious organic, virgin coconut oil and spices.
5 cups raw, curly kale
2 tablespoon organic, virgin coconut oil
1/2 teaspoon garlic powder
1/4 teaspoon salt
1/4 teaspoon pepper
1/4 teaspoon cayenne pepper (or 1/8 tsp)
Method
Wash and dry your kale, break the kale up into similar small pieces and add them to a large bowl. Season your kale with the melted coconut oil, salt, pepper, cayenne and garlic powder. Massage the kale until all of the pieces look like they have been fairly seasoned with the yummy spices.
Add the kale to a large baking sheet lined with parchment paper and make sure not to crowd the baking sheet. You want every delicious piece of kale to be crispy!
Bake the kale at 300 degrees Fahrenheit for 15-17 minutes. You do not want your kale to turn brown, the purpose of cooking at such a low heat is to retain as many nutrients as possible.
Voila! Once they are crispy and beautifully green, they are ready.
Cook Outside the Box
Crush the kale chips into homemade popcorn, it's ridiculous
Add some nutritional yeast to the spice mixture in the recipe to give it a "cheesy like" flavor
Blueberry and Banana Smoothie
1 big handful fresh spinach or fresh parsley
1/2 fresh or frozen banana
1/2 cup fresh or frozen blueberries
1/4 cup mango frozen or fresh
1/2 cup coconut water *You can omit this and just add more almond milk
3/4 cup unsweetened plain almond milk
1 teaspoon coconut oil
1/2 scoop Whey protein isolate powder (I am using Precision All Natural brand, vanilla flavour. I only use 1/2 scoop which is about 18-20 grams of protein.)
1 teaspoons pure vanilla extract or almond extract
Method
Note- This is not low carb but still delicious and nutritious.
Buy a whole bunch of blueberries, mangoes and bananas and portion 1/2 cup of blueberries, 1/4 cup mango and 1/2 a banana into small freezer bags.
Done, frozen and ready to go in the morning! In a glass jar with a hand blender or regular blender add all of your ingredients and blend until smooth and creamy.
Pure vanilla extract is the flavour of love! I like my smoothies really cold so I add 2-3 ice cubes after I have blended my smoothie.
*For more information on Whey protein isolate
