The Best Marinara Sauce

I never thought I would crave veggie marinara sauce until I created this baby. The secret is the port and/or balsamic vinegar. Choosing a good quality tomato base is key I use a good quality marinara sauce base ( I like ones that have a bright red colour to them with very little ingredients) and you will achieve 5 star ratings from the fam!

Ingredients
1060ml plain marinara sauce
4 tablespoons balsamic vinegar
1 tablespoon garlic (minced)
1 ½  cups onion (diced small)
1 cup carrot (diced small)
3 cups mushrooms (sliced)
3 cups eggplant (peeled, diced small)*Don’t use really seedy part
2 ½ cups cauliflower (chopped small)
1 cup red pepper
1 teaspoon fennel seed
½ teaspoon cinnamon
¼ cup olive oil
1 teaspoon salt
1 teaspoon pepper
1 teaspoon chili flakes
½ cup Port (not necessary but super delish!)

Method
If you do not want to chop all of the veggies by hand, you can use a food processor to chop all of the ingredients  separately, except for the eggplant, which needs to be cut by hand. Be sure to PULSE the ingredients in order to get the right texture. 

Heat the olive oil in a large pot and add the garlic and onion and sauté until onions are translucent. Add the rest of the veggies and sauté until veggies begin to release their water and soften a bit. Add the remainder of the ingredients along with the Port if you are using it. Simmer with the lid on for about 30 to 40 minutes. Remove from the stove and stir in 2-3 more tablespoons of olive oil, season if needed.

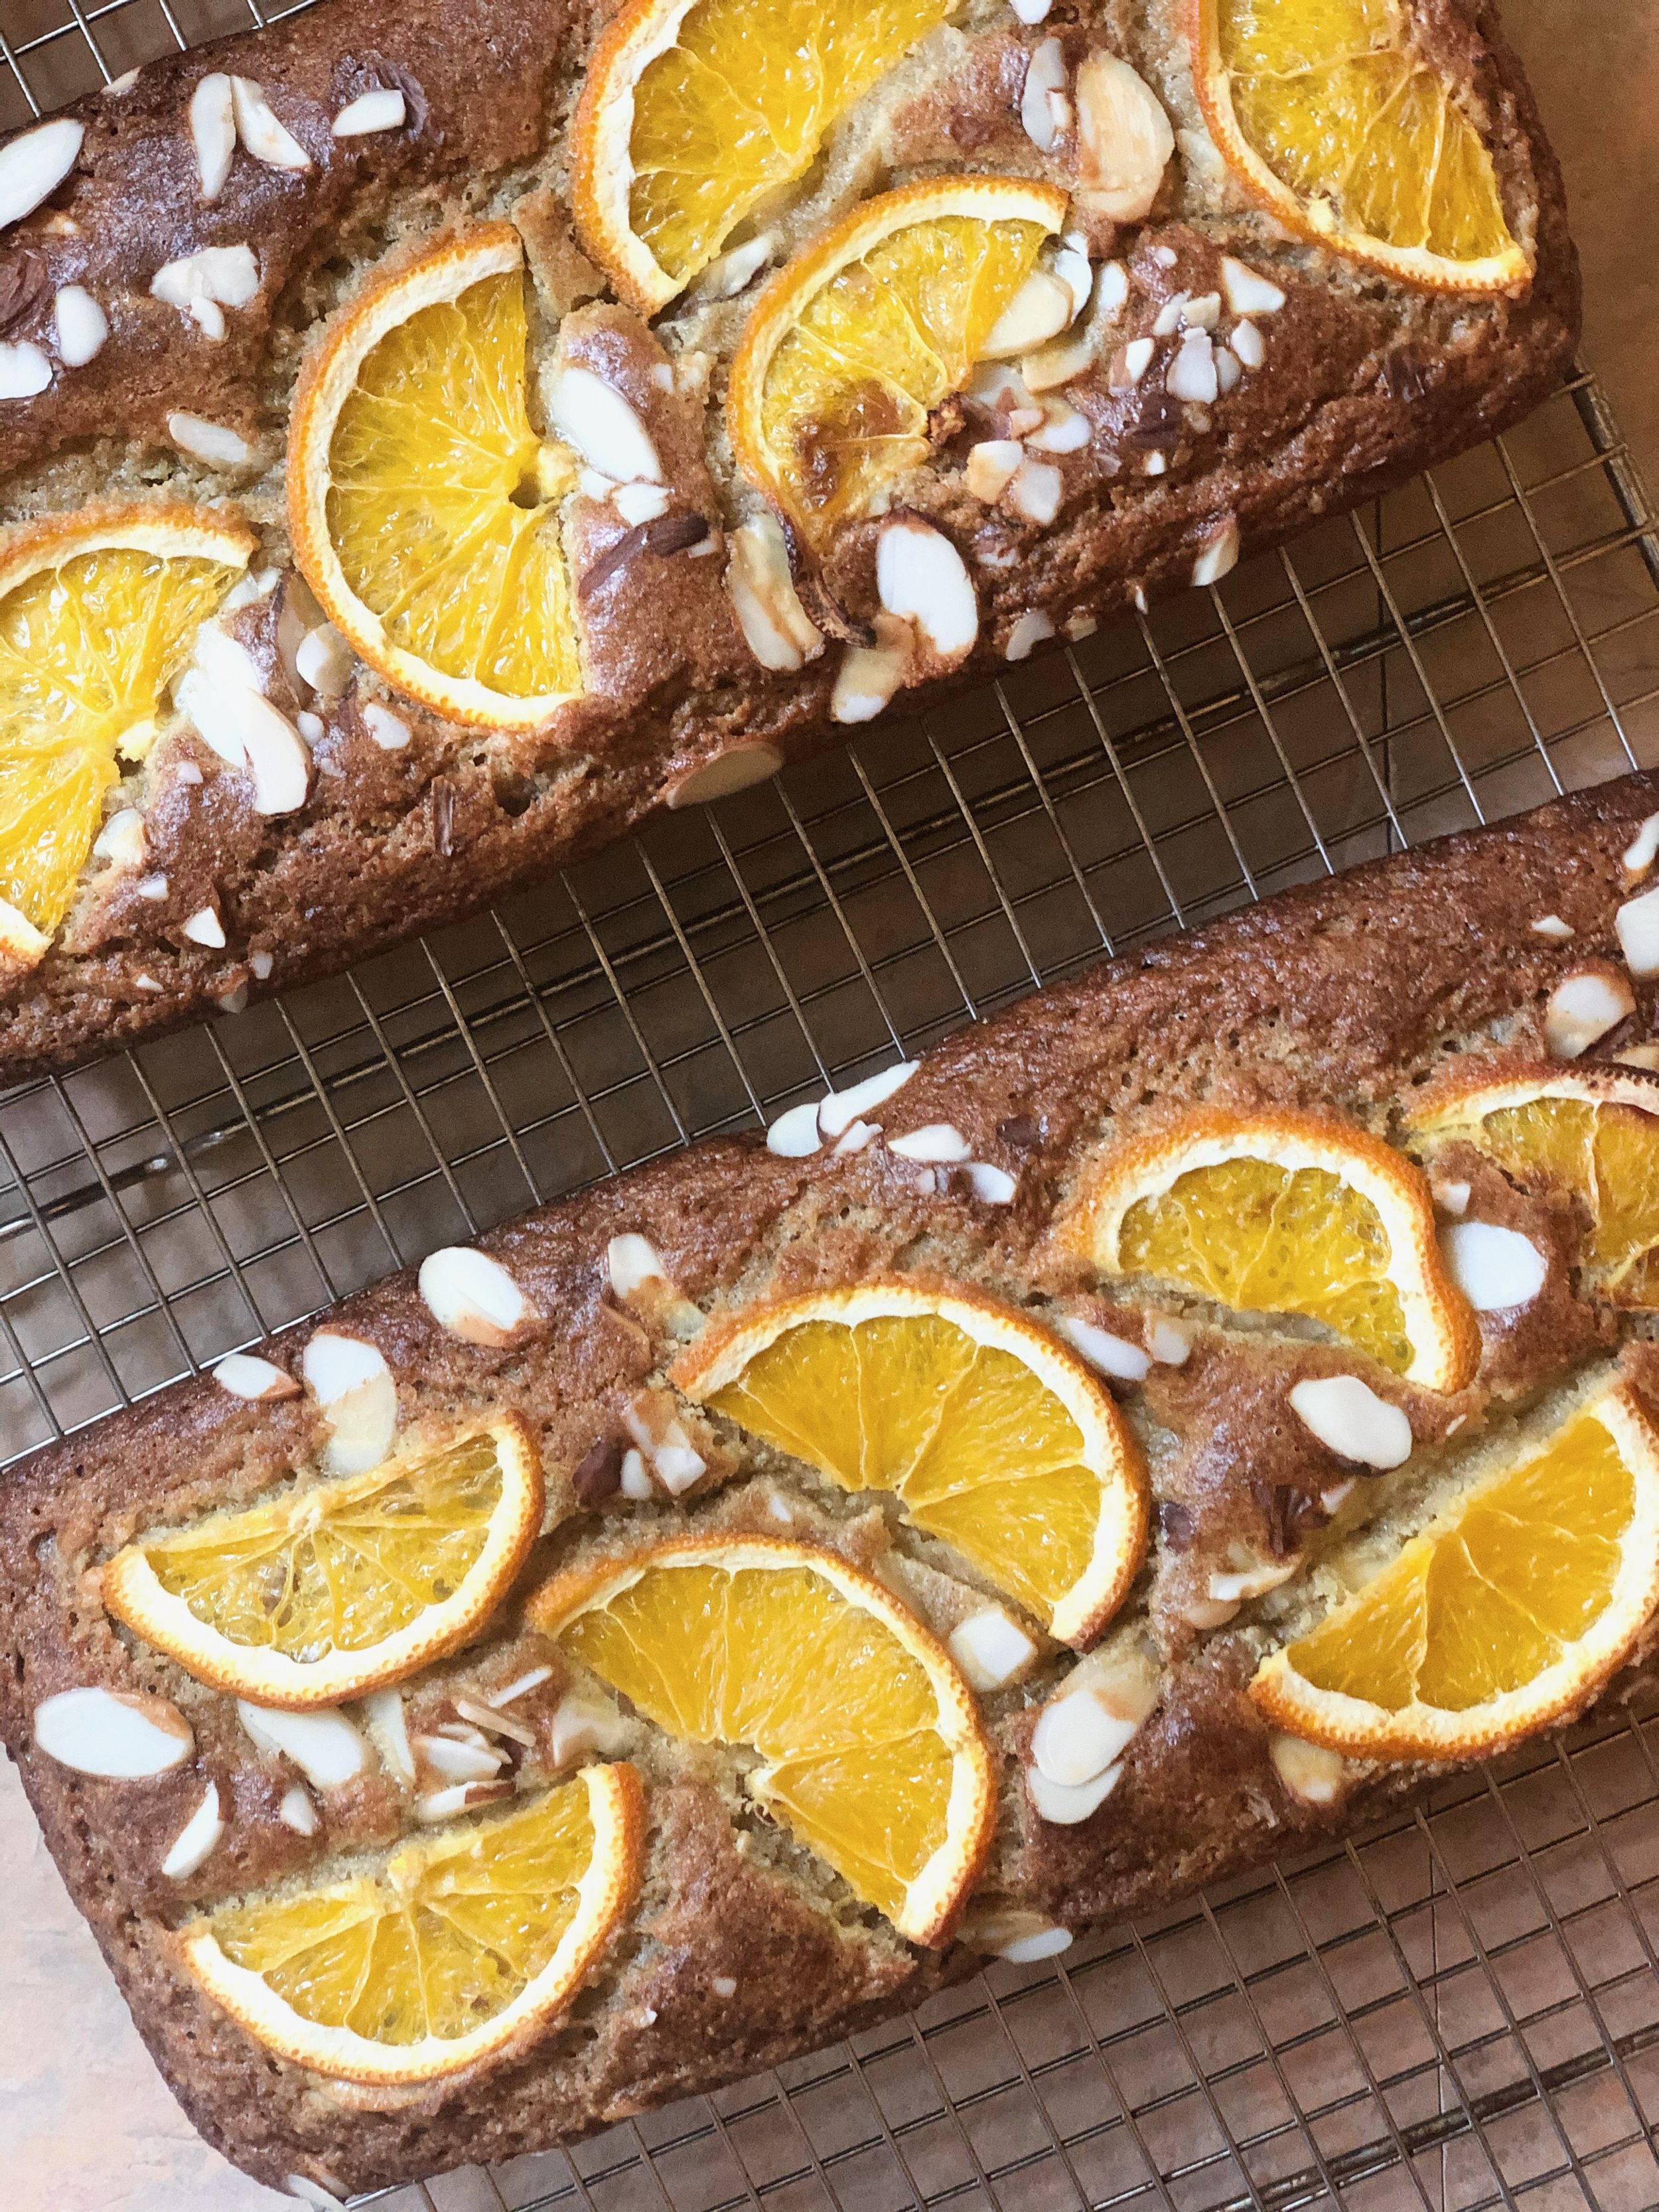
Orange Poppy Seed Bread

I am obsessed with this super soft, moist, gluten free orange poppyseed cake. I also turn this baby into a lemon poppyseed loaf and use honey instead of maple syrup, it’s a subtle change but the honey goes very well with the lemon. You could add an additional 1/2 teaspoon of orange extract to this bread for even more orange flavour.

Ingredients
⅓ cup fresh orange juice
¼ cup maple syrup
⅓ cup ghee or butter (melted)
½ cup plain coconut base yoghourt (room temp)
4 eggs (room temp)
1 teaspoon Vanilla extract
⅓ cup tapioca flour
1 ½ cups almond flour
¼ cup coconut flour
2 teaspoons baking powder
2 tablespoons poppy seeds

Method
Combine the wet ingredients into a medium size bowl and mix well.
In another bowl combine the dry ingredients and mix well.
Combine the wet into the dry and mix together.

Add a piece of parchment paper to the bottom of a loaf pan so that it helps it release easily once it's cooked. Butter the sides of the loaf pan and place the batter into the pan. At this point, you could place very thin slices of orange sections on top of the bread but it is not necessary. Bake at 350 fahrenheit for 35-40 minutes.
Allow to cool, enjoy!!!

Raspberry Muffins

These soft and moist raspberry muffins have a cake-like texture that will knock yer socks off. These gluten free, dairy free babies are easy to make and should be slightly warmed after the first day to bring back that memorable texture. Sometimes I like to make these a double or triple berry muffin by adding blueberries and blackberries to the raspberries. If you are allergic to nuts, simply remove the almond extract and slivered almonds from the recipe.

Yield 8 muffins
Ingredients
3 eggs (room temp)
⅔ cup coconut mylk (room temp)
¼ cup *mild  olive oil or melted butter
2 tablespoons raw honey
2 teaspoons vanilla extract
1 teaspoon almonds extract
⅔ cup coconut flour (sifted)
⅓ cup tapioca flour
2 tablespoons brown flax meal
2 teaspoons baking powder
¼ teaspoon salt
¾ cup raspberries
2 tablespoons slivered almonds (for the top)

Method
Set aside the raspberries and slivered almonds
Combine the wet ingredients together and mix with a fork
Add the dry ingredients to a large bowl and stir with a spatula
Add the wet ingredients to the dry and whisk together, the batter will thicken from the coconut flour. Fold in the raspberries
Fill greased or paper-lined muffin cups about two thirds full ( 8 muffin in total), sprinkle the slivered almonds on top of each muffin  and bake at 350 degrees fahrenheit for 18-20 minutes.

*Mild olive oil can still be from organic extra virgin QUALITY oil. When I say mild I just mean do not use your best strong flavoured, green looking olive oil.

Raspberry_Muffins_2.jpeg

Creamy Cashew Dill Spread

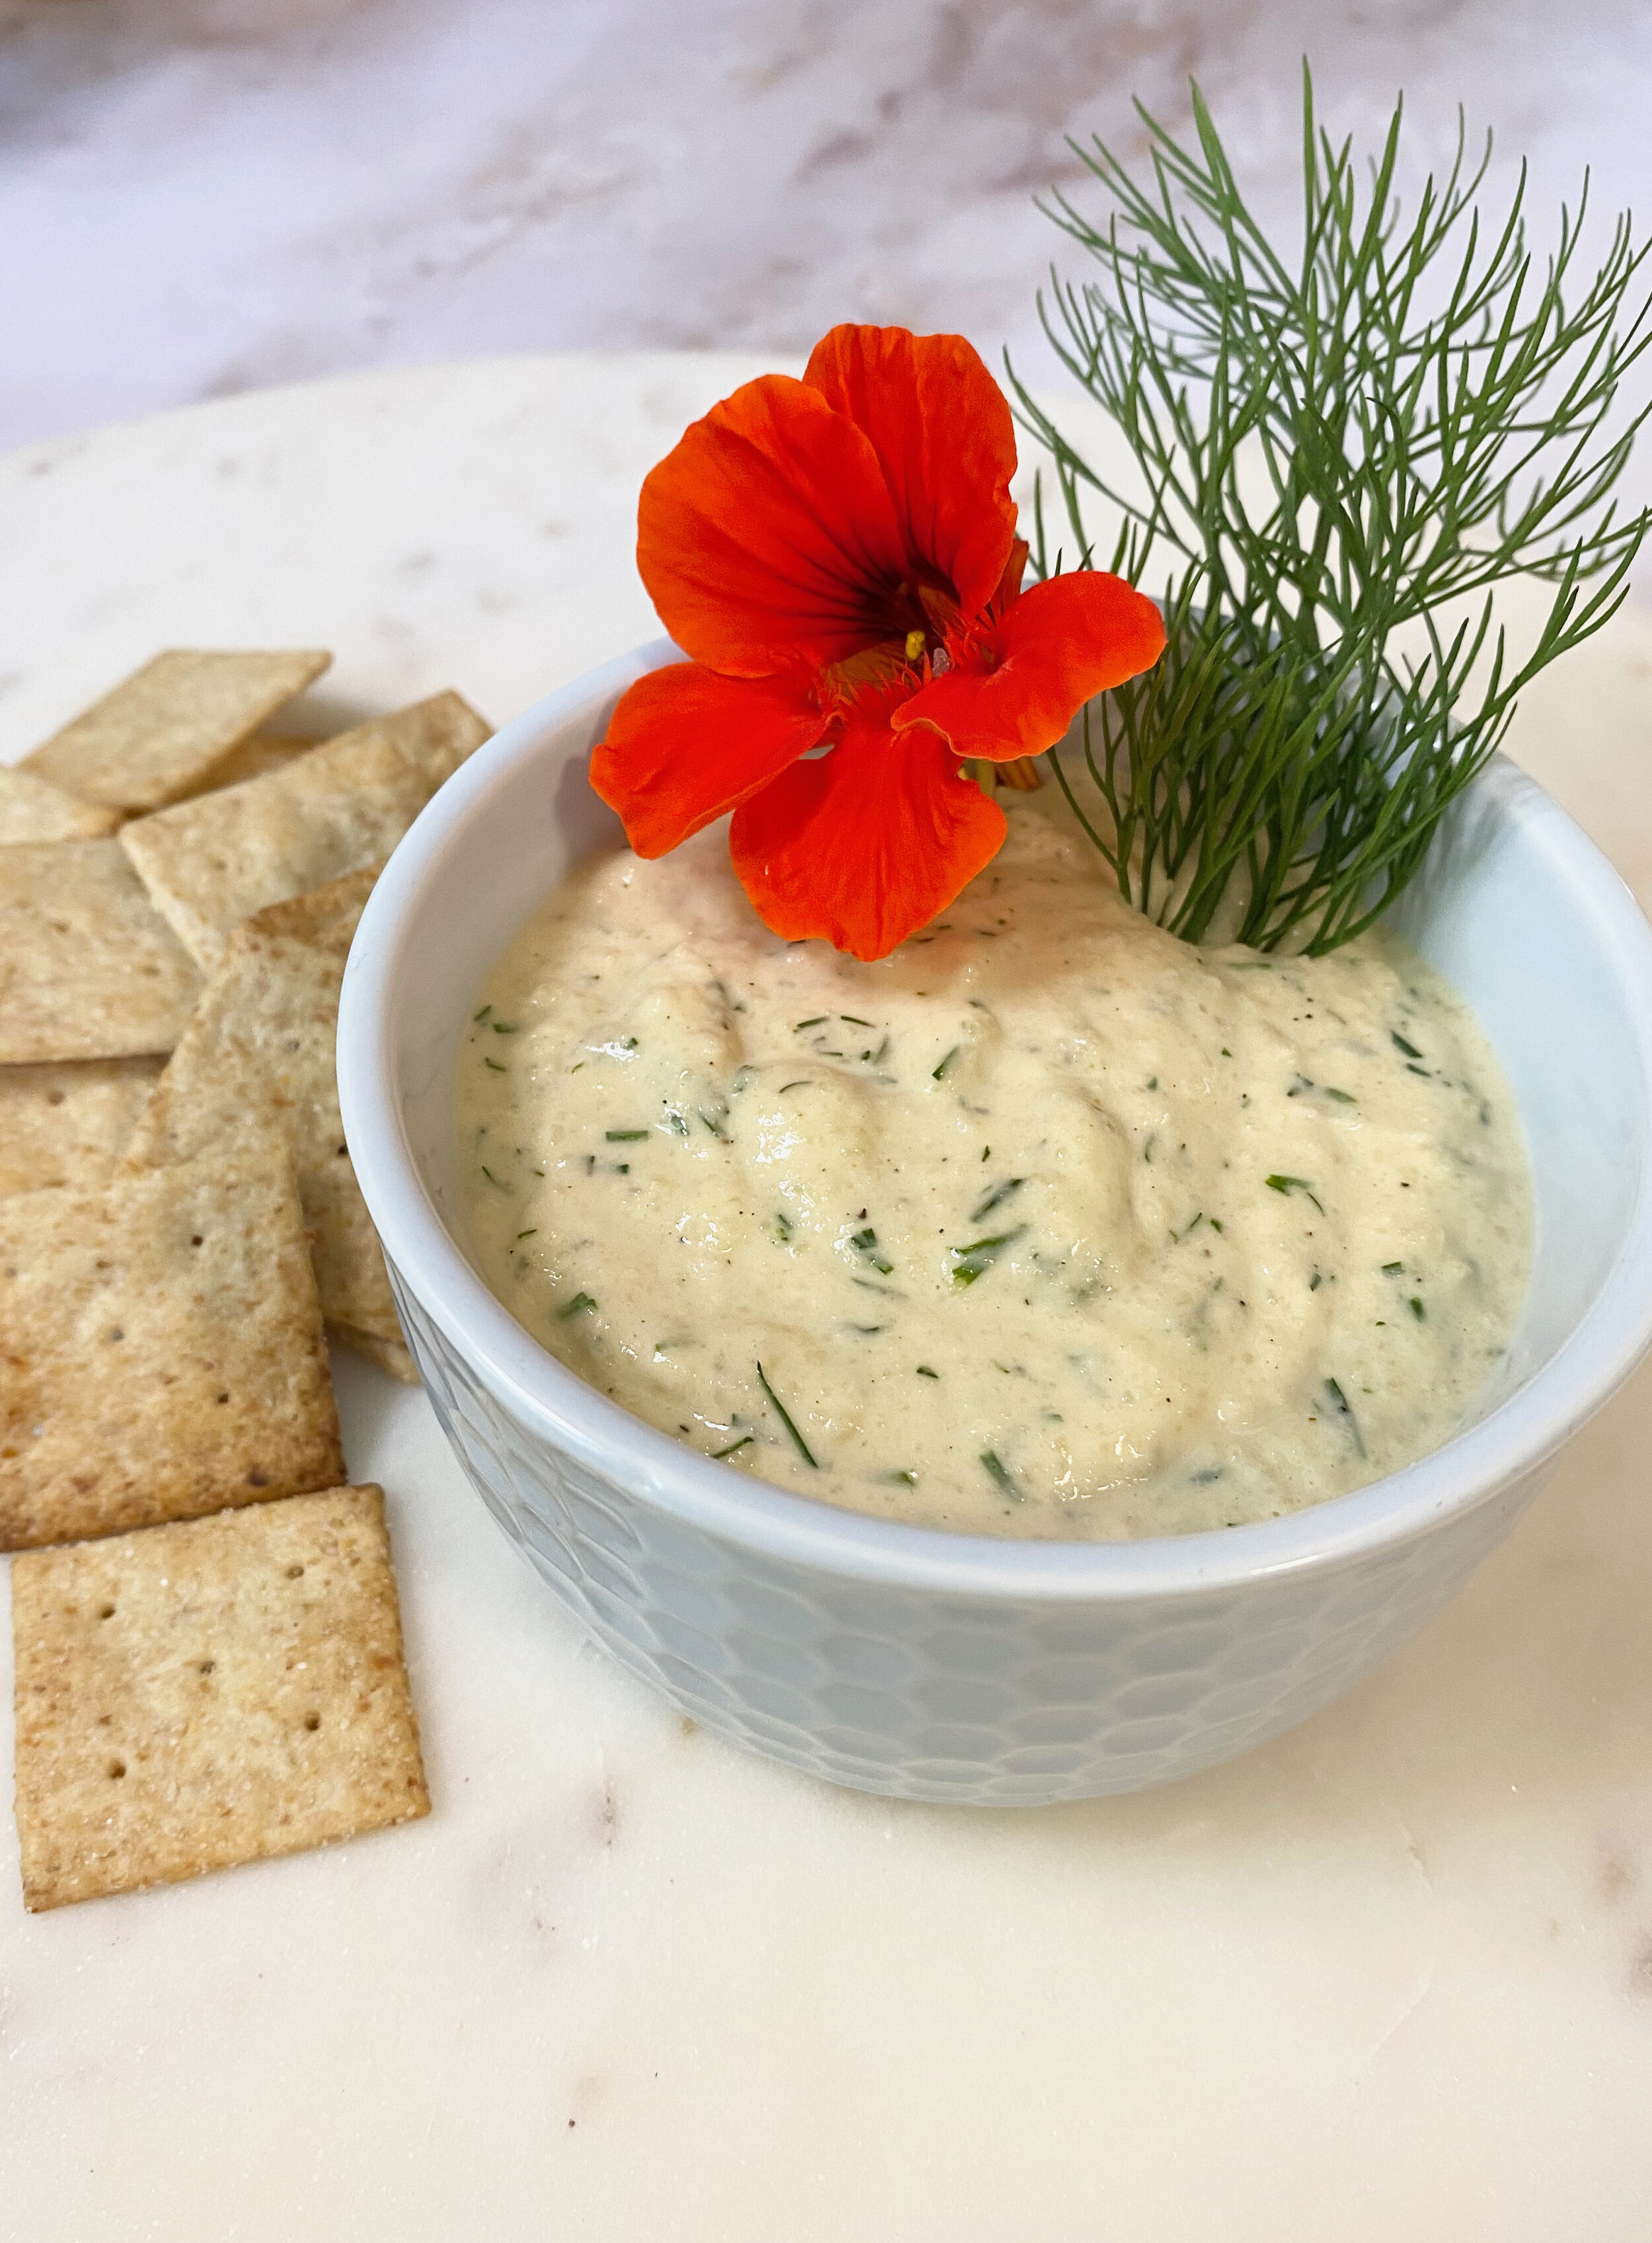
Imma tell you right now, this is addictive. It’s smooth and creamy texture hits the spot, substitute mayonnaise for this spread in your next sandwich or wrap and you will not be disappointed. This recipe was created to accompany my Turkish inspired chicken wrap so please go to the recipe and get at it.

Yield: 1 cup
Ingredients

½ cup soaked raw cashews (soak in hot water for at least one hour)
3 tablespoons fresh lemon juice
3 tablespoons olive oil
2 cloves garlic
2 tablespoons toasted tahini
3 tablespoons water
2-3 teaspoons raw honey
2 tablespoons fresh dill (chopped)
¼ teaspoon salt
Fresh ground pepper

Method

Add all of the ingredients to a blender or a container and use a hand blender. Blend until smooth, allow the spread to sit in the refrigerator for at least 30 minutes before serving.

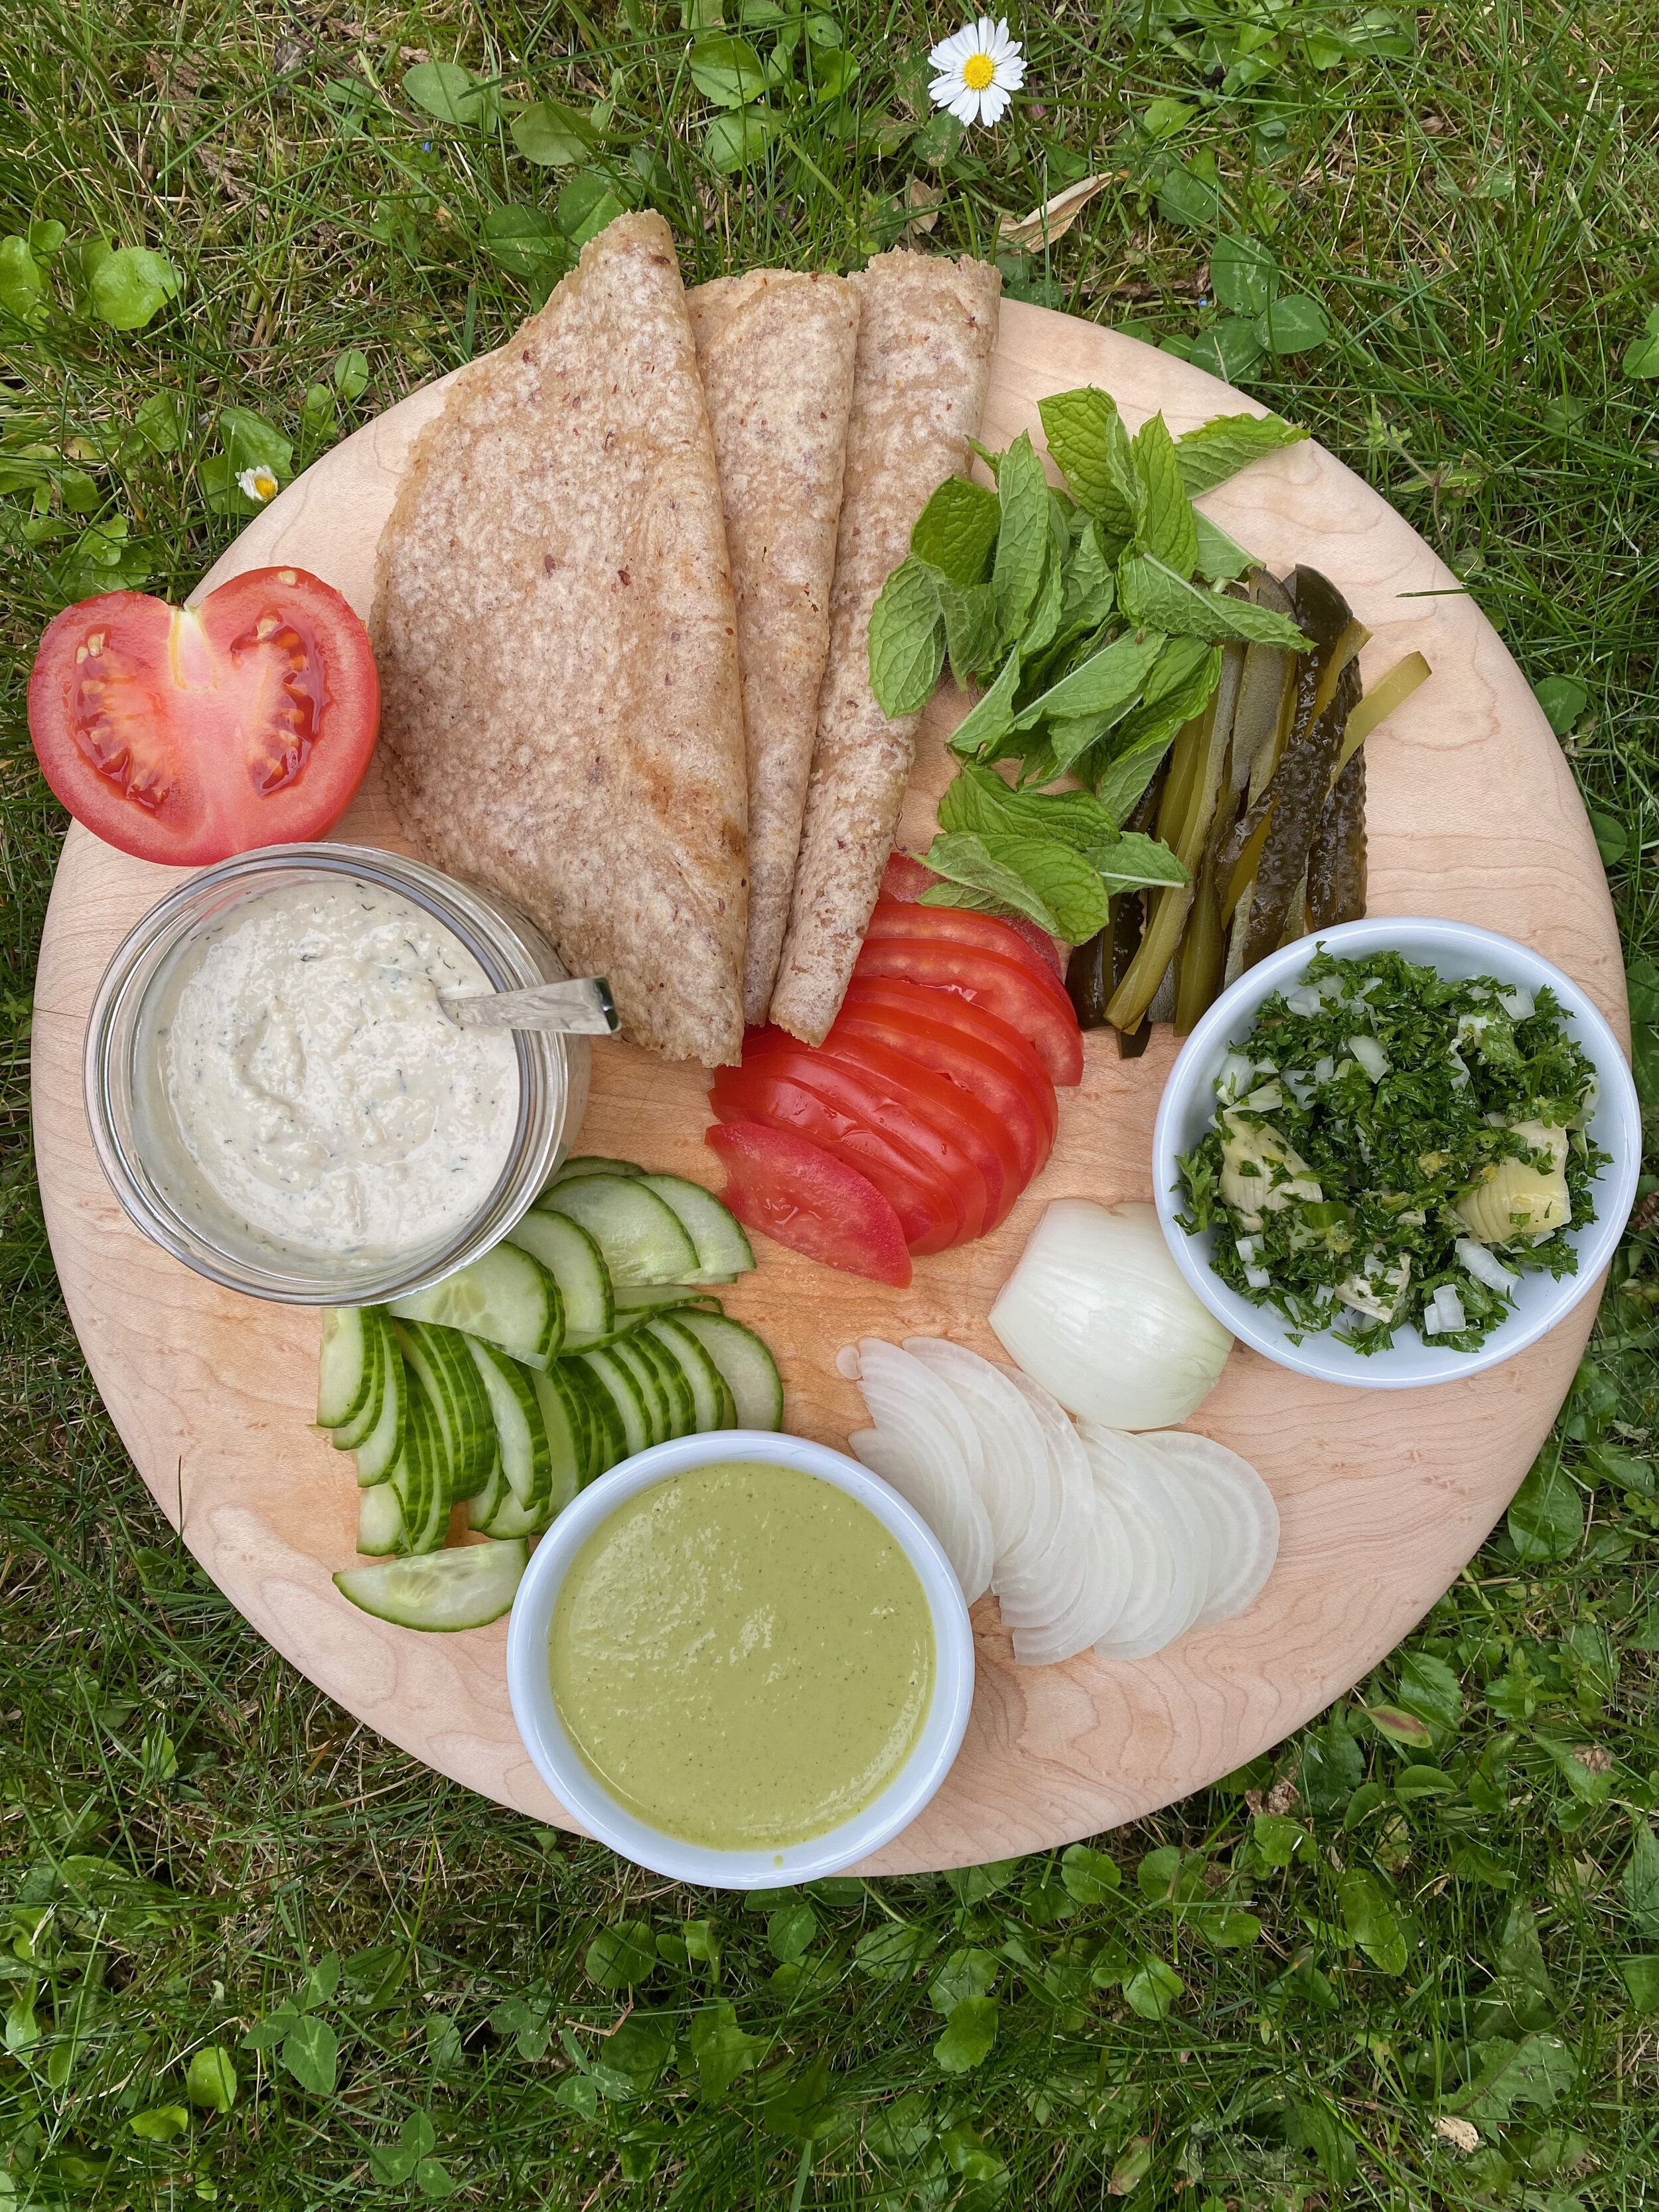
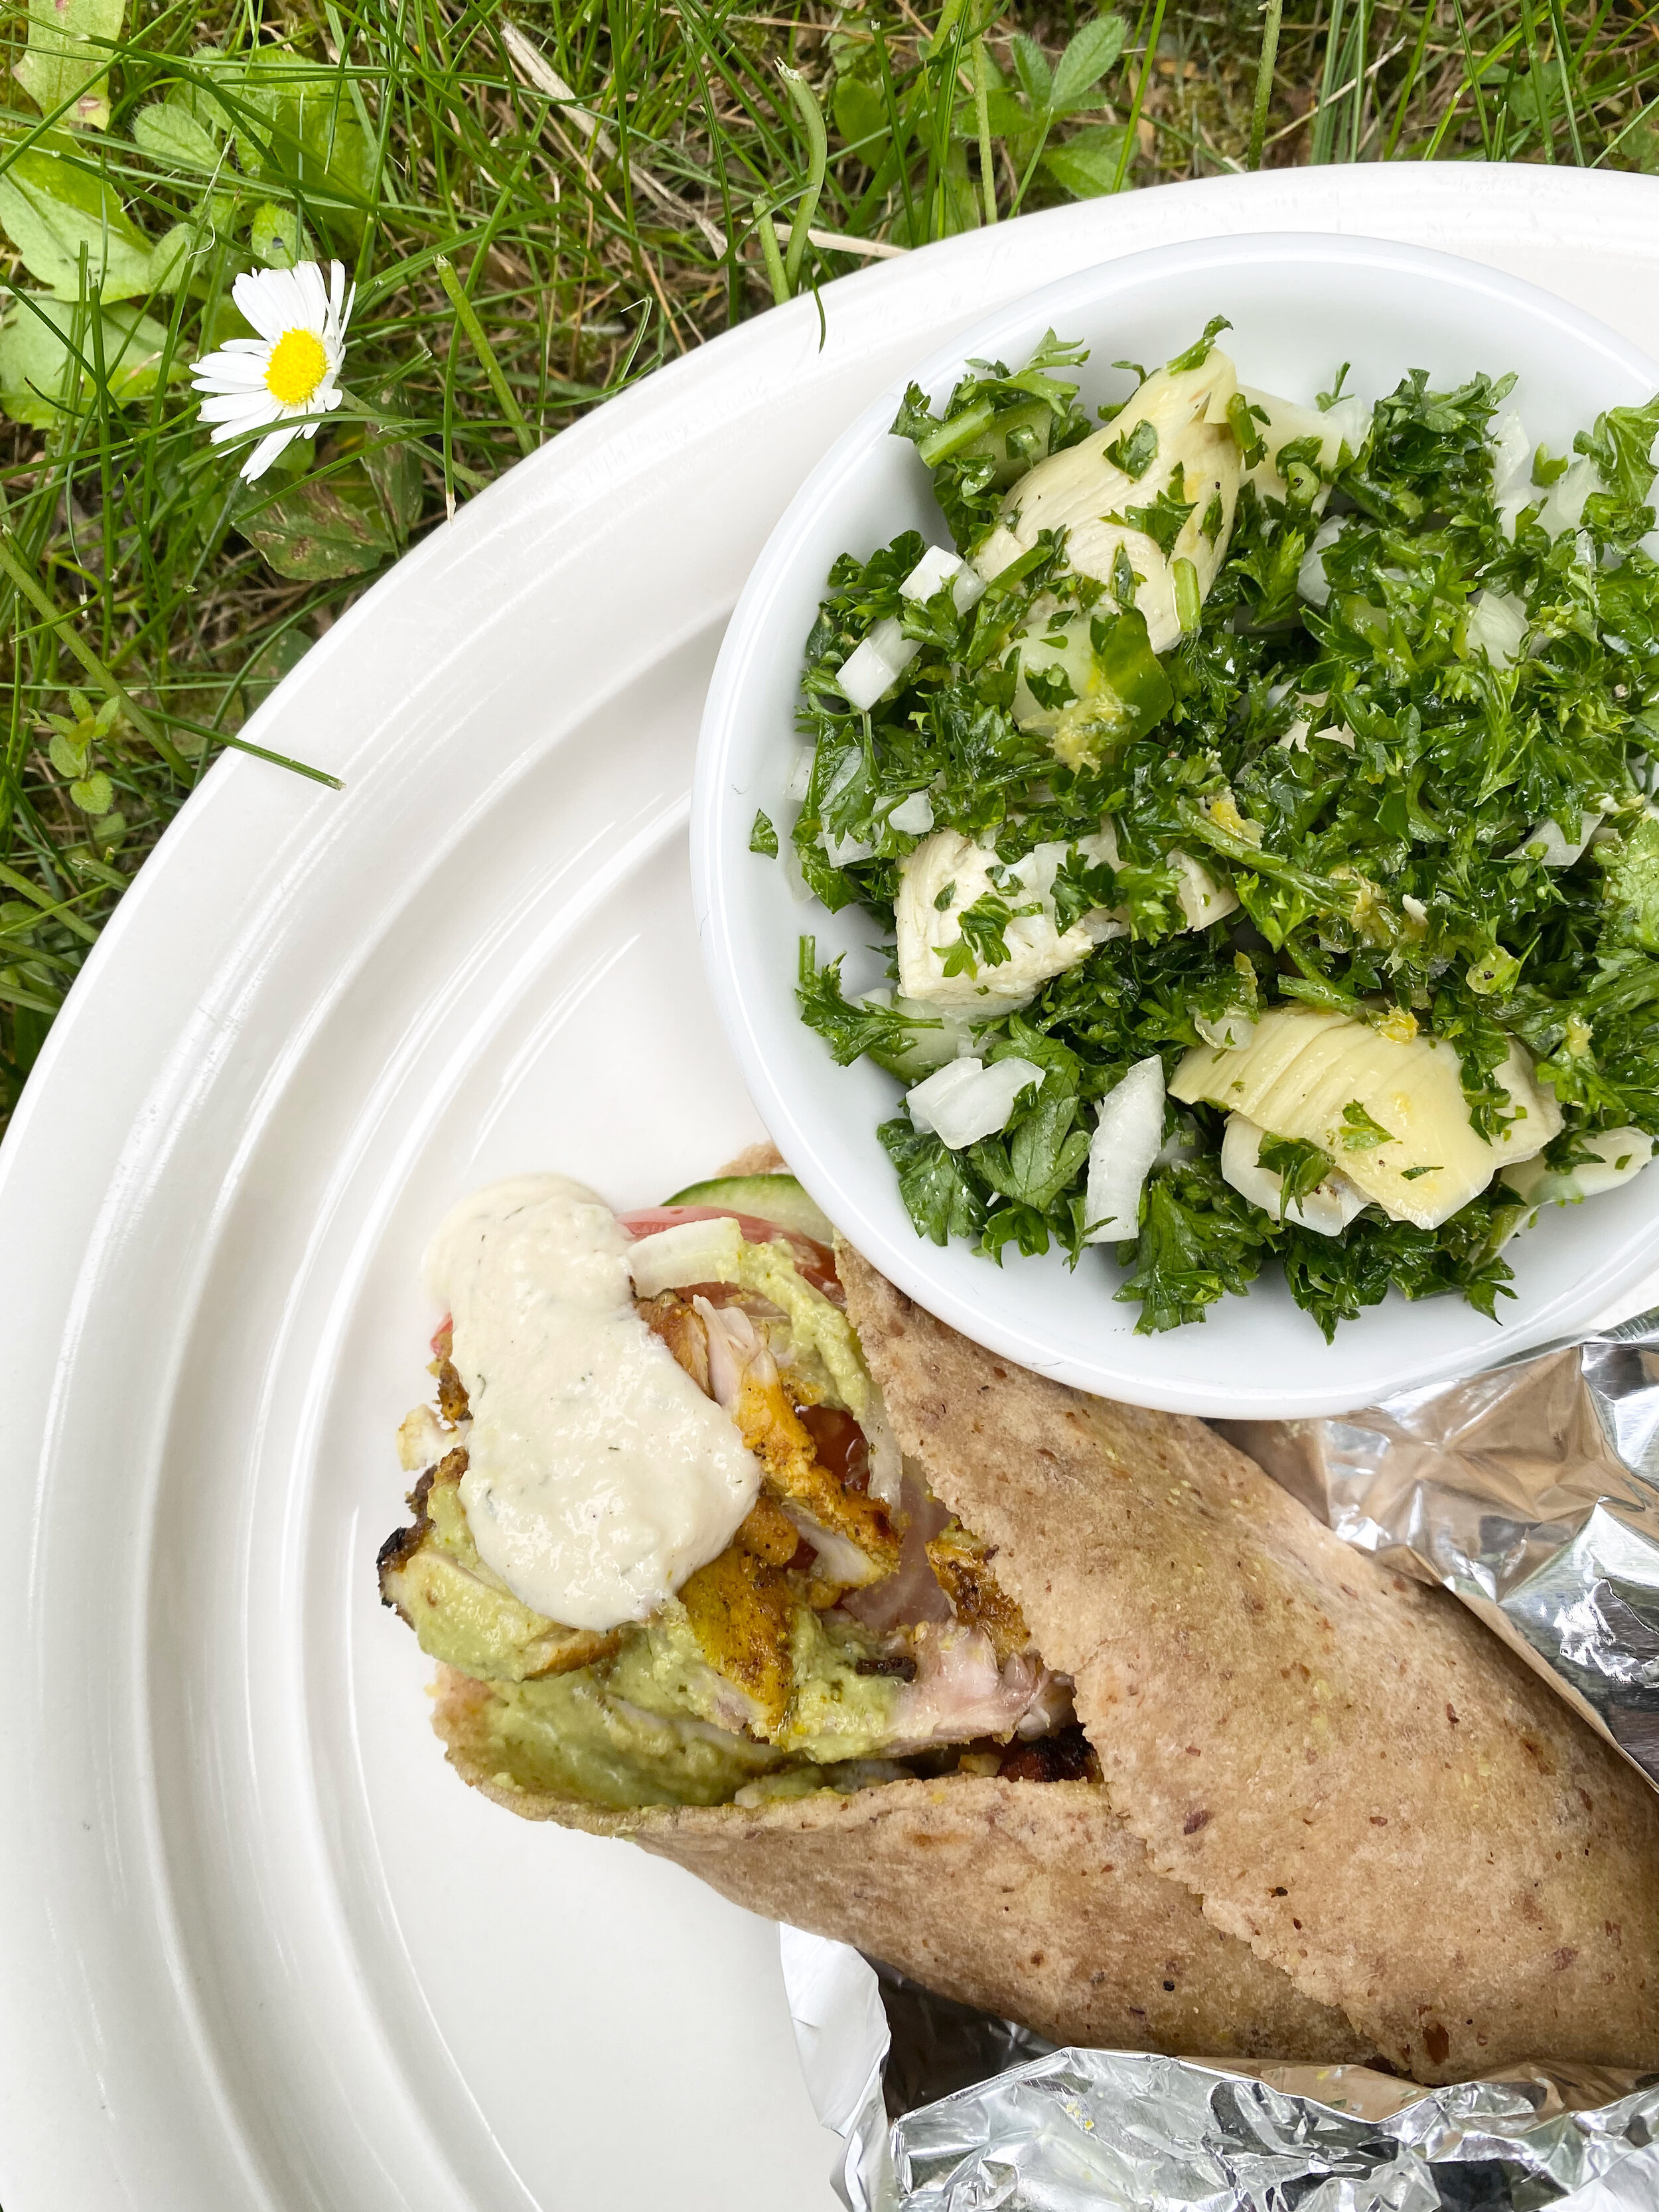
My favourite way to eat this is to have it with my Turkish Inspired Chicken Wraps.

Creamy Cashew Dill Spread.jpeg

Turkish Inspired Chicken Wraps

O.K be ready to have your mind, blown!!! I originally wanted to call these chicken shawarma but after doing some research I realized that the word shawarma in Arabic literally means “turning” in reference to the rotisserie cooked nature of the meat, so with that said I didn’t feel comfortable calling it a chicken shawarma because we will not be cooking this rotisserie style. I found a short cut and it’s a super simple way of getting that tender, juicy meat without having to cook it for hours and have a rotisserie on hand.

Yield- 6-8 wraps

Ingredients
550 grams or 6 chicken thighs (boneless and skinless)
3 tablespoons fresh lemon juice
3 tablespoons olive oil
1 teaspoon garlic powder
1 teaspoon ground cumin 
2 teaspoons coconut sugar
½ teaspoon cinnamon
1 teaspoon ground coriander
½ teaspoon ground turmeric powder
1 teaspoon salt
½ teaspoon pepper

Toppings and things
Creamy dill and cashew spread
Bubbies dill pickles
Chopped raw onion
Hot sauce
Fresh mint leaves
Chopped tomato
Chopped cucumber
Cassava tortillas (recipe here)

Method
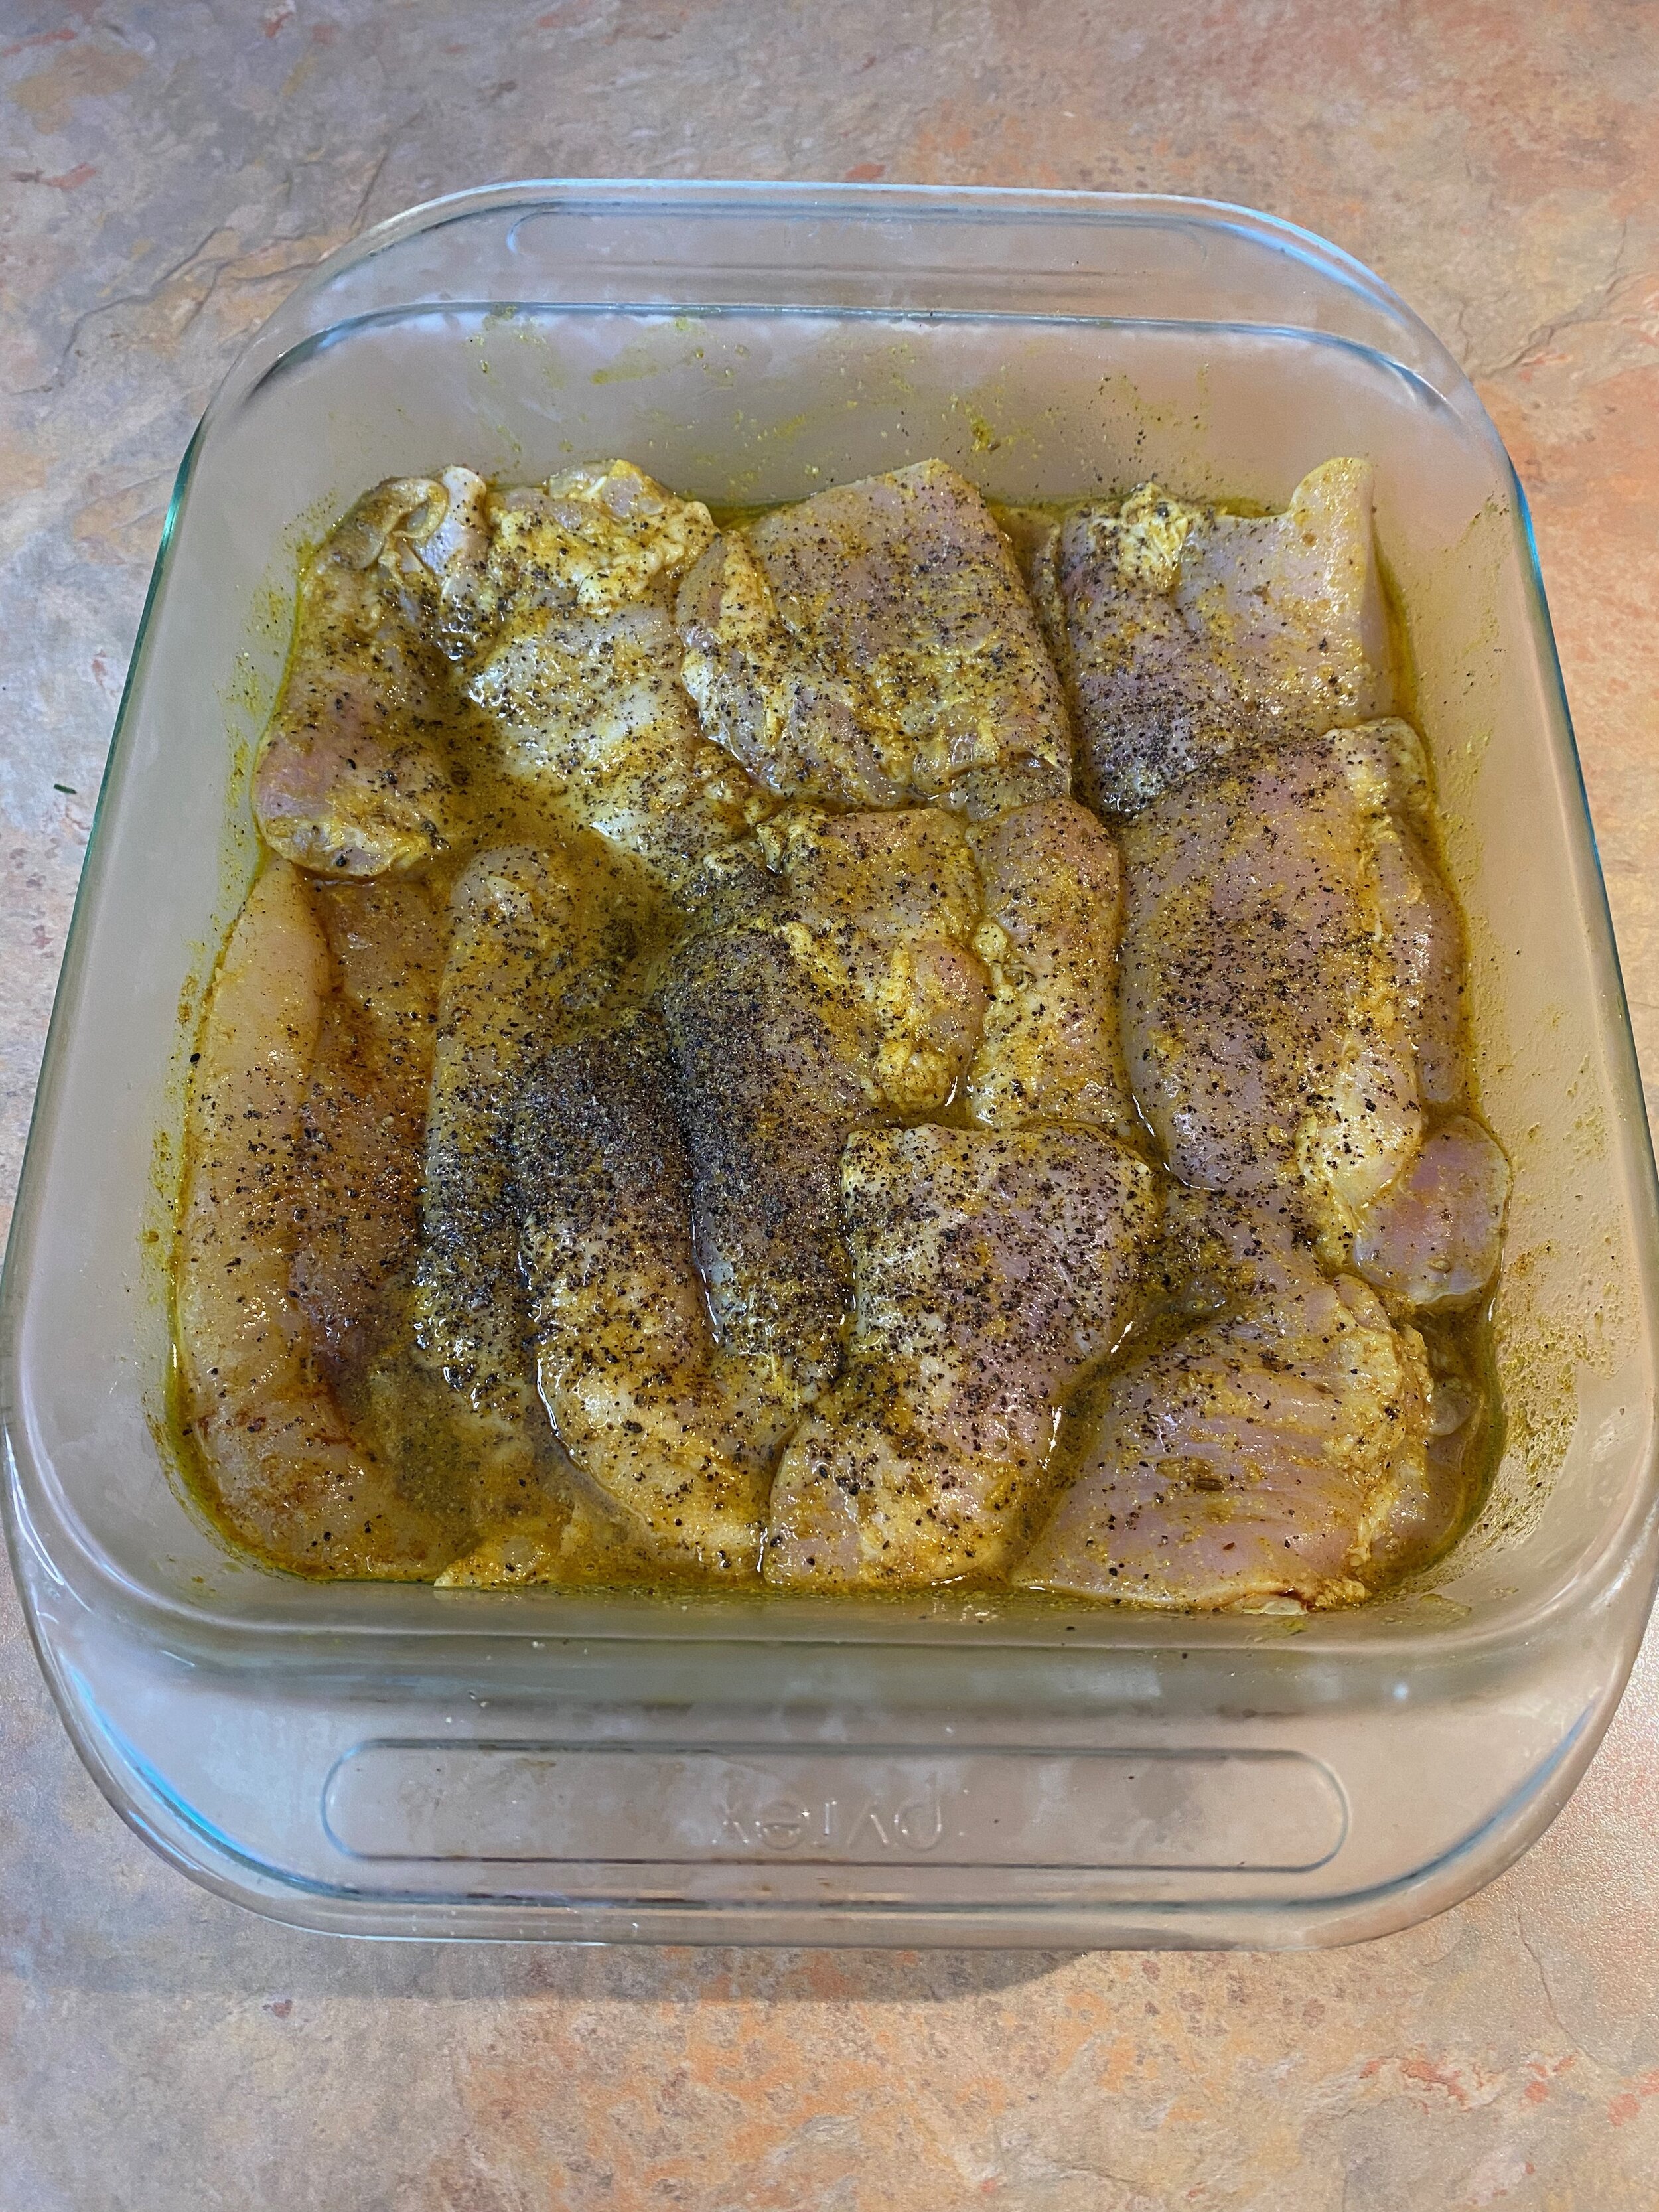
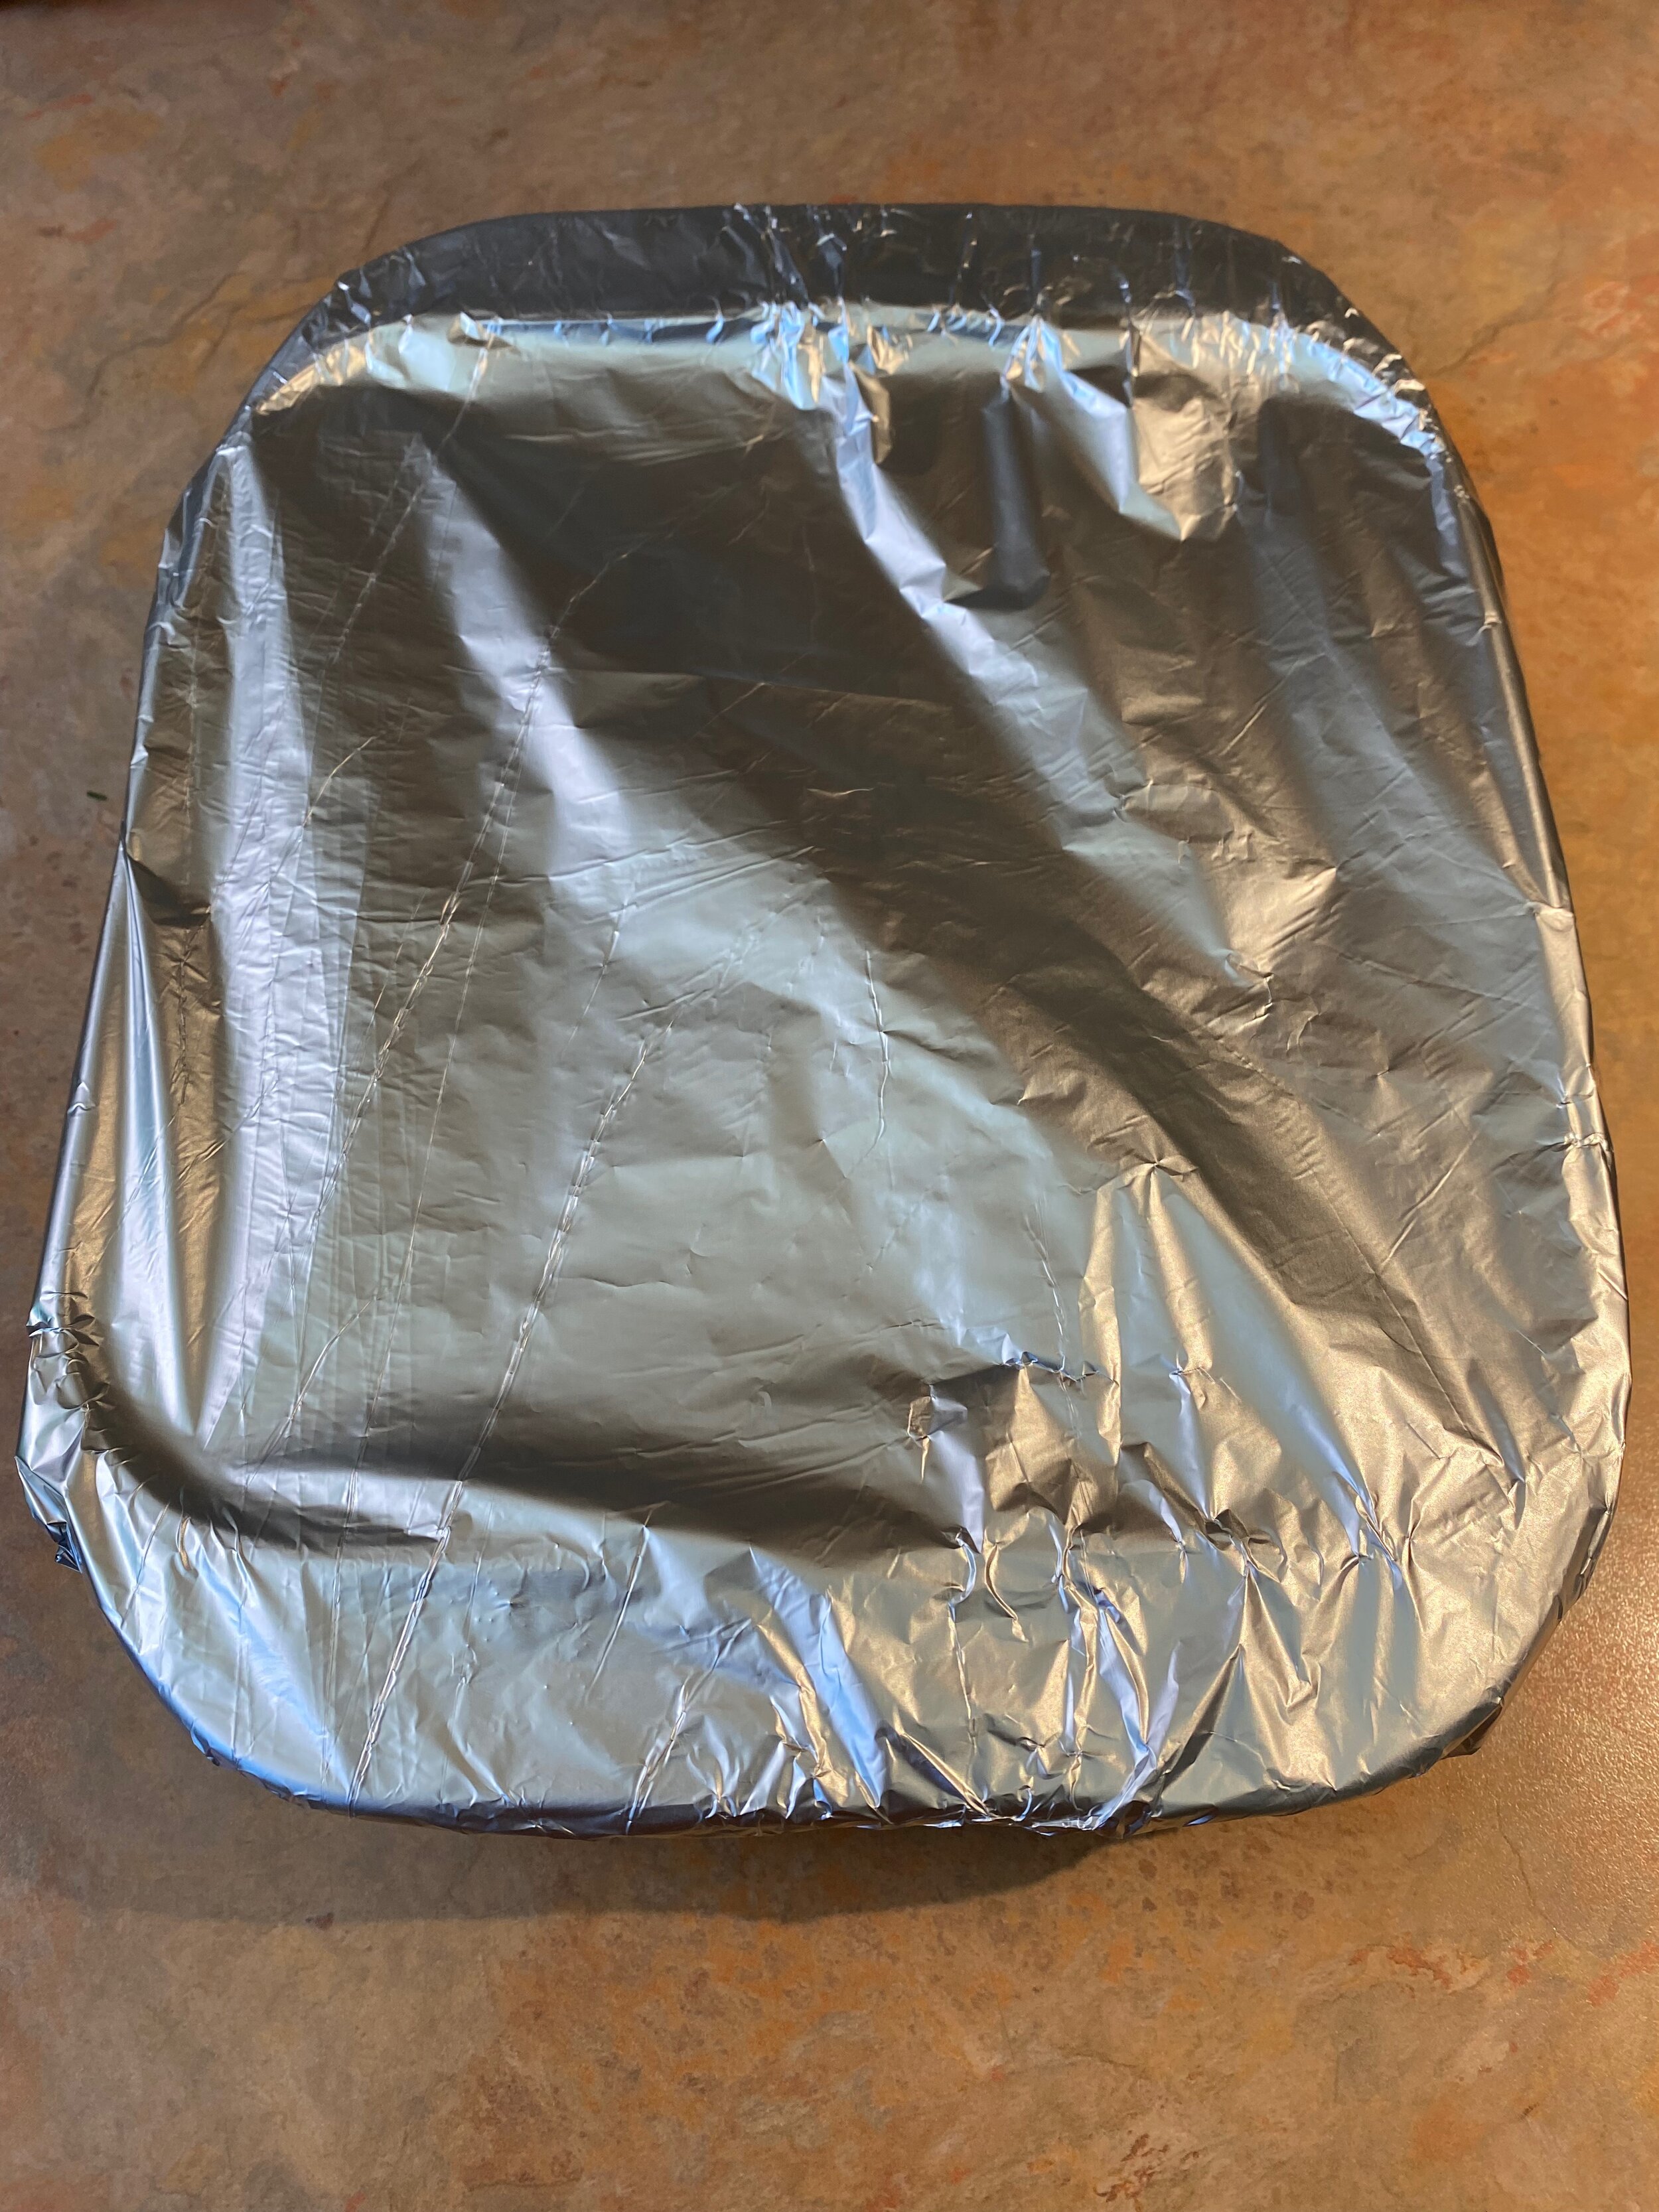
Add all of the marinade ingredients into an 8x8 inch pyrex dish and toss the chicken in the marinade, cover and marinate for 4 hrs or overnight. Preheat oven to 375 degrees fahrenheit, take out the marinated chicken from the refrigerator, remove the lid and place a piece of foil over the dish. Bake the thighs in the marinade for 40-45 minutes.

Once the thighs are tender, at this point you can cool them down and keep them for the next day if you want to prepare ahead. If you are serving them the same day, after they have cooked in the oven, you will want to grill them to give them a nice crust to finish them off. Once they have been grilled, chop up the chicken and begin to build the most delicious wraps you will ever have. Start with the cashew spread and be one with your wrap my friends.

Turkish Chicken wrap_2.jpeg

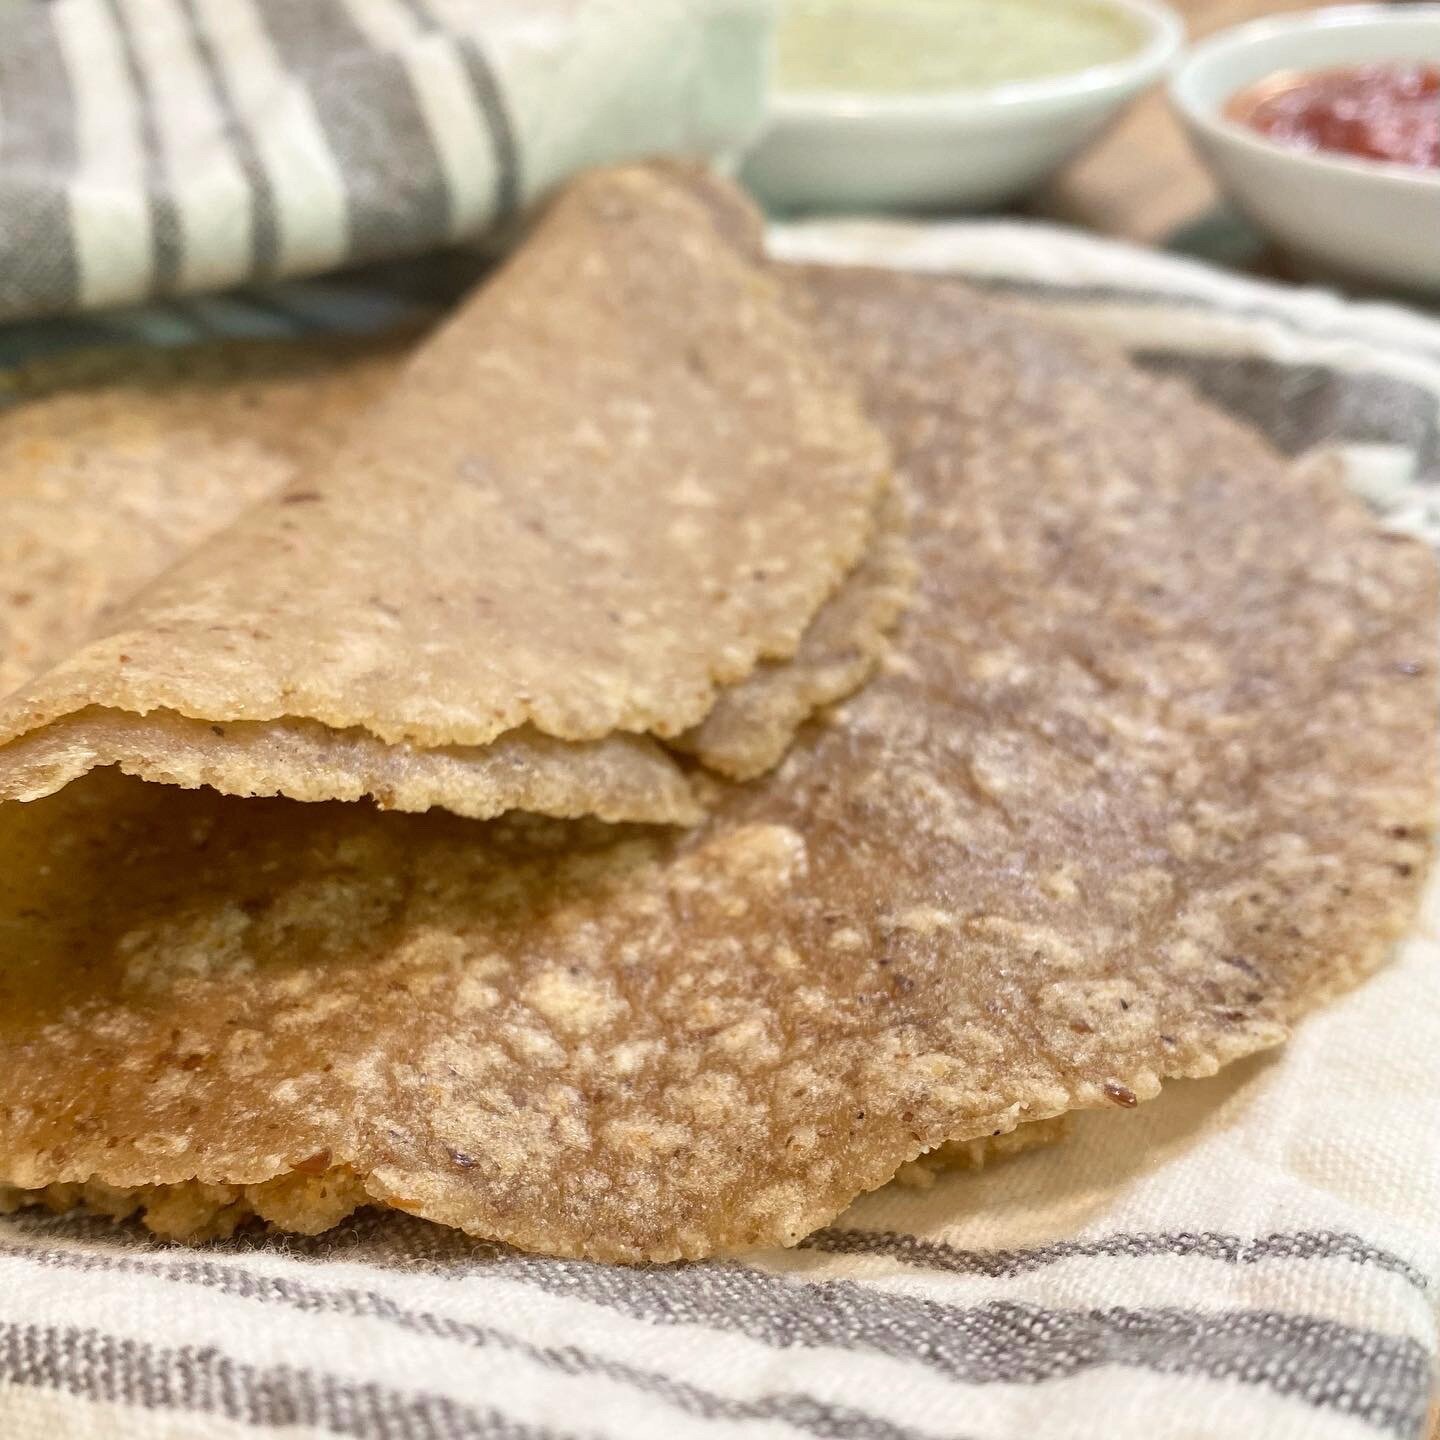
Cassava Tortillas

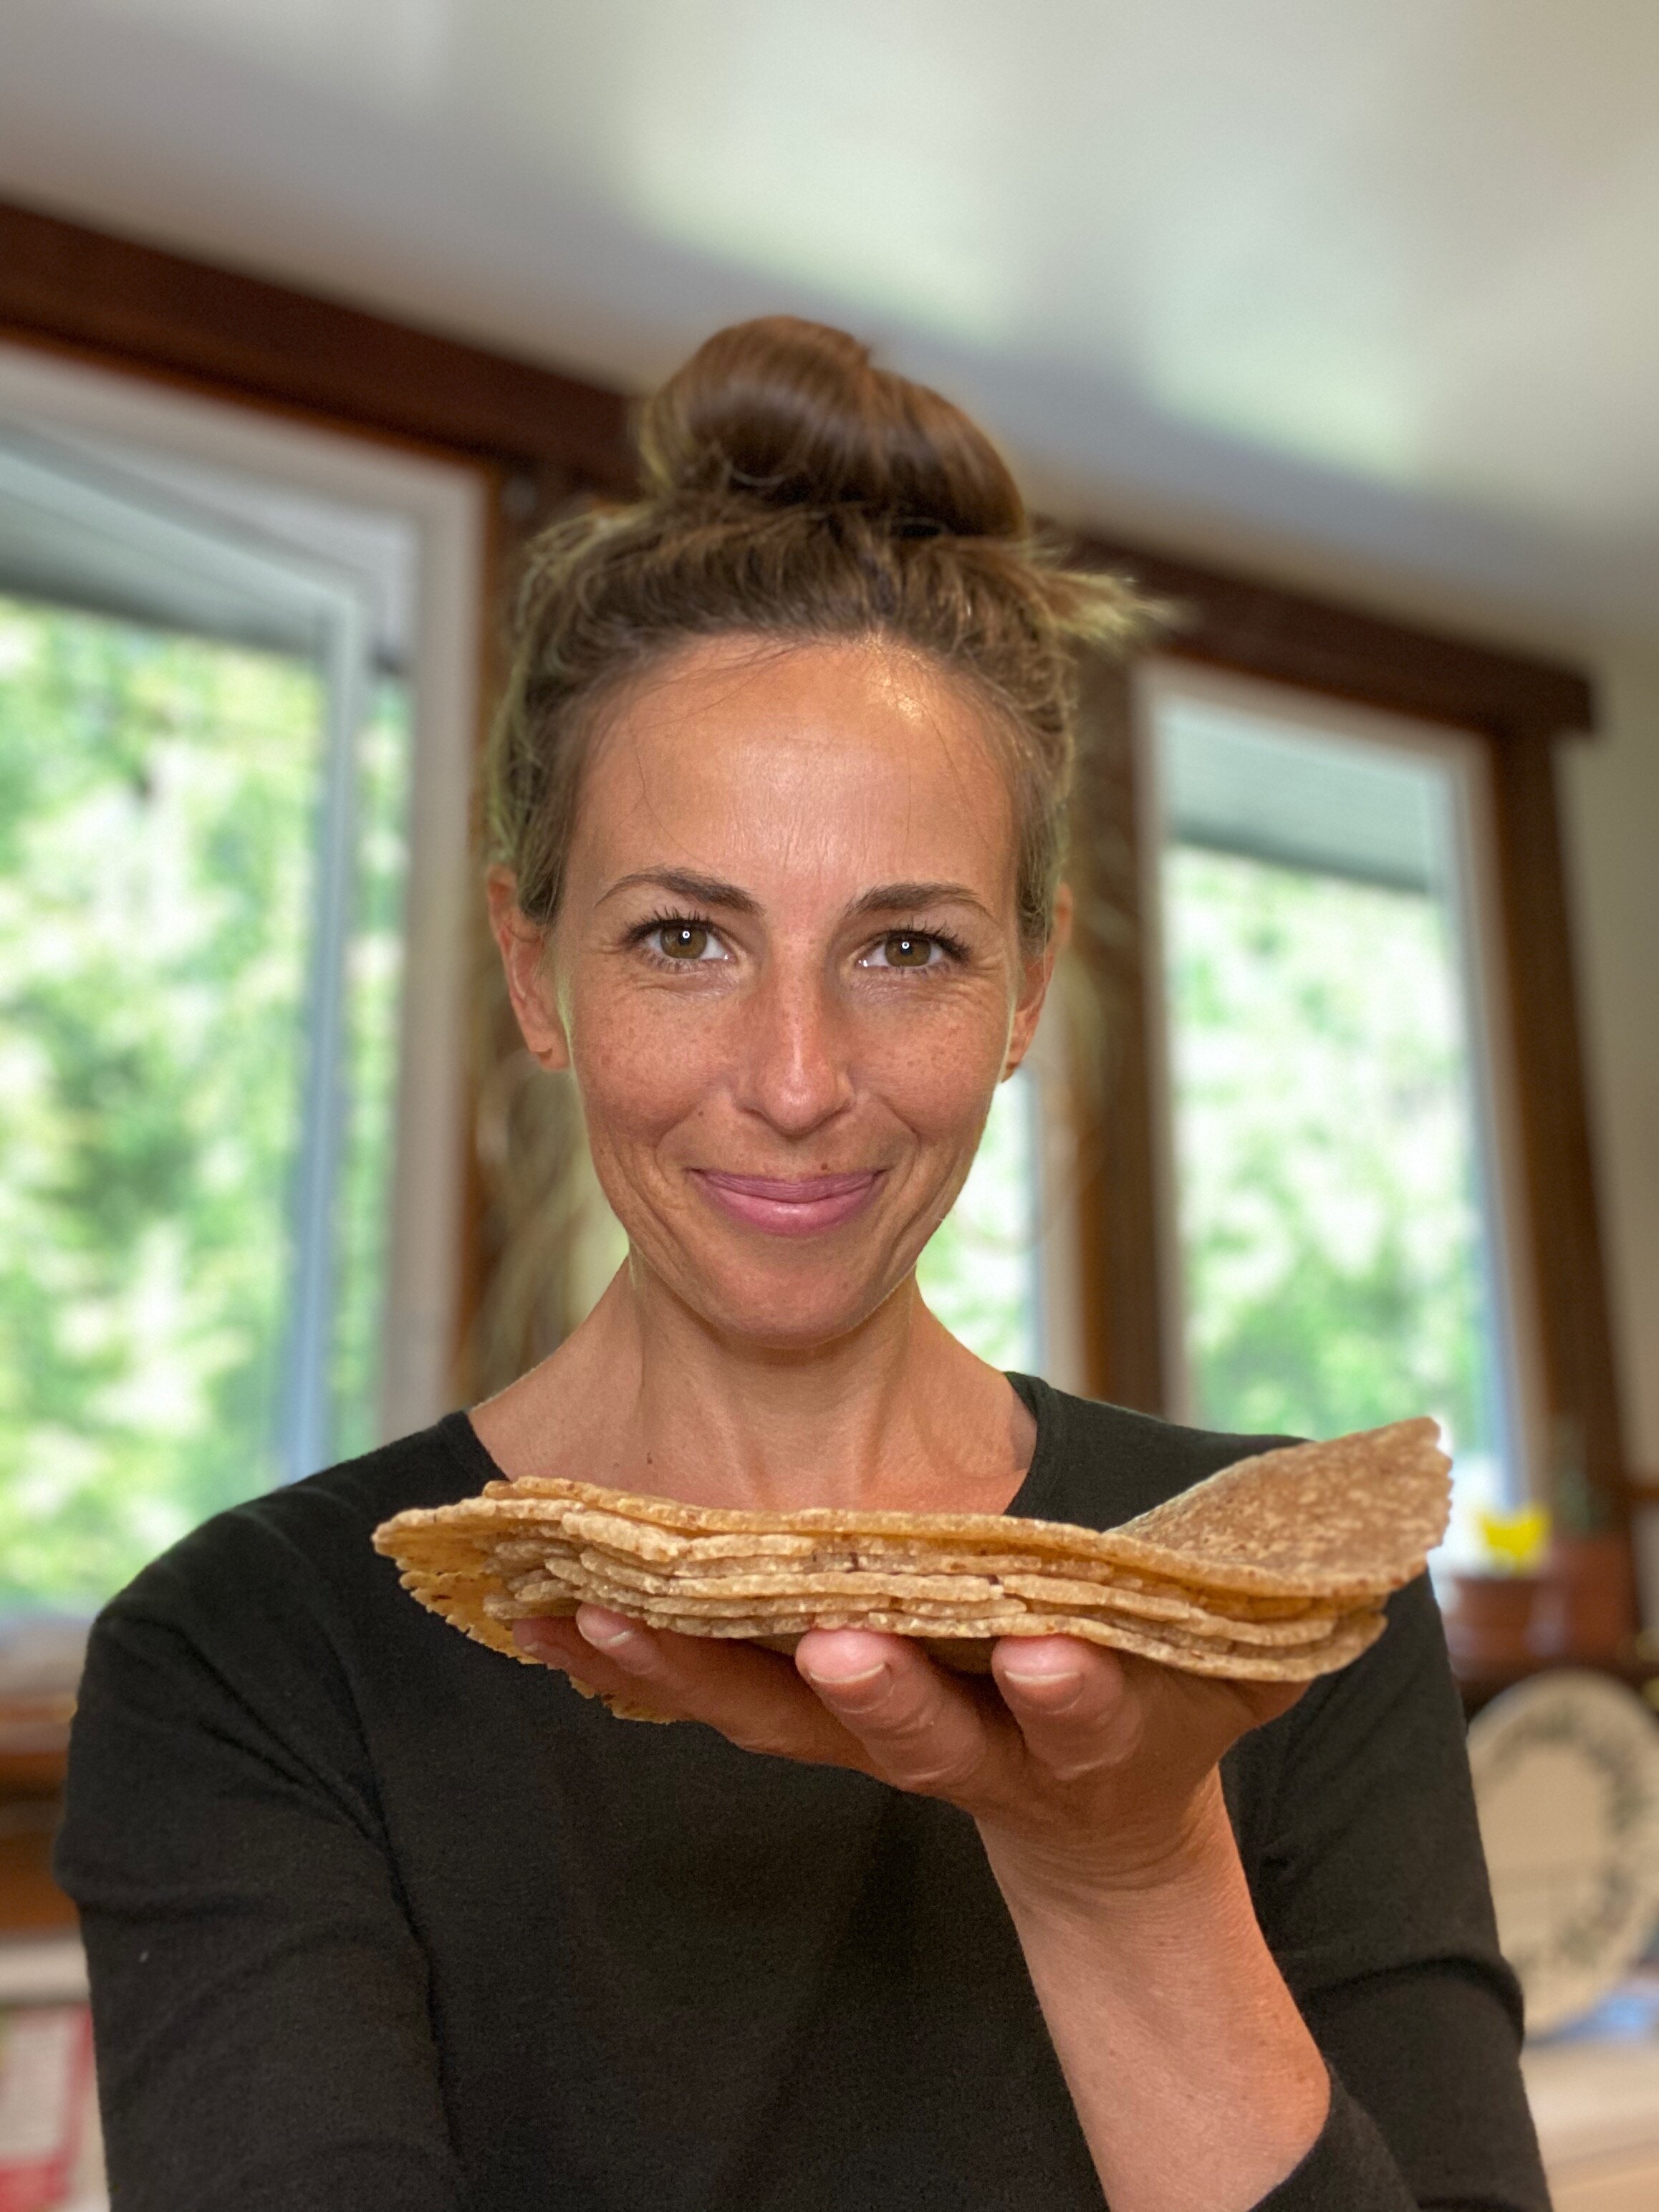
Who misses soft and chewy tortillas when you went gluten free? ME me me!!! I can’t believe how easy these are to make and how delicious they are. They store quite well in a glass storage container and when you are ready to reheat them just pop them in the oven wrapped in parchment and foil for a couple of minutes.

Yield 6 wraps or 12 taco size tortillas
Gluten free, dairy free, grain free, paleo

Ingredients
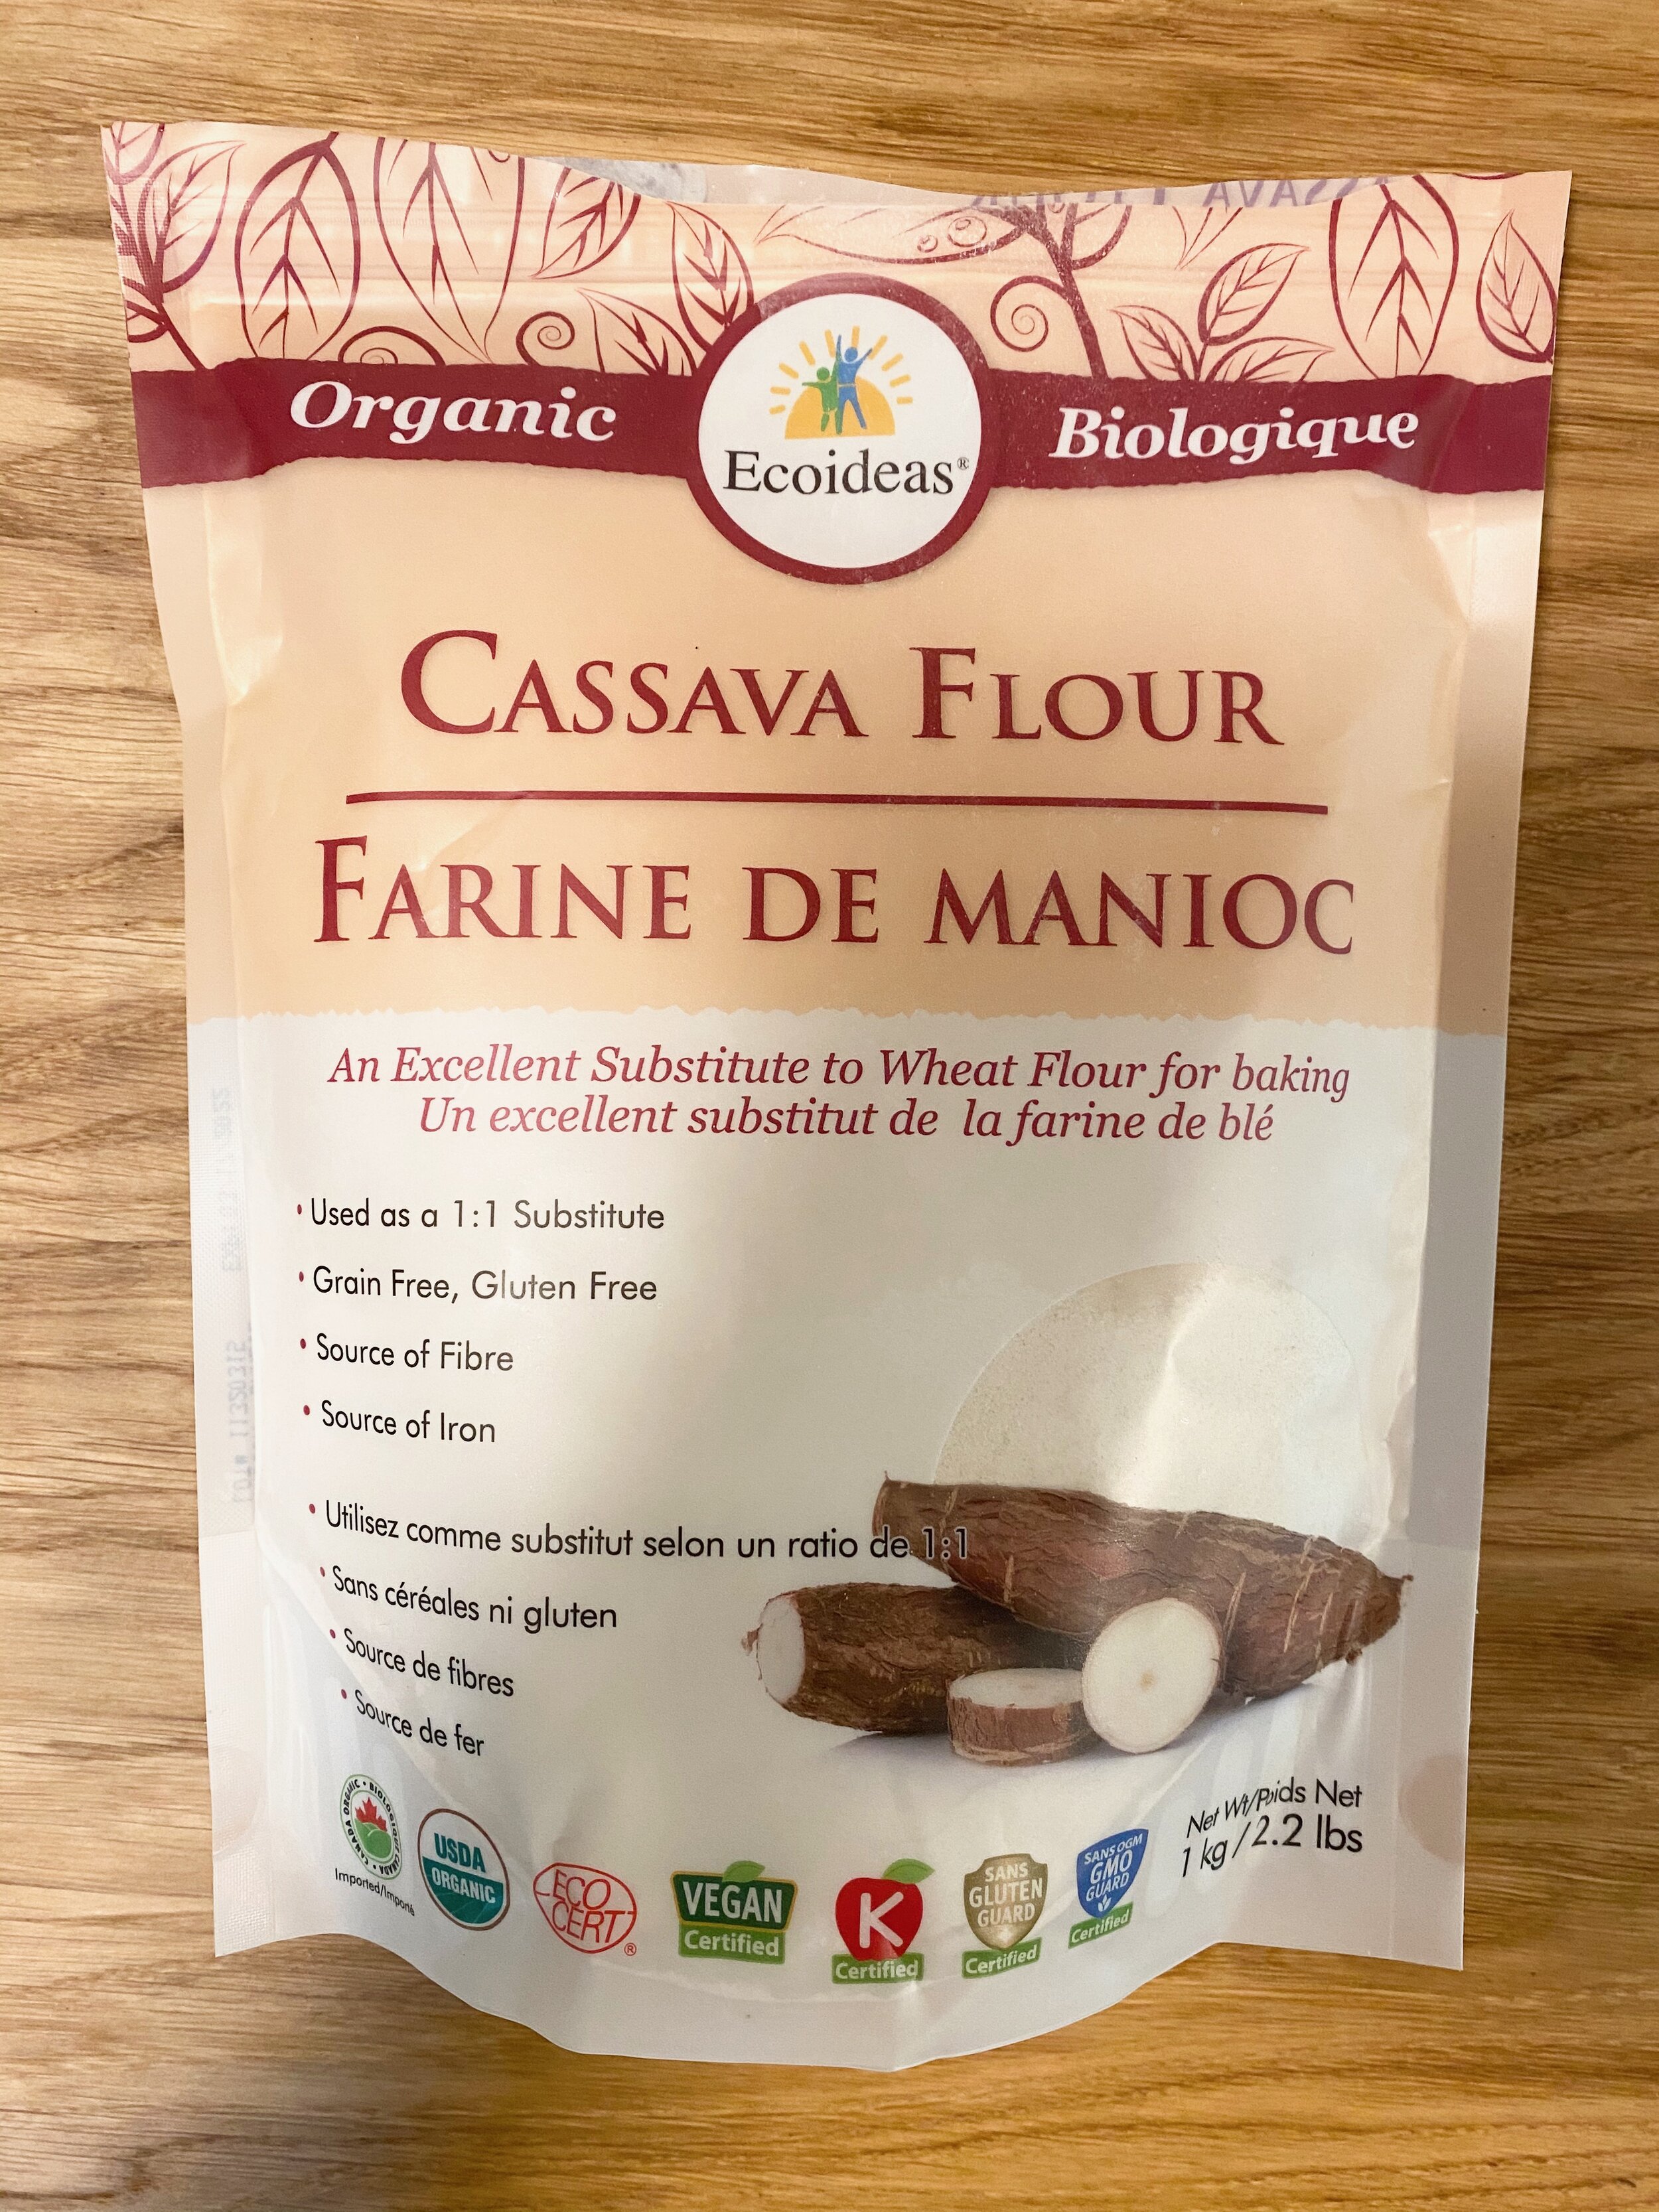
¾ cup cassava flour
½ teaspoon salt
2 tablespoons psyllium husk
1 tablespoon brown flax meal
1 cup warm water
2 tablespoons olive oil

Method
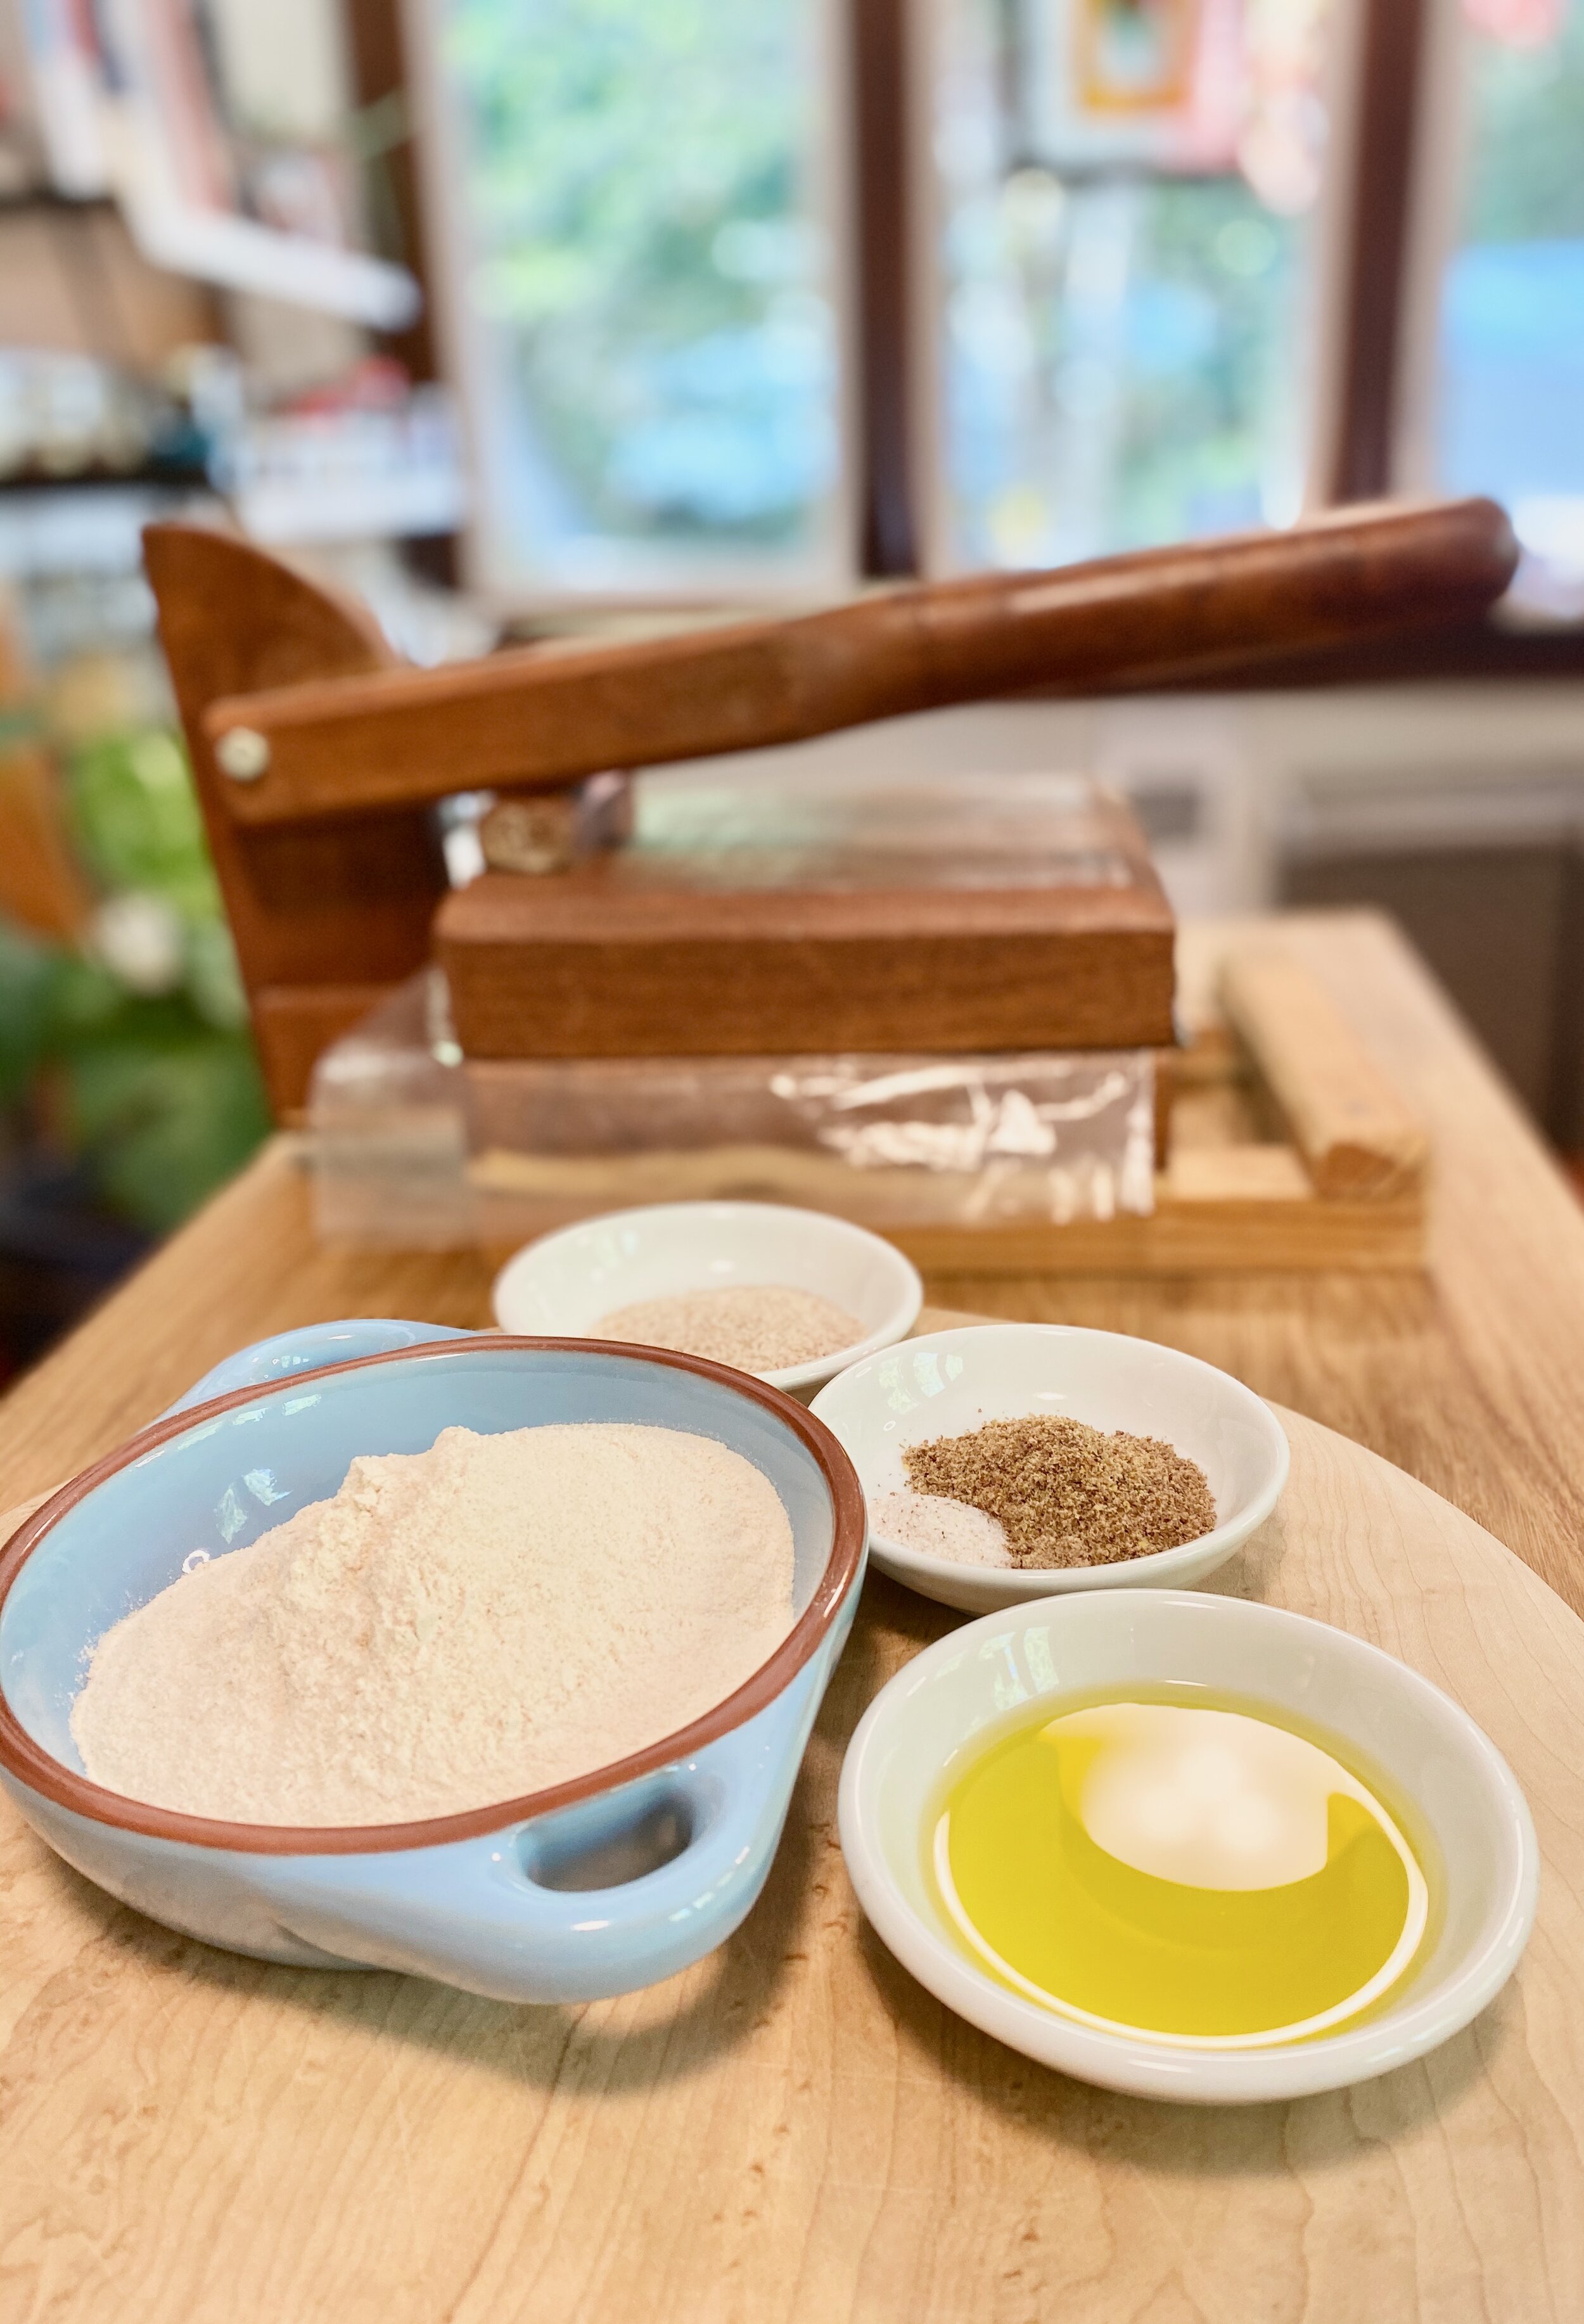
Combine all of your dry ingredients into a medium size bowl and stir together.
Add the olive oil to the warm water and mix it into the dry ingredients. You can stir with a spoon or use your hands. The mixture will seem wet at first but it will suck up all of the moisture quickly.

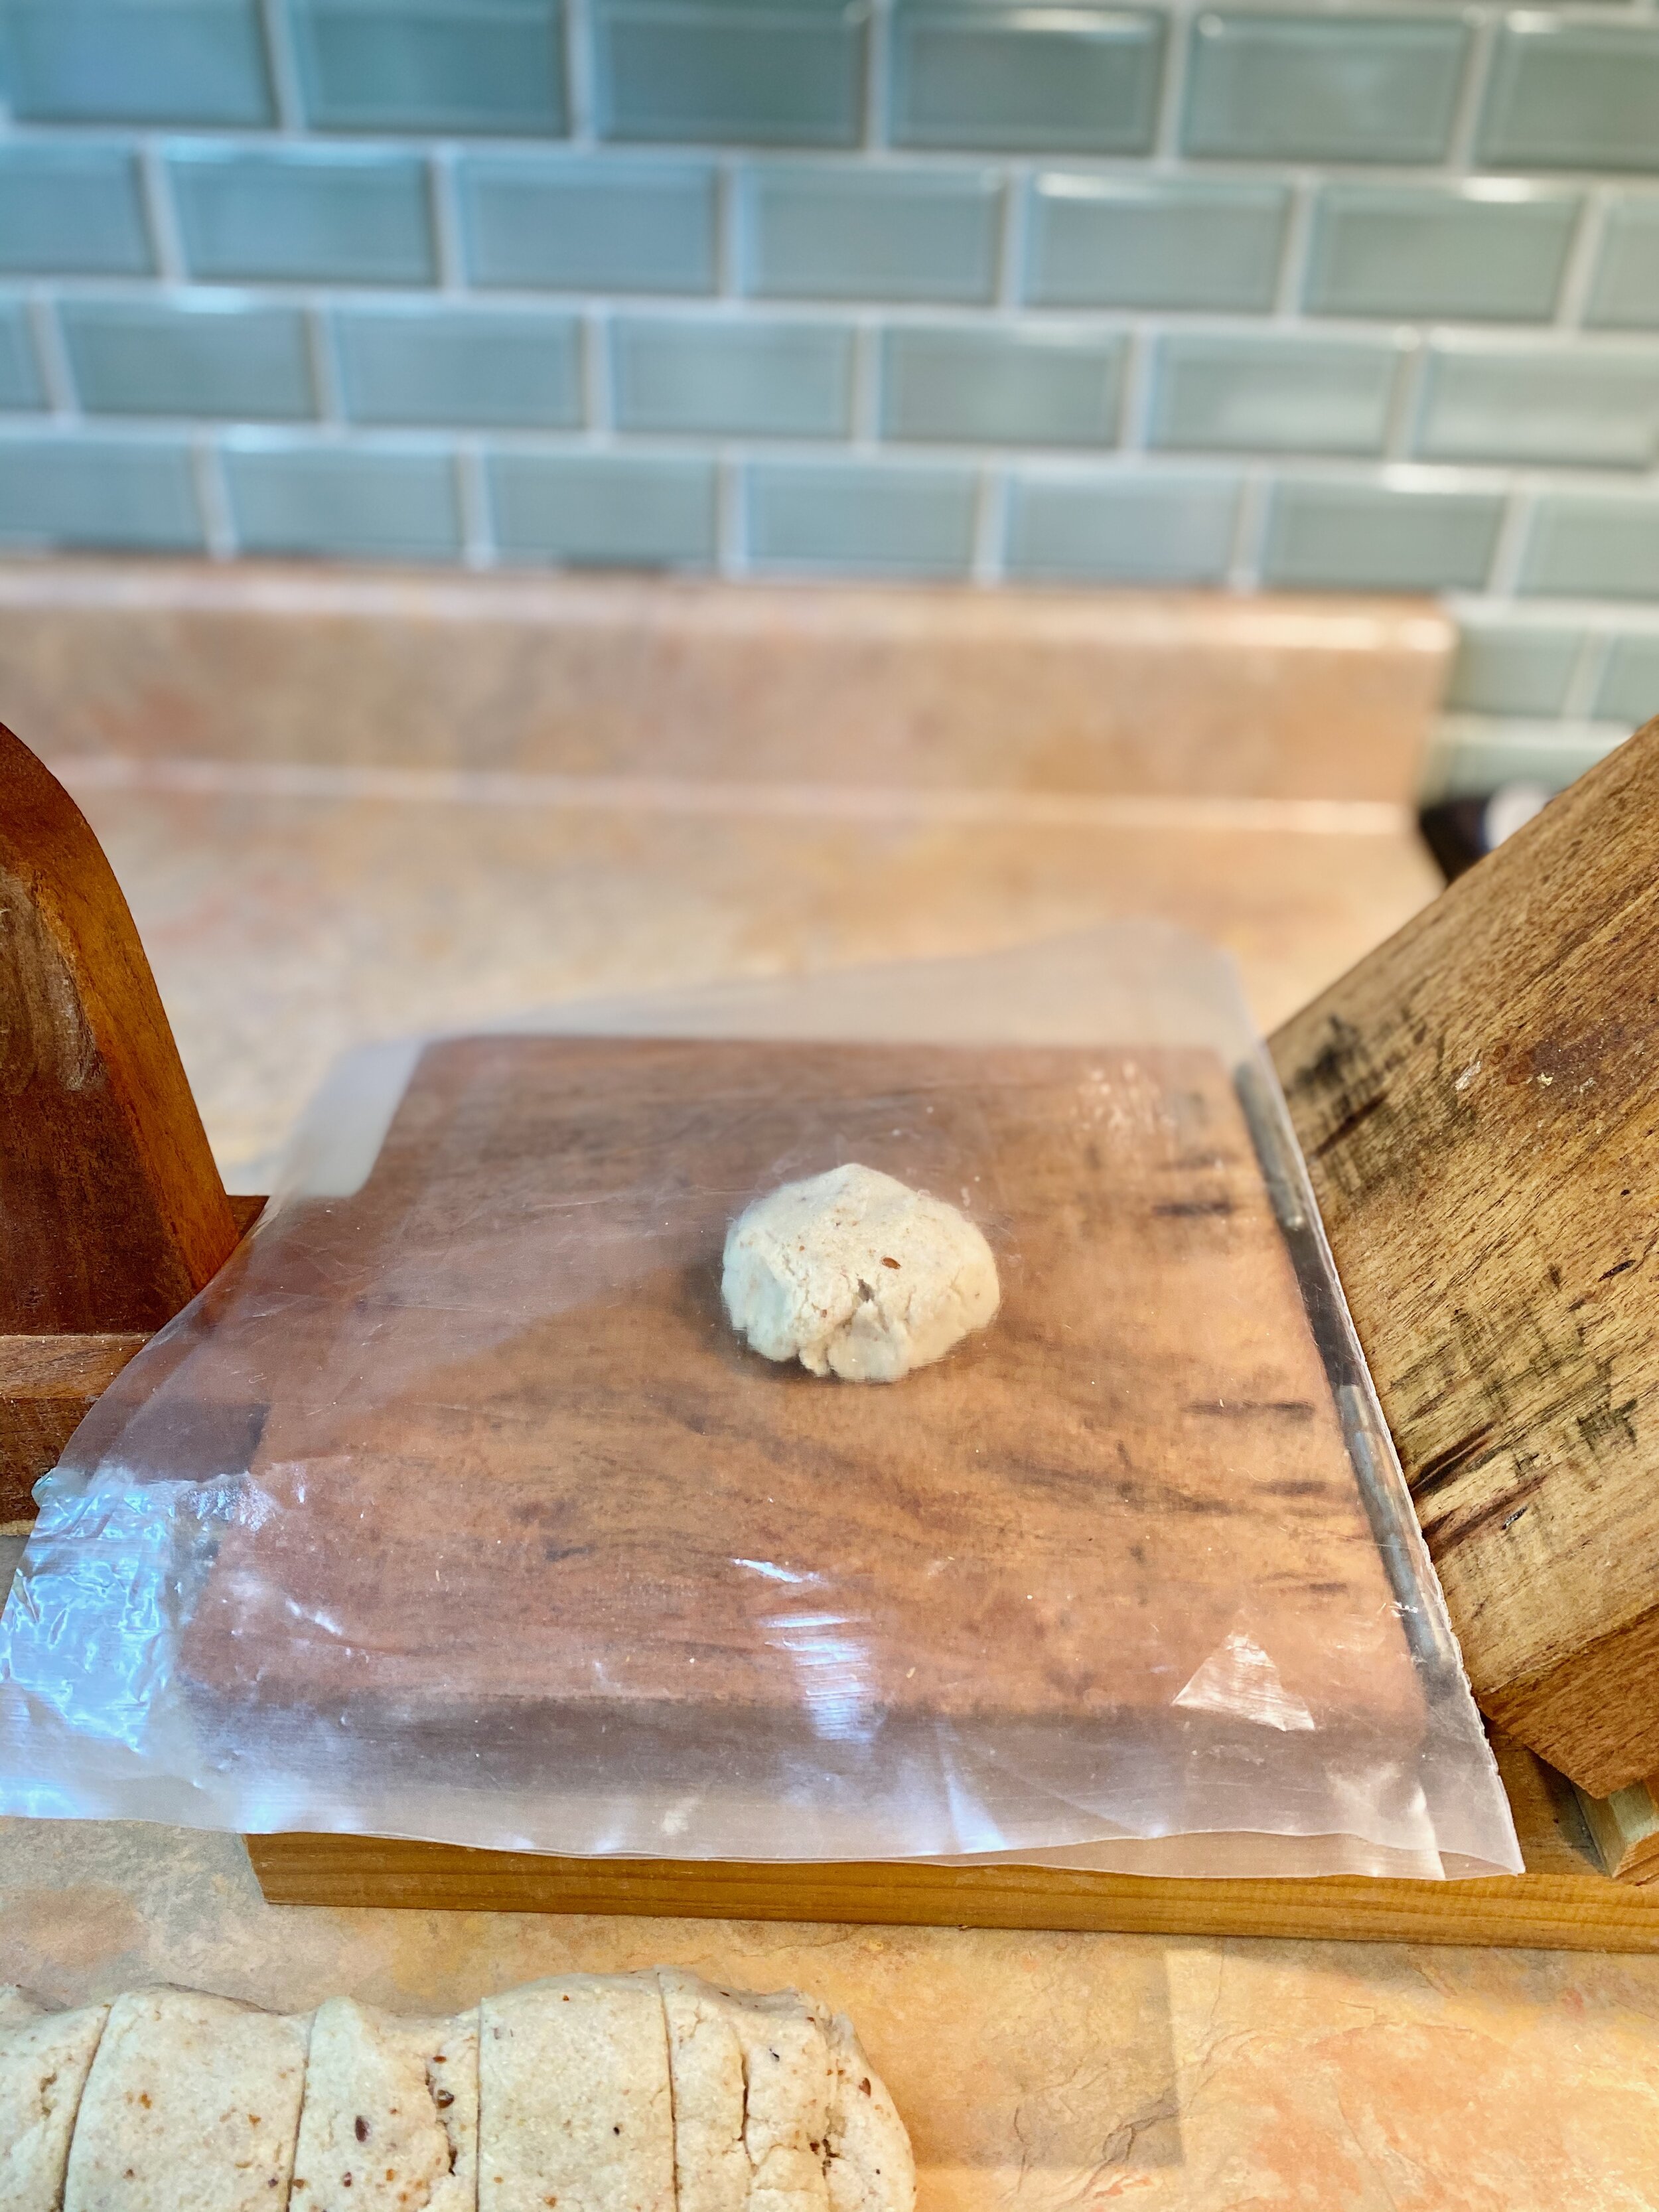
Form a cylinder and cut into either 6 or 12 pieces depending on what size you would like. Roll each piece into a ball (this does not have to be perfect) and place a dry dish towel over the dough. Meanwhile, warm up a cast iron pan on low/med heat. You don’t want your pan smoking, it will burn the tortillas. You may have to play with the heat depending on your stove top.

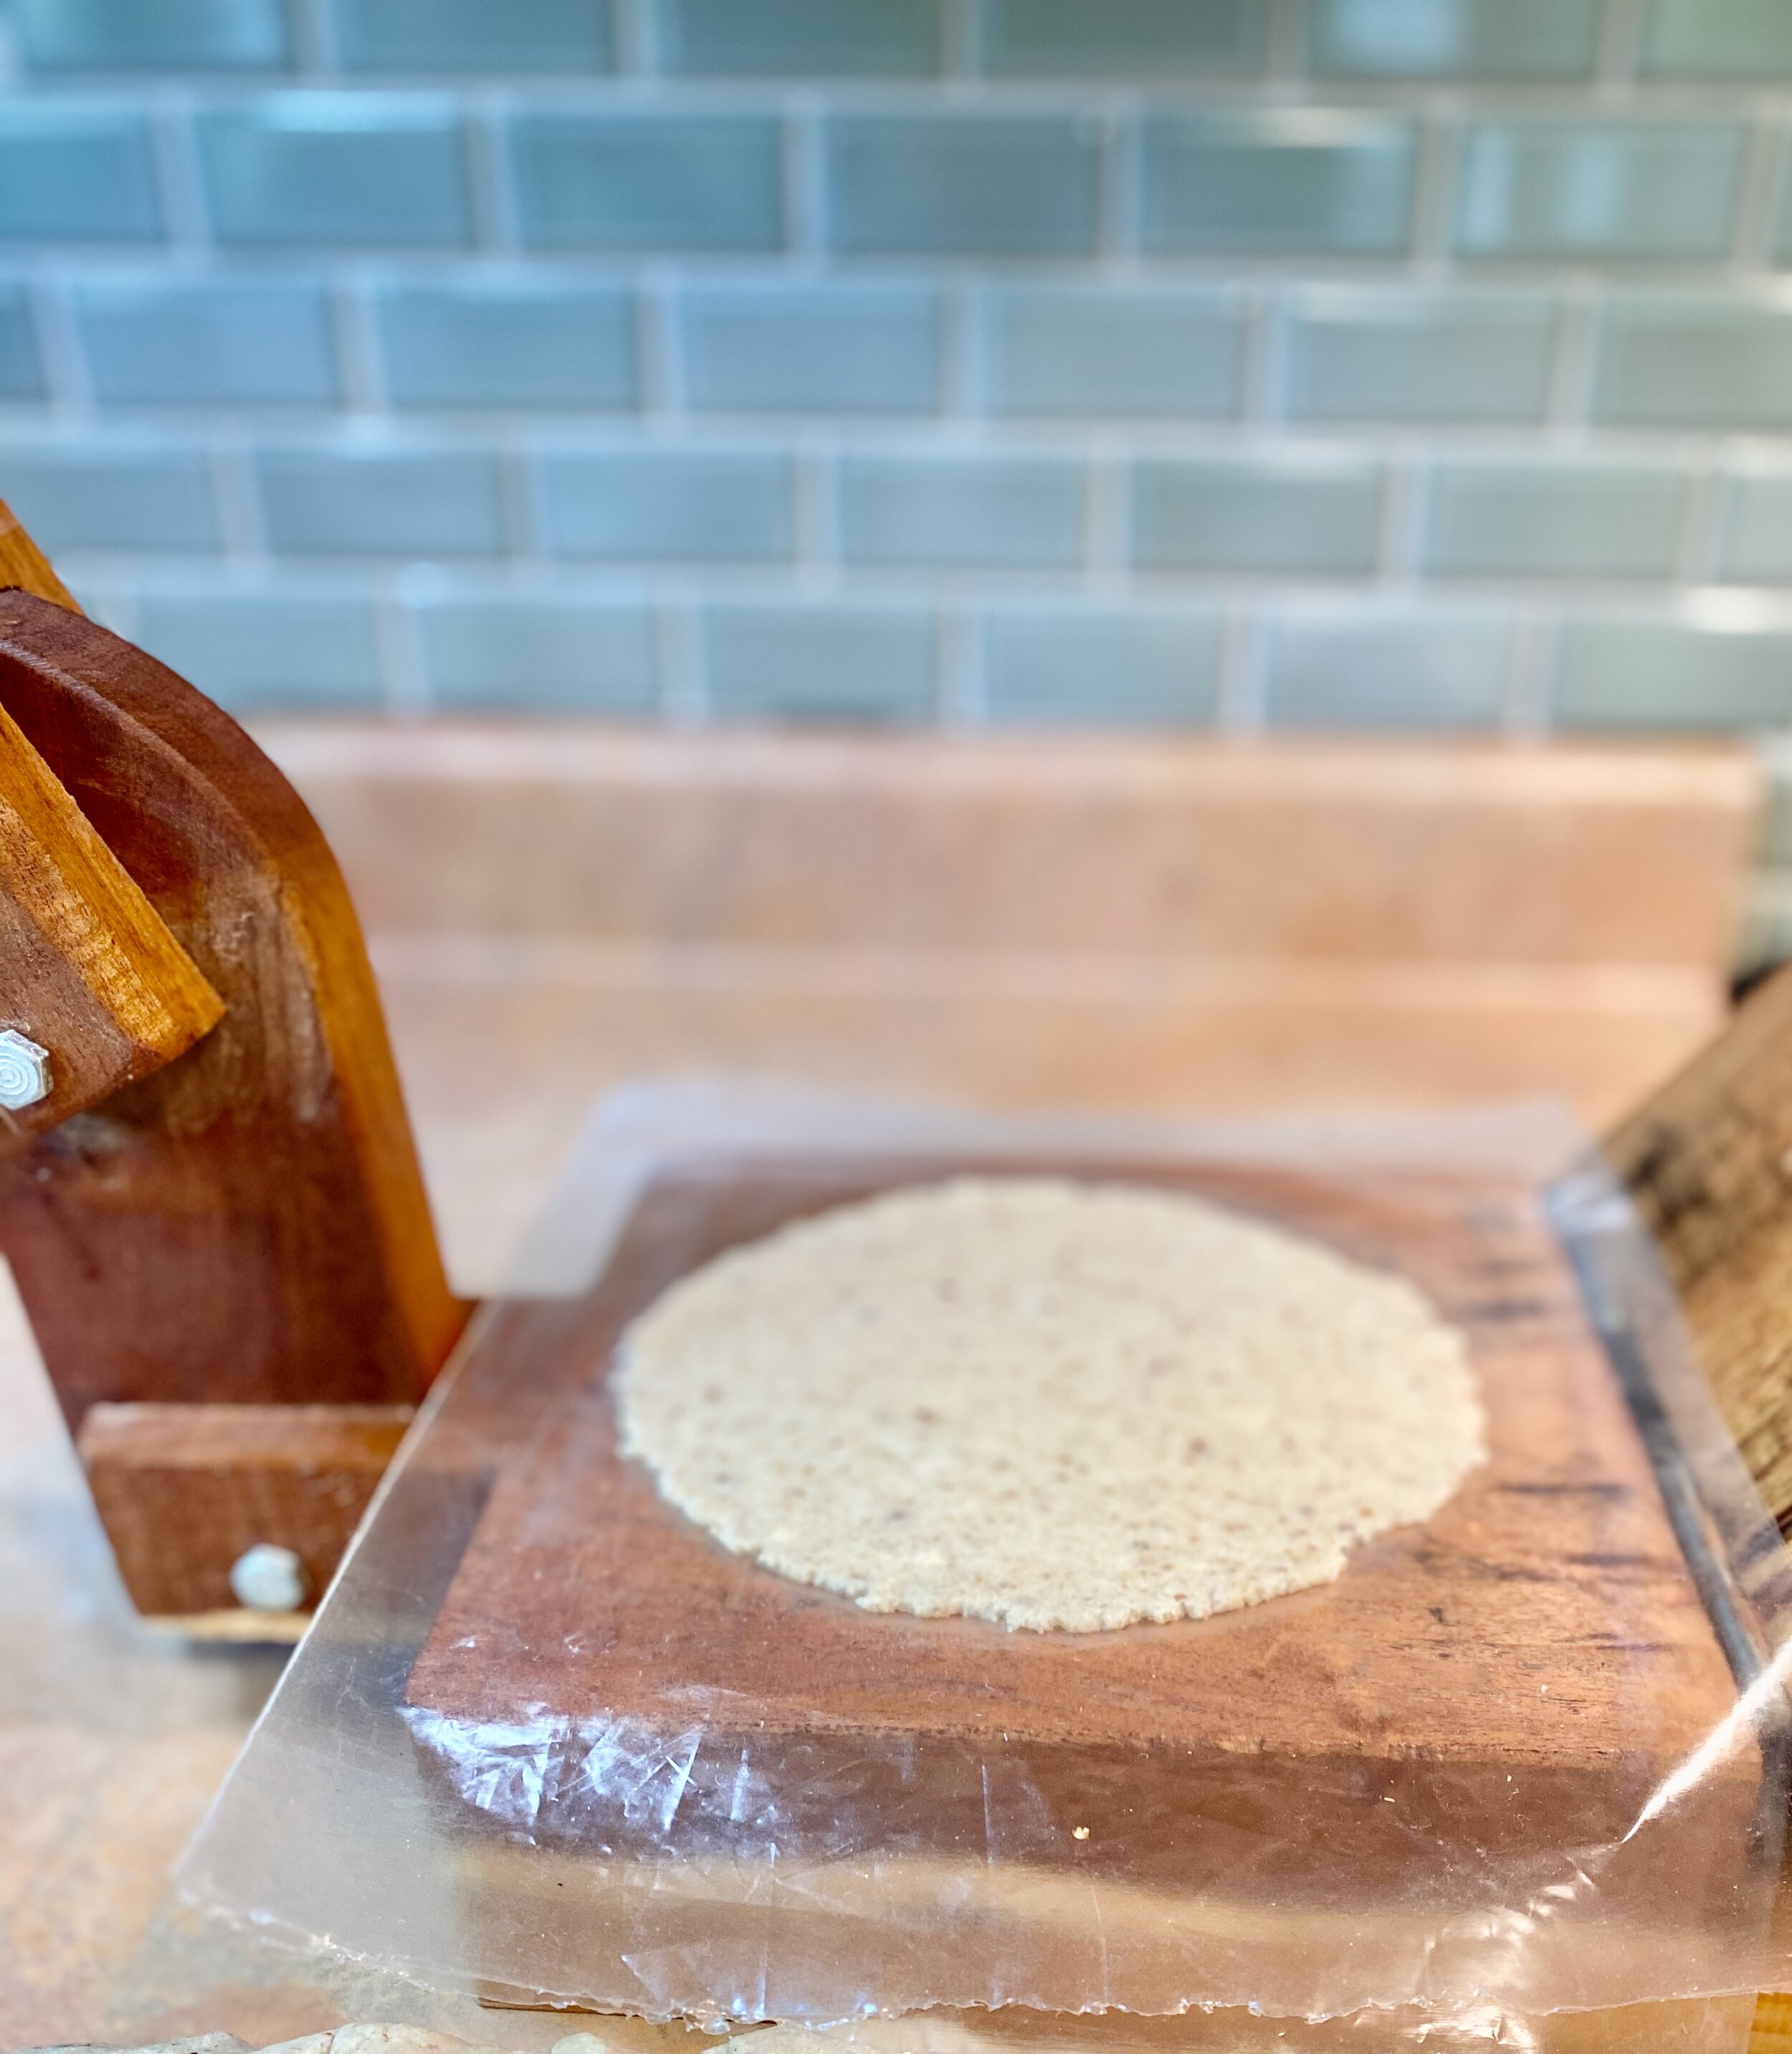
Line your tortilla press with either 2 pieces of parchment paper or a zip lock bag that you have cut in half. Place a ball in between the pieces of parchment paper or the zip lock bag. This is so you can peel off the tortillas easily and won’t stick. Press down with your tortilla press, rotate the paper or bag 180 degrees and press again to ensure you are getting a nice thin round tortilla.

Cassava Tortilla

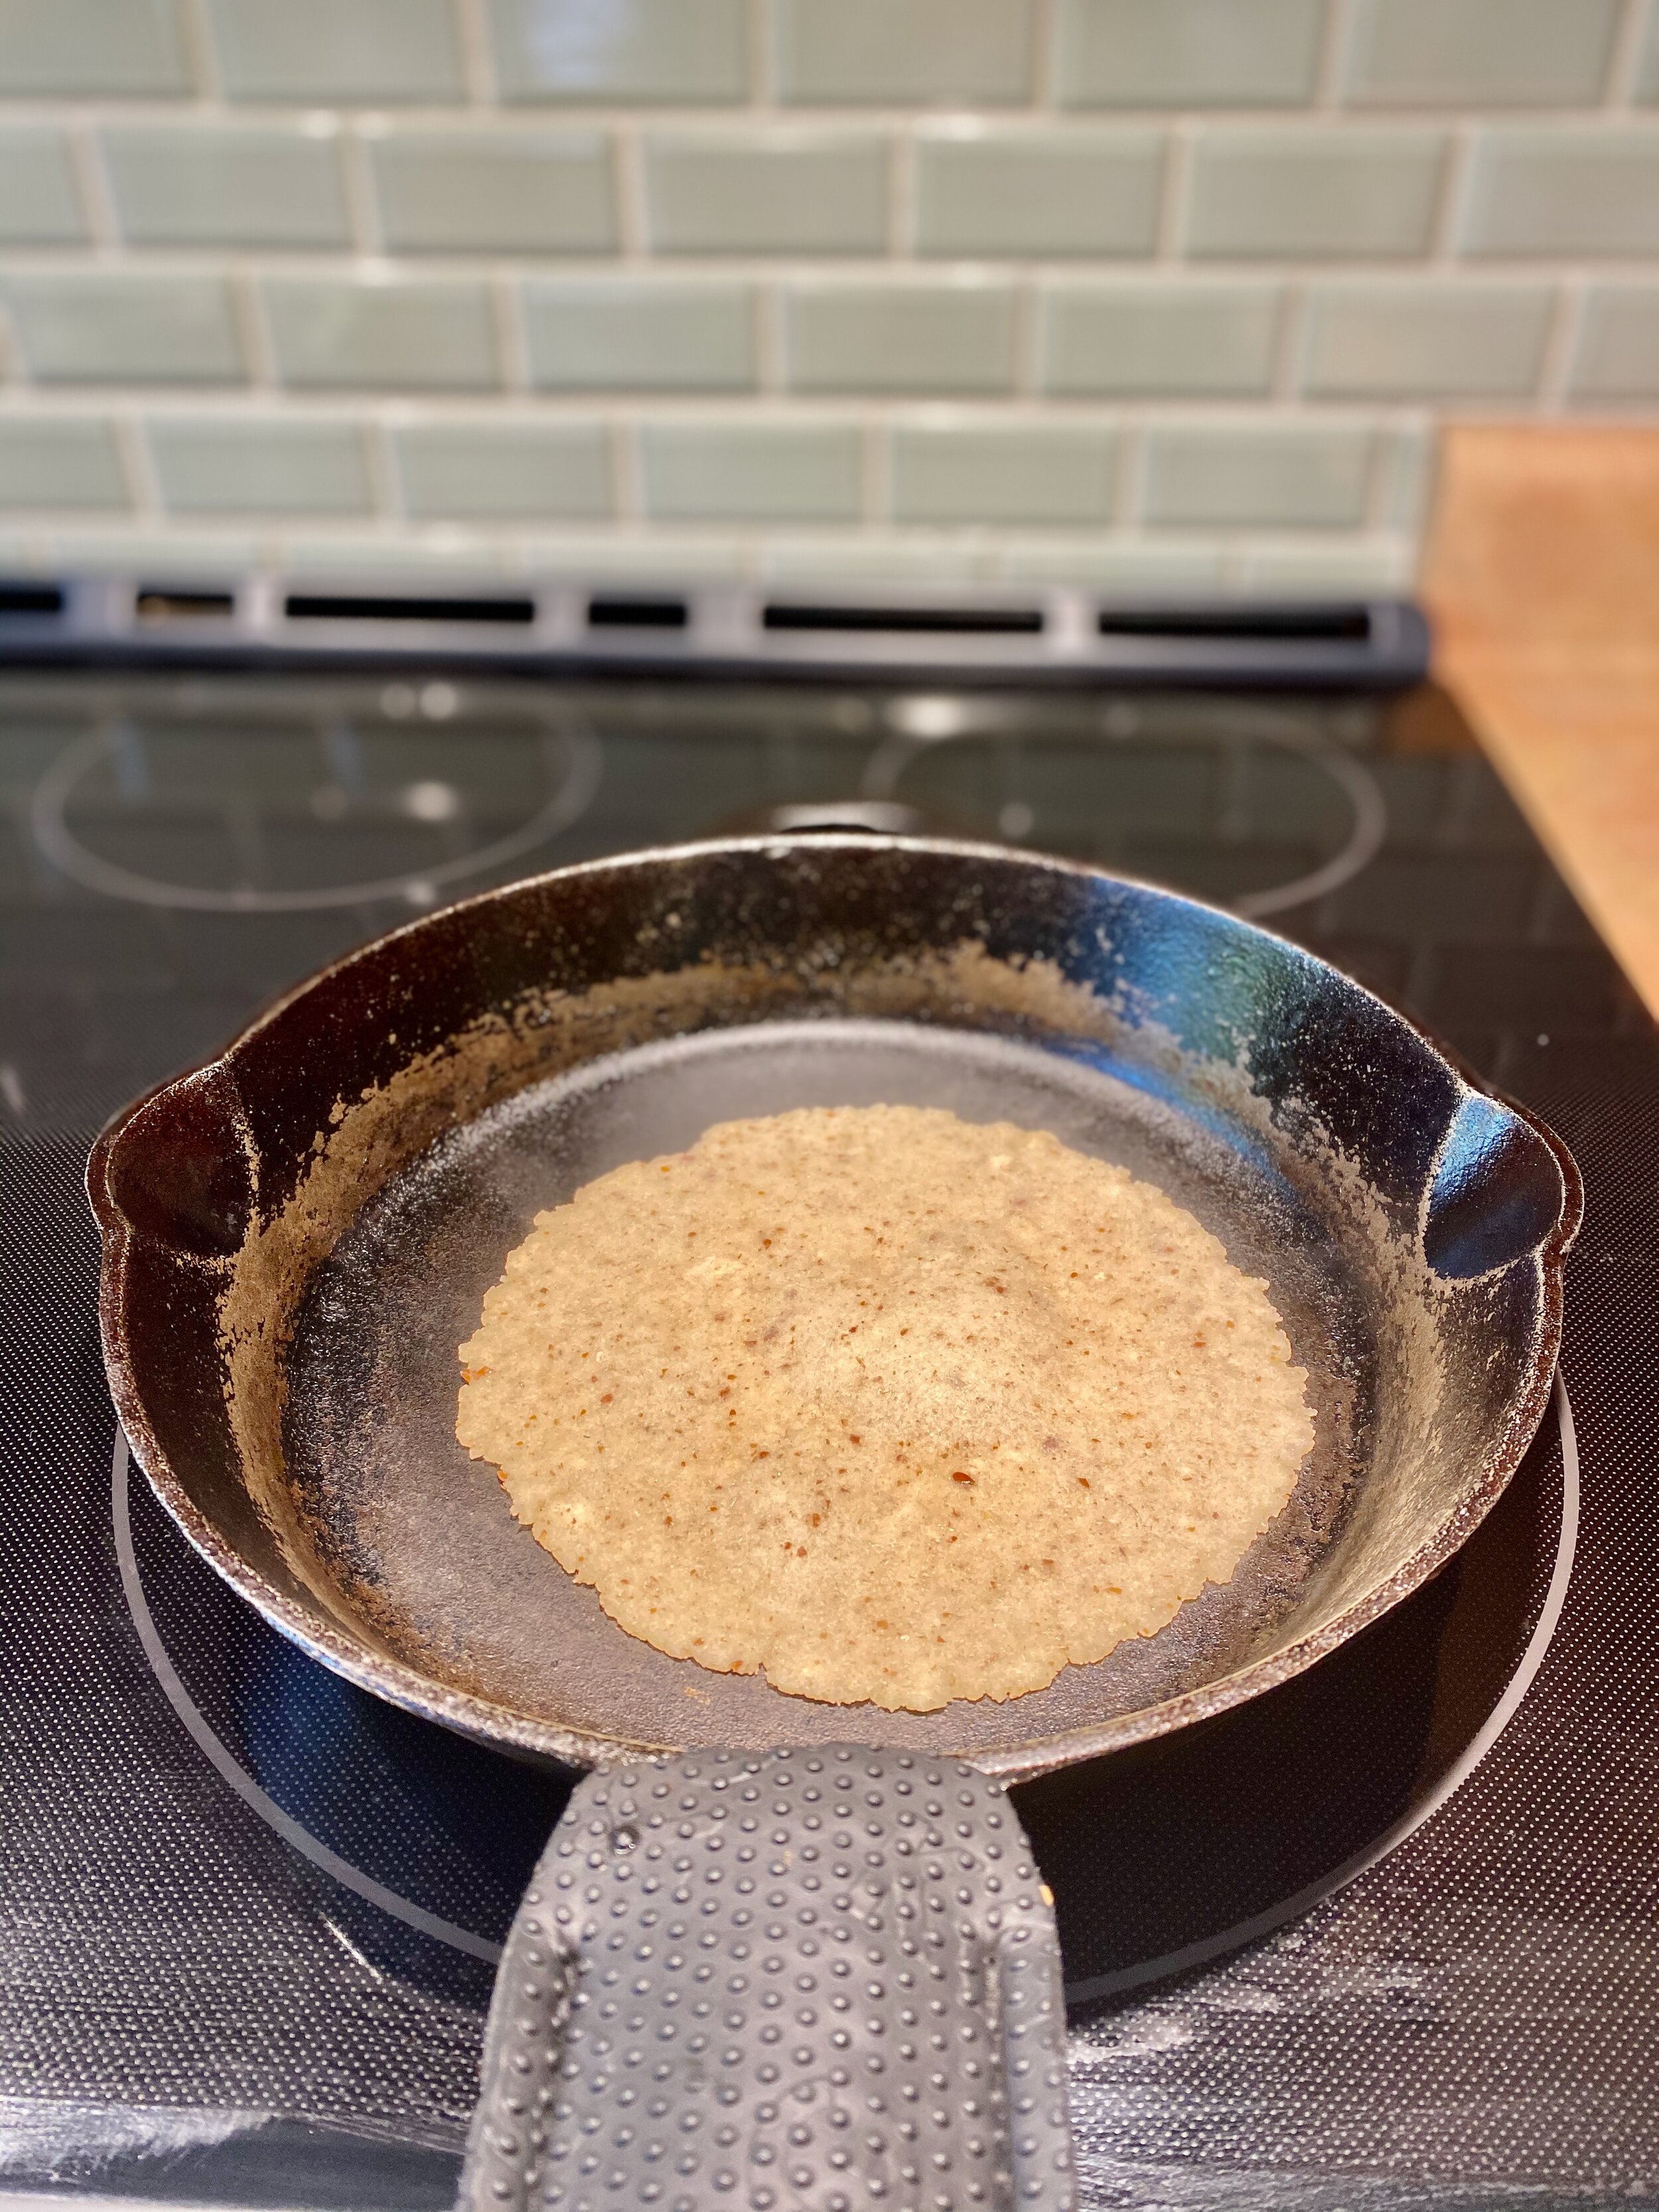
Place the pressed tortilla and paper onto the palm of your hand, remove the top side of the parchment and flip the tortilla onto your other palm and peel off the bottom piece of parchment, place it into the hot cast iron pan by gently flipping it onto its back side so you don’t have to peel it off of your hand. 

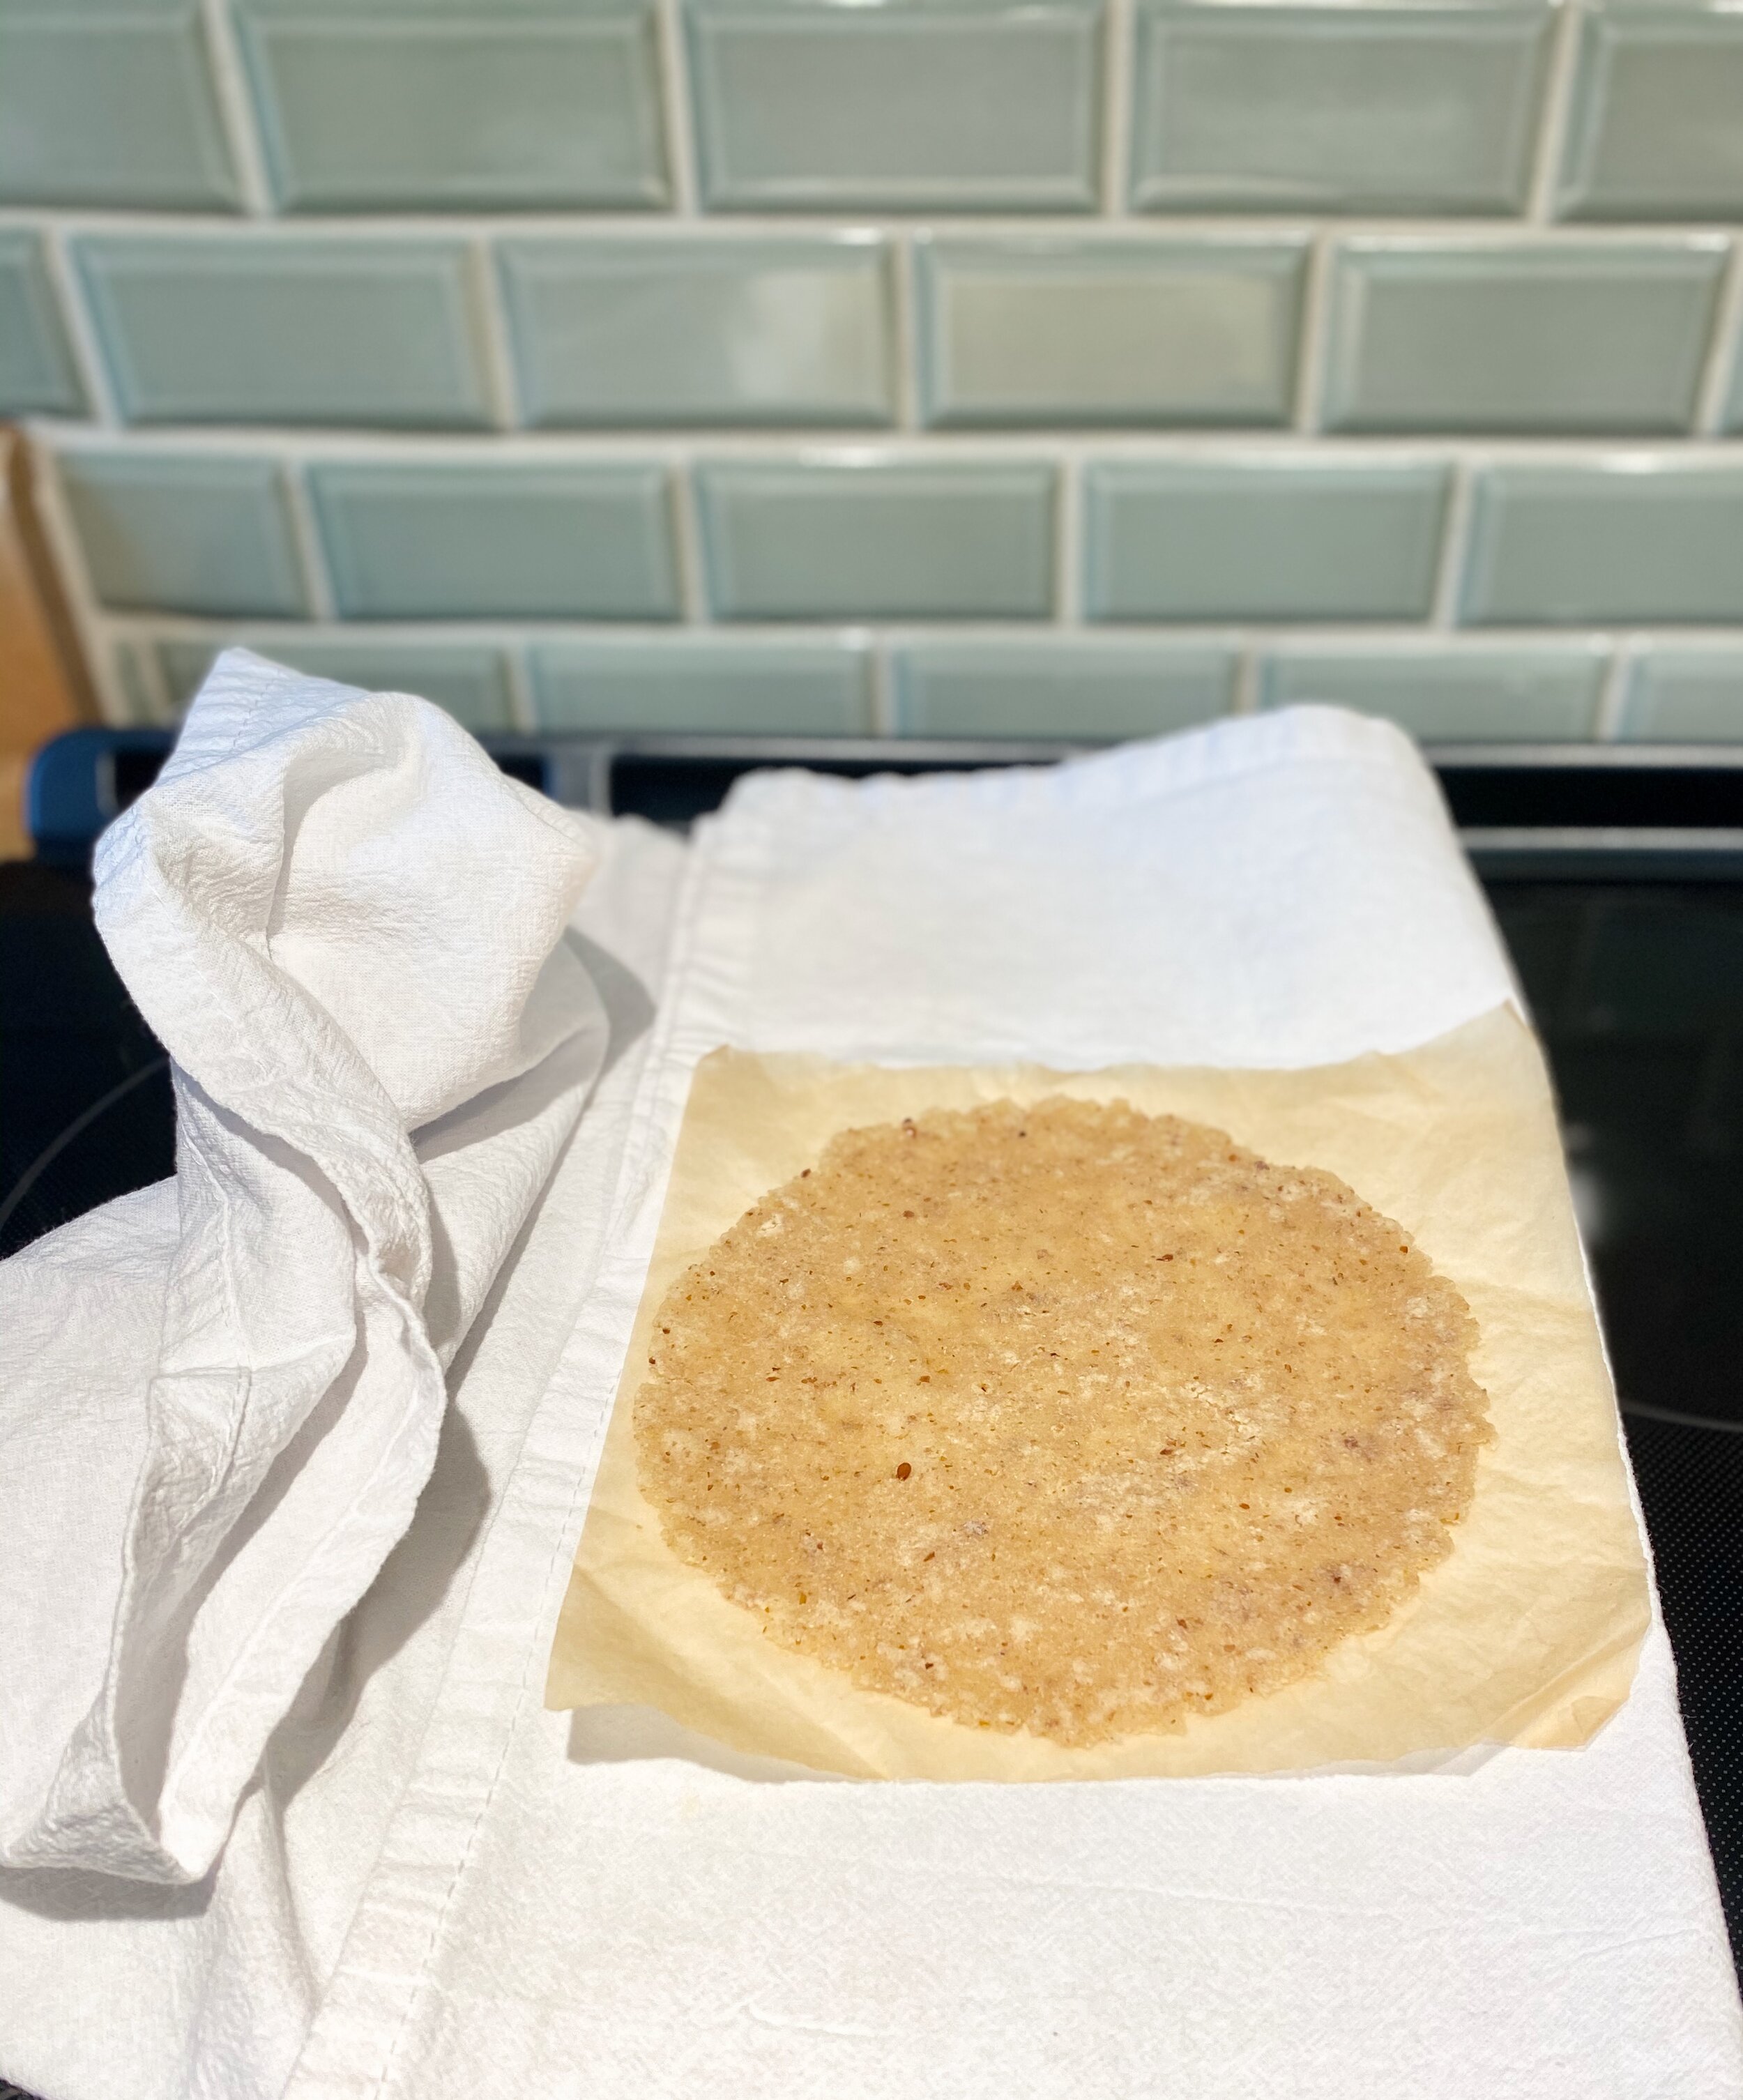
Cook on each side for about 30 seconds to one minute. Press another tortilla while one is cooking. You don’t want them to be crispy. Once the tortilla is ready, place it onto a clean and dry dish towel and cover it until the next one is done. I like to place pieces of parchment paper  in between each tortilla within the dish towel so they don’t stick. By separating them individually and  covering them with a dish towel will help keep them soft and moist. Serve and love me long time.

Turmeric and Cinnamon Chicken and Rice

I mean, who doesn’t like chicken and rice? This is a treat for me and I accept it with loving arms when I do decide to make it. I don’t eat many grains but when I do, this dish is one of my favourites. I wanted to create something cost effective, familiar for all of you, easy to make and a one pot dish that would contain more veggies than we would expect in a chicken and rice dish. I hope you love it as much as I do.

Chicken_and_rice.png

Serves 4
Ingredients
1 lb/454 grams chicken thigh or breast
4 cups cabbage (sliced)
1 ¼  cups carrots (sliced)
⅔ cup onion (diced small)
1 cup white basmati rice (rinsed)
1 ⅔ cup bone broth
1 bay leaf
1 ½  tablespoons olive oil

Spice Mix
¼ teaspoon cinnamon
½ teaspoon ground coriander
½ teaspoon ground turmeric
½ teaspoon salt
¼ teaspoon ground pepper
½ teaspoon garlic powder

Method
In a small bowl, make your spice mix and set aside
Cut up your chicken into bite sized pieces and toss with ½ of the spice mix, set aside.
Chop the rest of your ingredients and place them onto a large plate, set aside.
In a large soup pot (10 inch wide/about 12 cup pot) heat the oil on medium heat and brown the chicken- you may need to do this in batches, your choice. Remove the browned chicken and set aside, add the onions then the carrots and then the cabbage. 

Sauté the veggies for a couple of minutes, then add the rest of the spices, bay leaf and the rinsed rice. Stir together, add the broth, stir again and then place the browned chicken on top of the rice and veggie mixture. DO NOT mix the chicken in with the rice.
Cover with a lid and simmer on low for 15 minutes. 

Remove from the stove, remove the lid, place a dry kitchen towel over the pot then replace the lid. Let sit for 3-5 minutes. This helps soak up the rest of the moisture and then leaves you with fluffy delicious rice and veggies.

*Everyone's stove top emits heat differently, you may need to cook it a little less or a little more, practice makes perfect!!


Sausage and Cabbage Soup

Oh this one is a keeper. It’s rich tasting, nutrient dense and really, can be a whole meal in one bowl. I love how easy it is to make in an instapot but if you don’t have one, no worries, just cook it for longer on the stove top until everything is tender.

900 grams Italian pork sausages (remove the casing)
1 cup onion (diced small)
1 ¼  cup fresh fennel bulb (diced small)
7-8 cups cabbage (roughly chopped)
⅔ cup carrot (diced)
1 tablespoon garlic (minced)
2 tablespoons tomato paste
6 cups beef bone broth
1 cup plain tomato sauce
2 tablespoons raw apple cider vinegar
1 tablespoon olive oil
1 teaspoon dry basil
1 teaspoon celery seed
1 ½ teaspoons fennel seed
1 ½ teaspoons garlic powder
2 teaspoons paprika
½ teaspoon salt
¼ teaspoon pepper
1 tablespoon maple syrup
3 tablespoons fresh dill (Add once cooking is complete)

Method

Turn the instapot on sauté, add the olive oil, remove the casing from the sausage and cook the sausage by breaking it up with a spoon. Once the sausage is almost cooked, you can remove most of the fat if you want. Then add the spices, onions, garlic, fennel bulb and carrots.

Sauté for a couple of minutes and then add in the rest of the ingredients except for the fresh dill. Turn off sauté mode, replace the lid and set on pressure cook for 8 minutes. 

Once the soup is done, turn the pot off and release the steam. Open the lid (only once all steam has been released), add the fresh dill and season with salt and pepper.

If you do not have an instapot, follow the same instructions but just simmer the soup on the stove top for about 20-25 minutes with the lid on or until everything is tender.

Sausagecabbage_soup.jpeg

Braised Red Cabbage and Apples

Braised cabbage, one of my favourite vegetable dishes served with a delicious local, organic sausage and hot mustard. If i’m feeling naughty I may even add some gluten free perogies and grass fed sour cream. Ya, I said it. Braised cabbage has a sweet and subtle sour flavour to it thanks to the apples, maple syrup and apple cider vinegar. I love using bone broth as my liquid because any way I can add more homemade bone broth to my diet, I’ll do it. The bone broth is gut healing and your liver will LOVE the cabbage and onions.

6 cups red cabbage (shredded or thinly sliced and chopped)
⅔ cup apple or 1 medium apple  (peeled and diced small) 
1 cup onion (diced small)
½ teaspoon dry thyme
1 tablespoon maple syrup
1 tablespoon raw apple cider vinegar
2 teaspoons dijon mustard
½ cup bone broth
1 tablespoon butter
½ teaspoon salt
½ teaspoon pepper

Method

Heat a small to medium dutch oven pot, add the butter, onion, salt and pepper. Place the lid over the pot and allow the onions to become soft, this should take about 2-4 minutes on medium heat.

 Add the rest of your ingredients, stir together, cover with the lid  and braise the cabbage on low for 45-60 minutes. You will know it’s ready when  the cabbage is tender and fragrant.


braisedredcabbage_2.jpeg

Tahini and Honey Kale Salad

This baby was created on a rainy day while in the lab. Having all of these ingredients I started to think about what they want to turn themselves into and this is what happened!

Salad
3-4 cups black kale (Chiffonade slice) 
2 cups curly parsley (chopped)
1 cup shiitake mushrooms
1 tablespoon sesame oil
½ tablespoon olive oil
1-2  teaspoons sesame seeds

Tahini and Honey Dressing
¼ cup tahini
2 teaspoons garlic or 2 medium size cloves
2 tablespoons roasted sesame oil
½ teaspoon salt
2 tablespoons raw honey
⅓ cup water
¼ cup olive oil
¼ cup rice wine vinegar

Method
Clean and de-stem the kale and thinly slice it (this is called chiffonade), add it to a large bowl. Clean and de-stem the parsley and chop, add it to the large bowl with the kale. In a small sautée pan add the olive oil and sesame oil from the salad ingredients. Slice the cleaned shiitake mushrooms in half and add them to the pan. Sprinkle with salt and sautée until tender. This should take about 5 minutes, remove from heat and allow it to cool.

Meanwhile, add all of the ingredients for the tahini honey dressing to a medium sized mason jar and use a hand blender to combine ingredients or use a blender. Toss the kale and parsley with as much dressing as you would like ( use your hands to get the dressing nice and snug into the kale and parsley.)  Place the shiitake mushrooms over the salad and sprinkle with sesame seeds.


Tahini and Honey Kale salad.jpeg

Autumn Pear and Butternut Squash Soup

This soup breaths cooler fall nights, it is THE perfect soup to get you connected to your local seasonal produce. The hazelnuts are ready to pick, the butternut squash are curing in the fields and the pears are freshly picked off the tree. The roasted rosemary and hazelnut topping is a big hit, it adds beautiful texture and enhances the flavours of the pear and squash. If you wanna get serious, you could always roast the pears first, this will give another depth of flavour and add some more sweetness to the end soup.

Pear_butternut_squash_soup1.jpeg

Ingredients

665 grams or 6 cups butternut squash (cubed)
1 ½  cups onions chopped
3 cloves garlic minced
1 can full fat coconut milk
1-2 teaspoons Red curry powder
1 teaspoon coriander powder
1 tablespoon coconut oil or olive oil
2 yellow pears (ripe, halved and cored)
3-4 cups chicken broth or veggie broth (add more if needed after blending)
¾ teaspoon salt *You may need to add more salt at the end

Roasted hazelnut and rosemary topping
½ cup hazelnuts (chopped)
1 tablespoon fresh rosemary
⅛-¼ teaspoon salt
1 tablespoon olive oil

Method
Sautée the onion, squash and garlic in the oil until onions are translucent. Add the  spices, cook for 1 minute, add the rest of your ingredients, bring to a simmer and simmer for about 20 minutes. Remove from the stove, allow to cool a bit before blending, season if needed

For the hazelnut and Rosemary topping, toss everything together in a bowl and bake at 325 °F for 10-12 minutes or until lightly toasted.


Pear and Ginger Muffins

Pear_ginger_muffins_2.jpeg

Pear and ginger go together like honey and vanilla, no shit! I have worked on this recipe for a week straight now to get them perfectly imperfect. I’m a recovering perfectionist so I will never say anything is perfect anymore.

These beautiful soft, moist babies are gluten free (always), very low sugar (1 TBSP honey added) and they are great for the gut. The apple sauce and pears actually help feed our good gut bacteria so, BOOM!

Ingredients
⅓ cup apple sauce
¼ cup coconut milk (room temp)
¼ cup butter (melted)
1 tablespoon raw honey
1 teaspoon vanilla extract
2 eggs (room temp)
1 cup almond flour
½ cup tapioca starch
¼ cup coconut flour (sifted)
2 teaspoons baking powder
Pinch of salt 
½ teaspoon allspice
2 teaspoons ginger powder
1 teaspoon cinnamon 
1 cup fresh pear (diced small)

Method
Preheat oven to 375 degrees fahrenheit
Combine all of the wet ingredients in one bowl and mix well
Combine all of the dry ingredients in another bowl and combine well
Add the chopped pear to the wet ingredients and fold the mixture into the dry ingredients.
Divide the batter into 8 muffin cups and bake for 15-18 minutes

*Make sure the baking powder is fresh or else these babies won’t rise as much as they should. Do not over mix so these babies are soft, moist and perfectly imperfect.


Gluten Free Pumpkin and Vanilla Muffins

These beautiful moist muffins freeze super well, so make two batches and freeze em for later. *Note I omitted the oil in my second batch while creating these and I really didn't notice a difference, the virgin coconut oil is beneficial to your body, but if you do not want to add it, it's not necessary. The pumpkin and mashed banana keep it real moist! 
These are not low carb but they are gluten free.

1 ¼ cup brown rice flour
¼ cup arrowroot flour
1 teaspoon true cinnamon (ceylon cinnamon)
½ teaspoon nutmeg
½ teaspoon sea salt
1 tablespoon baking powder (aluminum free)
1 teaspoon baking soda (aluminum free)
1 cup canned organic pumpkin
½ cup almond milk
1 egg
2 teaspoons vanilla extract or the caviar from 1 vanilla bean
2 ripe bananas (mashed)
2-3 tablespoons organic virgin coconut oil * See note above
¼ cup raw, local honey

Method
Combine wet ingredients in one bowl with bananas and pumpkin and combine dry ingredients in another bowl. Add the wet ingredients to the bowl of dry ingredients and stir together just until combined. Bake 350 degrees Fahrenheit for 20-25 minutes. Check with a wooden skewer, with all gluten free muffins, they are best reheated after the first day.


Chimichurri

Everything is raw in this dip so the vitamin C from the fresh herbs is at it's most powerful, the raw garlic and onion has antibacterial properties and helps boost the immune system. The unfiltered raw organic extra virgin olive oil contains phytonutrients and heart healthy omega 9 oils. The importance of quality over quantity for the olive oil here is very important if you want to achieve a super nutrient dense chimichurri.

1 bunch Italian parsley
1/2 bunch cilantro
¼ cup onion
1 teaspoon dried chili flakes
1 teaspoon dried oregano or 1 tablespoon fresh
2-3 cloves garlic
2 tablespoons red wine vinegar
3 tablespoons extra virgin organic olive oil
1/2 teaspoon sea salt and fresh ground pepper (may need to add more to your liking)
** Add an extra 3/4 cup extra virgin organic olive oil stirred into the chimichurri after you have blended the above ingredients.)

Method
In a food processor add your garlic and onion, pulse two or three times. Add your fresh herbs and pulse a couple more times, add the rest of the ingredients **except for the extra 3/4 cup of olive oil that you will stir in afterwards.
Pulse the ingredients together until you get your desired consistency, pour the chimichurri into a glass storage container and stir in the rest of the olive oil. You do want the chimichurri to have a coating of olive oil on top, if you need to add a little more olive oil, do so. This preserves it; which allows it to sit in the fridge for weeks, you can even freeze it in little ice cube trays if you would like.
Bon Appetit!

Think Outside the Box

You can do so many things with this amazingly healthy and tasty salsa; I love to grill vegetables and my local farmers sausage and have the chimichurri on the side. Delicious homemade bread loves to be lathered in chimichurri and my morning omelet seems to smile a little more when I add a dollop of chimichurri to it.


IMG_9374.jpeg


Stuffed Sweet Potatoes

For the Sweet potatoes

4 small sweet potatoes
1/3 cup organic gouda cheese (shredded)
5 teaspoons fresh chives
1 teaspoon dried tarragon or 1 tablespoon fresh tarragon
2 teaspoon coconut oil

For the Mushrooms
2 teaspoons fresh rosemary
2 teaspoons fresh thyme
4 tablespoons French shallots
3 tablespoons organic butter or ghee
1 cup button mushrooms
1/2 cup shiitake mushrooms

Method:
Preheat the oven to 375 degrees Fahrenheit
Scrub the sweet potatoes and dry them off, then rub some virgin coconut oil and season each one with sea salt.
Bake them on a baking sheet lined with parchment paper for about 30-45 minutes. Keep checking them to see when they are tender to the touch.
While the sweet potatoes are cooking prepare the mushroom topping.
Wipe the mushrooms clean with a damp cloth and slice them into thin slices.
Chop your fresh herbs very fine and set aside.
Chop your French shallots into very small dice and set aside.

Heat a large sauté pan on medium heat with 2 tablespoons of butter
Sautee the mushrooms in batches (so not to over crowed them) with the butter or ghee and allow them to brown.
Add some of the the shallots and rosemary/thyme to each batch of mushrooms and season with salt and pepper.
Repeat with another batch of mushrooms until they are all beautifully brown.
Add all of your sautéed mushrooms back to the pan, and add the last tablespoon of butter and lather the mushrooms with it.
Remove the pan from the heat after it has melted.

Once your sweet potatoes are nice and tender, remove them from the oven, cut them in half and remove the insides, making sure you do not tear the skin.
Mash or whip the potatoes with the coconut oil, chives and tarragon in a bowl.
Season with sea salt and pepper and stuff the mash back into the sweet potato skins.
Add the mushroom topping to the top of the stuffed potatoes and then place the cheese on top.
Broil the potatoes under the broiler until the cheese has melted and has reached a golden colour.

Cook Outside the Box
These stuffed potatoes are not just for a yummy dinner, they are delicious for breakfast with scrambled eggs on the side.
Add some cooked organic chicken sausage instead of mushrooms if you prefer meat, or remove the cheese and just add the mushrooms for a vegan version.
These potatoes are great as an appetizer as well, serve one on top of a little green salad.

Detox Fresh Herb and Red Cabbage Salad

1 1/3 cup kale (shredded)
1 1/3 cup carrot (shredded)
1 1/3 cup red cabbage (shredded)
1/8 cup fresh mint leaves (coarsely chopped) 1/8 cup fresh cilantro leaves (coarsely chopped)

Vinaigrette
1 tablespoon extra virgin olive oil
1 tablespoon apple cider vinegar
1 tablespoon lemon juice
1/4 teaspoon sea salt and pepper

Method:
Clean and shred your first 3 ingredients and add them to the bowl.
Chop your fresh herbs coarsely; you want big pieces of the herbs in your salad, treat them like a type of lettuce.
In a little mason jar, add all of your vinaigrette ingredients and shake them up in the jar.
Toss the salad with as much dressing as you would like and serve. 

Cook Outside the Box
Add freshly grated ginger and garlic to the dressing for a nutrient pump up and anti-inflammatory affect.
Make a wrap out of this nutrient dense salad.
Add some lightly toasted cashews or sesame seeds and give it an Asian flavour to it. Kale and Cabbage Salad

Wild Rice with Cilantro and Lemon

1 cup wild rice
5 thin slices bacon or ¼ cup pancetta (omit if vegetarian or vegan)
1 cup roasted butternut squash
1 tablespoon coconut oil
¾ cup onion (small dice)
2 cloves garlic (minced)
½ cup fresh cilantro (chopped coarsely)
1/3 cup roasted, unsalted cashews
Sea salt and fresh ground pepper to taste
1 tablespoon lemon zest
Fresh lemon to finish

Method:
Note- This is not strict low carb
In a medium size pot, add the wild rice and 2 ¾ cup water.
Bring rice to a boil with the lid on, then reduce the heat to low.
Simmer for about 45 minutes to 1 hour. You will see the wild rice start to open up, and most, if not all of the water will be gone. Strain the rice after it is cooked, and set aside.

While the rice is cooking, heat the oven to 350 degrees Fahrenheit and peel the butternut squash, cut it in half lengthwise and remove the seeds, cut your squash into small to medium sized pieces, season the squash with sea salt, fresh ground pepper and a drizzle of coconut oil.
Bake the squash on a parchment paper lined baking sheet for about30-45 minutes, depending on how big your pieces of squash are. *Do not overcook the squash, you can pierce the squash with a knife after 30 minutes, if the squash is al dente, take the squash out.
You will need 1 cup for this recipe, freeze the rest of the squash or use it in an omelet in the morning, or make delicious squash quesadillas, or add it to your favorite salad. In other words, it won’t go to waste!

In a large sautée pan, heat 1 tablespoon of coconut oil, add the chopped pancetta and cook for 2-3 minutes on low to medium heat.Add your onions and garlic, season with salt and pepper and allow the onion and garlic to get soft and fragrant.
Add your rice and chopped squash and cook on medium heat for another 1 to 2 minutes.
Remove the rice from the heat, add your cilantro, cashews and lemon zest
Season with sea salt and pepper and squeeze a little fresh lemon juice on the rice for some LOVE.

Cook Outside the Box

Add a fried egg to the top of this rice and have a delicious and nutrient dense breakfast.
Instead of pancetta, add some chicken sausage into the mixture.
For my vegan crew, omit the pancetta and top the rice with a bunch of freshly steamed kale with virgin coconut oil.

Lemon and Cranberry Stuffed Wild Salmon

3/4 cup onion (chopped small)
1/3 cup celery (chopped small)
1 1/2 cups button mushrooms (sliced thin)
1/4 cup +1 tablespoon gluten free breadcrumbs
1 tablespoon lemon zest
4 teaspoons lemon juice
1/3 cup dried cranberries
2 tablespoons organic butter
4-150g pieces of wild salmon, trout or arctic char

Method:
Note- This is not low carb, remove the breadcrumbs, add almond flour instead and it will be.
In a sautée pan, melt the butter on medium heat.
Add the chopped onion and celery, season with sea salt and fresh pepper.
Turn the heat down to low/medium. *You don't want to brown anything
Allow the onions and celery to get somewhat translucent and soft, it will probably take 3-4 minutes.
Add your mushrooms and sautée for another 3-4 minutes. 
Turn the heat off and add the rest of your ingredients, except for the salmon of course.
The mixture will be soft and stuffing like. Taste the deliciousness and season with Sea salt and pepper, allow to cool.
Put the salmon pieces on a baking sheet lined with parchment paper.
Season each piece of salmon with salt and pepper.
Cover each piece of salmon with ¼ of the stuffing. You will need to pack it down with your hands so that it sticks to the salmon.
Bake 375 degrees Fahrenheit for about 20 minutes. It really depends how thick your salmon is.
The picture shown above is 2 portions, I had a big piece, so I cooked it for about 25 minutes then separated it into two after it was cooked to perfection.

Cook Outside the Box:

Don't just limit this stuffing to fish, I love to stuff chicken breasts with it and mushroom caps with a little bit of organic gouda cheese.
Add a little truffle oil to the stuffing and it completely changes the flavour. 
Eat this stuffed fish with my delicious Kale Caesar Salad and you have an amazing, easy whole foods dinner. 

Muhammara

1 1/2 cups organic walnuts (lightly roasted)
12 oz. bottle of roasted red peppers in water (strain the water before using)
3 tablespoons extra virgin olive oil
2 cloves garlic
2 tablespoons pomegranate molasses (omit for lowER carb or keto)
1 tablespoon raw honey (omit for lowER carb or keto)
1/2 teaspoon ground cumin
1 teaspoon dried chili flakes
1-2 tablespoons onion
Sea salt and fresh pepper to season

Method
Note- Omit the pomegranate molasses and honey and you got yourself a low carb dip.
Combine all above ingredients except for the olive oil in a food processor and puree to a smooth paste while slowly adding in your olive oil from the top of the food processor. Season with sea salt and pepper. It always tastes better after it has rested in the refrigerator for a couple of hours, but you can definitely eat it right away.

Cook Outside the box
Serve as a dip with pita bread or freshly cut vegetables, especially celery.
Top your roasted salmon or grilled chicken breasts with muhammara after they are cooked.
Use it as a spread for your next whole foods sandwich or wrap.
Make sweet potato wedges and use the muhammara as a dip.

 
IMG_9246.jpeg

Zucchini Pizza "Crust"

You will notice that the title and method below have quotation marks around the word "Crust". That is because it really isn't a crust. A crust is a hard, crispy covering or surface, usually made from bread. This alternative pizza "crust" is not crispy or hard. It is delicious in it's own way, but I do not want to deceive you, it drives me crazy when people give you gluten free alternatives and they say "Oh it tastes just like the real thing." i call BS.

You could always cook these "crusts" at a much higher heat (425-550 degrees Fahrenheit) like every other recipe in order to get a crispier "crust", but then it would denature the nutrients in the delicious zucchini and any other vegetables that you add to your pizza. Check out Smoke points For Oils for more information.By paying attention to the temperatures at which you cook your food, can make your whole foods dishes that much more nutrient dense.

4 cups zucchini shredded
1/3 cup almond flour
3 teaspoons oregano
1 teaspoons chili flakes
1 teaspoon onion powder
1 teaspoon garlic powder
1 cup organic medium gouda
1 organic egg
Sea salt and fresh pepper

Method:
Preheat oven 375 degrees Fahrenheit. Makes 2- 7” pizzas

Using a food processor with the shredding blade, or a hand shredder, shred the zucchini and place it into a bowl.Sprinkle ½ teaspoon of sea salt over the shredded zucchini and allow to stand for 15 minutes. This helps remove excess water from the zucchini. Meanwhile, in another bowl, mix together the rest of the ingredient except for the egg.

Super important part: After 15 minutes, squeeze all of the water out of the shredded zucchini and add it to the rest of the ingredients.

Whisk your egg and add it to the bowl as well. Toss everything together and let stand for 1 minute.

Divide the zucchini mixture into 2 round pizzas on a baking sheet lined with parchment paper.
Bake for 30 minutes. 

I am so happy to say that these freeze beautifully after they have been cooked. Once they have cooled, you can either build your own pizza and then freeze it or you can just freeze the patty's on their own. Layer the zucchini "crusts" between parchment paper and add them to a large zip lock bag, suck all of the air out of the bag and freeze. 
Basic cooking instructions for Pizza's with toppings; bake them at 375 degrees Fahrenheit for 20-25 minutes.  

Cook Outside the Box:
I do not give a recipe for the toppings purposely. You can add whatever you like to these gluten free zucchini pizza "crusts".
I love to add homemade pesto or chimichurri sauce, caramelized onions, organic cheese and some delicious pancetta, finished with a little drizzle of raw honey. Yum! 
Make little baby zucchini "crusts" and turn them into delicious appetizers for your next dinner party. Add some bruschetta on top and voila! A simple and delicious whole foods appetizer.
They would also be delicious in your kids lunch box with cooked organic sausage and yummy organic cheese. They could make their own little mini pizzas at school!
Serve the mini version of these at room temperature with a yummy spread, like Raw Cashew Dip or Homemade Yogurt Cheese.

Bon Appétit!